
Family vacations are all about making memories. You want to be able to preserve those memories forever in photos that really capture your time together and the adventures you had. Photos have a way of bringing us back to those times together like nothing else. Fortunately, it’s easier than ever to get amazing images with just a little know-how and some good equipment.
After years of family travel and working as a professional photographer there are a few skills that I’ve picked up for taking awesome family travel photos. I’ve created a list of easy photography tips to help you get the best shots from your family trips too. My tips are not hard or technical, but simple suggestions that can help even the most haphazard shutterbug take better photos with minimal effort. Here are the things to you need to know to get the best family vacation photos.
Disclosure – Any and all opinions expressed are that of Mom Abroad. No compensation was received for this post. However please note that some of the links in this post are affiliate links. Meaning, at no additional cost to you, I will earn a commission if you click through and make a purchase using the link.
1. Get Fancy
Phone cameras have come a long way and I certainly love the dual cameras on my iPhone 10 but if you want to up your photography game, step one should be to upgrade your equipment. This doesn’t mean you necessarily need to go directly to an expensive dSLR and 10 different lenses. If you’re currently using your phone camera, a good starting point would be investing in a mirrorless camera. They are smaller than a traditional dSLR and therefore easier to carry around and are usually significantly cheaper, so you can worry less about them while traveling.
I actually had an expensive SLR and opted to trade it out for a mirrorless SLR several years ago and will never go back. I shoot with a Sony Alpha 6000. The mirrorless system means it is smaller and lighter while the interchangeable lenses give me all the versatility of large SLRs with almost limitless functionality and features. I love pairing my Sony Alpha with fast prime lens. This makes it absolutely amazing in low light in places you may find yourself like a dimly lit restaurant with a moving kid…

If you don’t have a “real” camera and you prefer to use your phone instead, that’s a-okay. You can apply the rest of my tips with your phone’s camera too.

2. Get Packing
Regardless of which camera you choose, I would suggest getting in the habit of taking it everywhere. I have never once regretted having my camera with me but can name countless times I’ve regretted leaving it behind. You don’t need a whole arsenal of accessories and lenses, but you do want to have your camera on hand. Keeping your camera in your purse or in a back-pack that’s always with you will ensure that you never miss an opportunity to capture precious memories. And don’t forget to bring a back-up battery and memory card!

3. Get Familiar
No matter which route you go with your camera you’ll get the most out of it by getting familiar with all its features. You definitely don’t need to be a pro, but you need to know how to change the aperture and shutter speed (if this option is available) or the scene setting (for point and shoot cameras). If you are like me and not keen on reading a manual, YouTube offers endless tutorial options for just about any popular camera model.

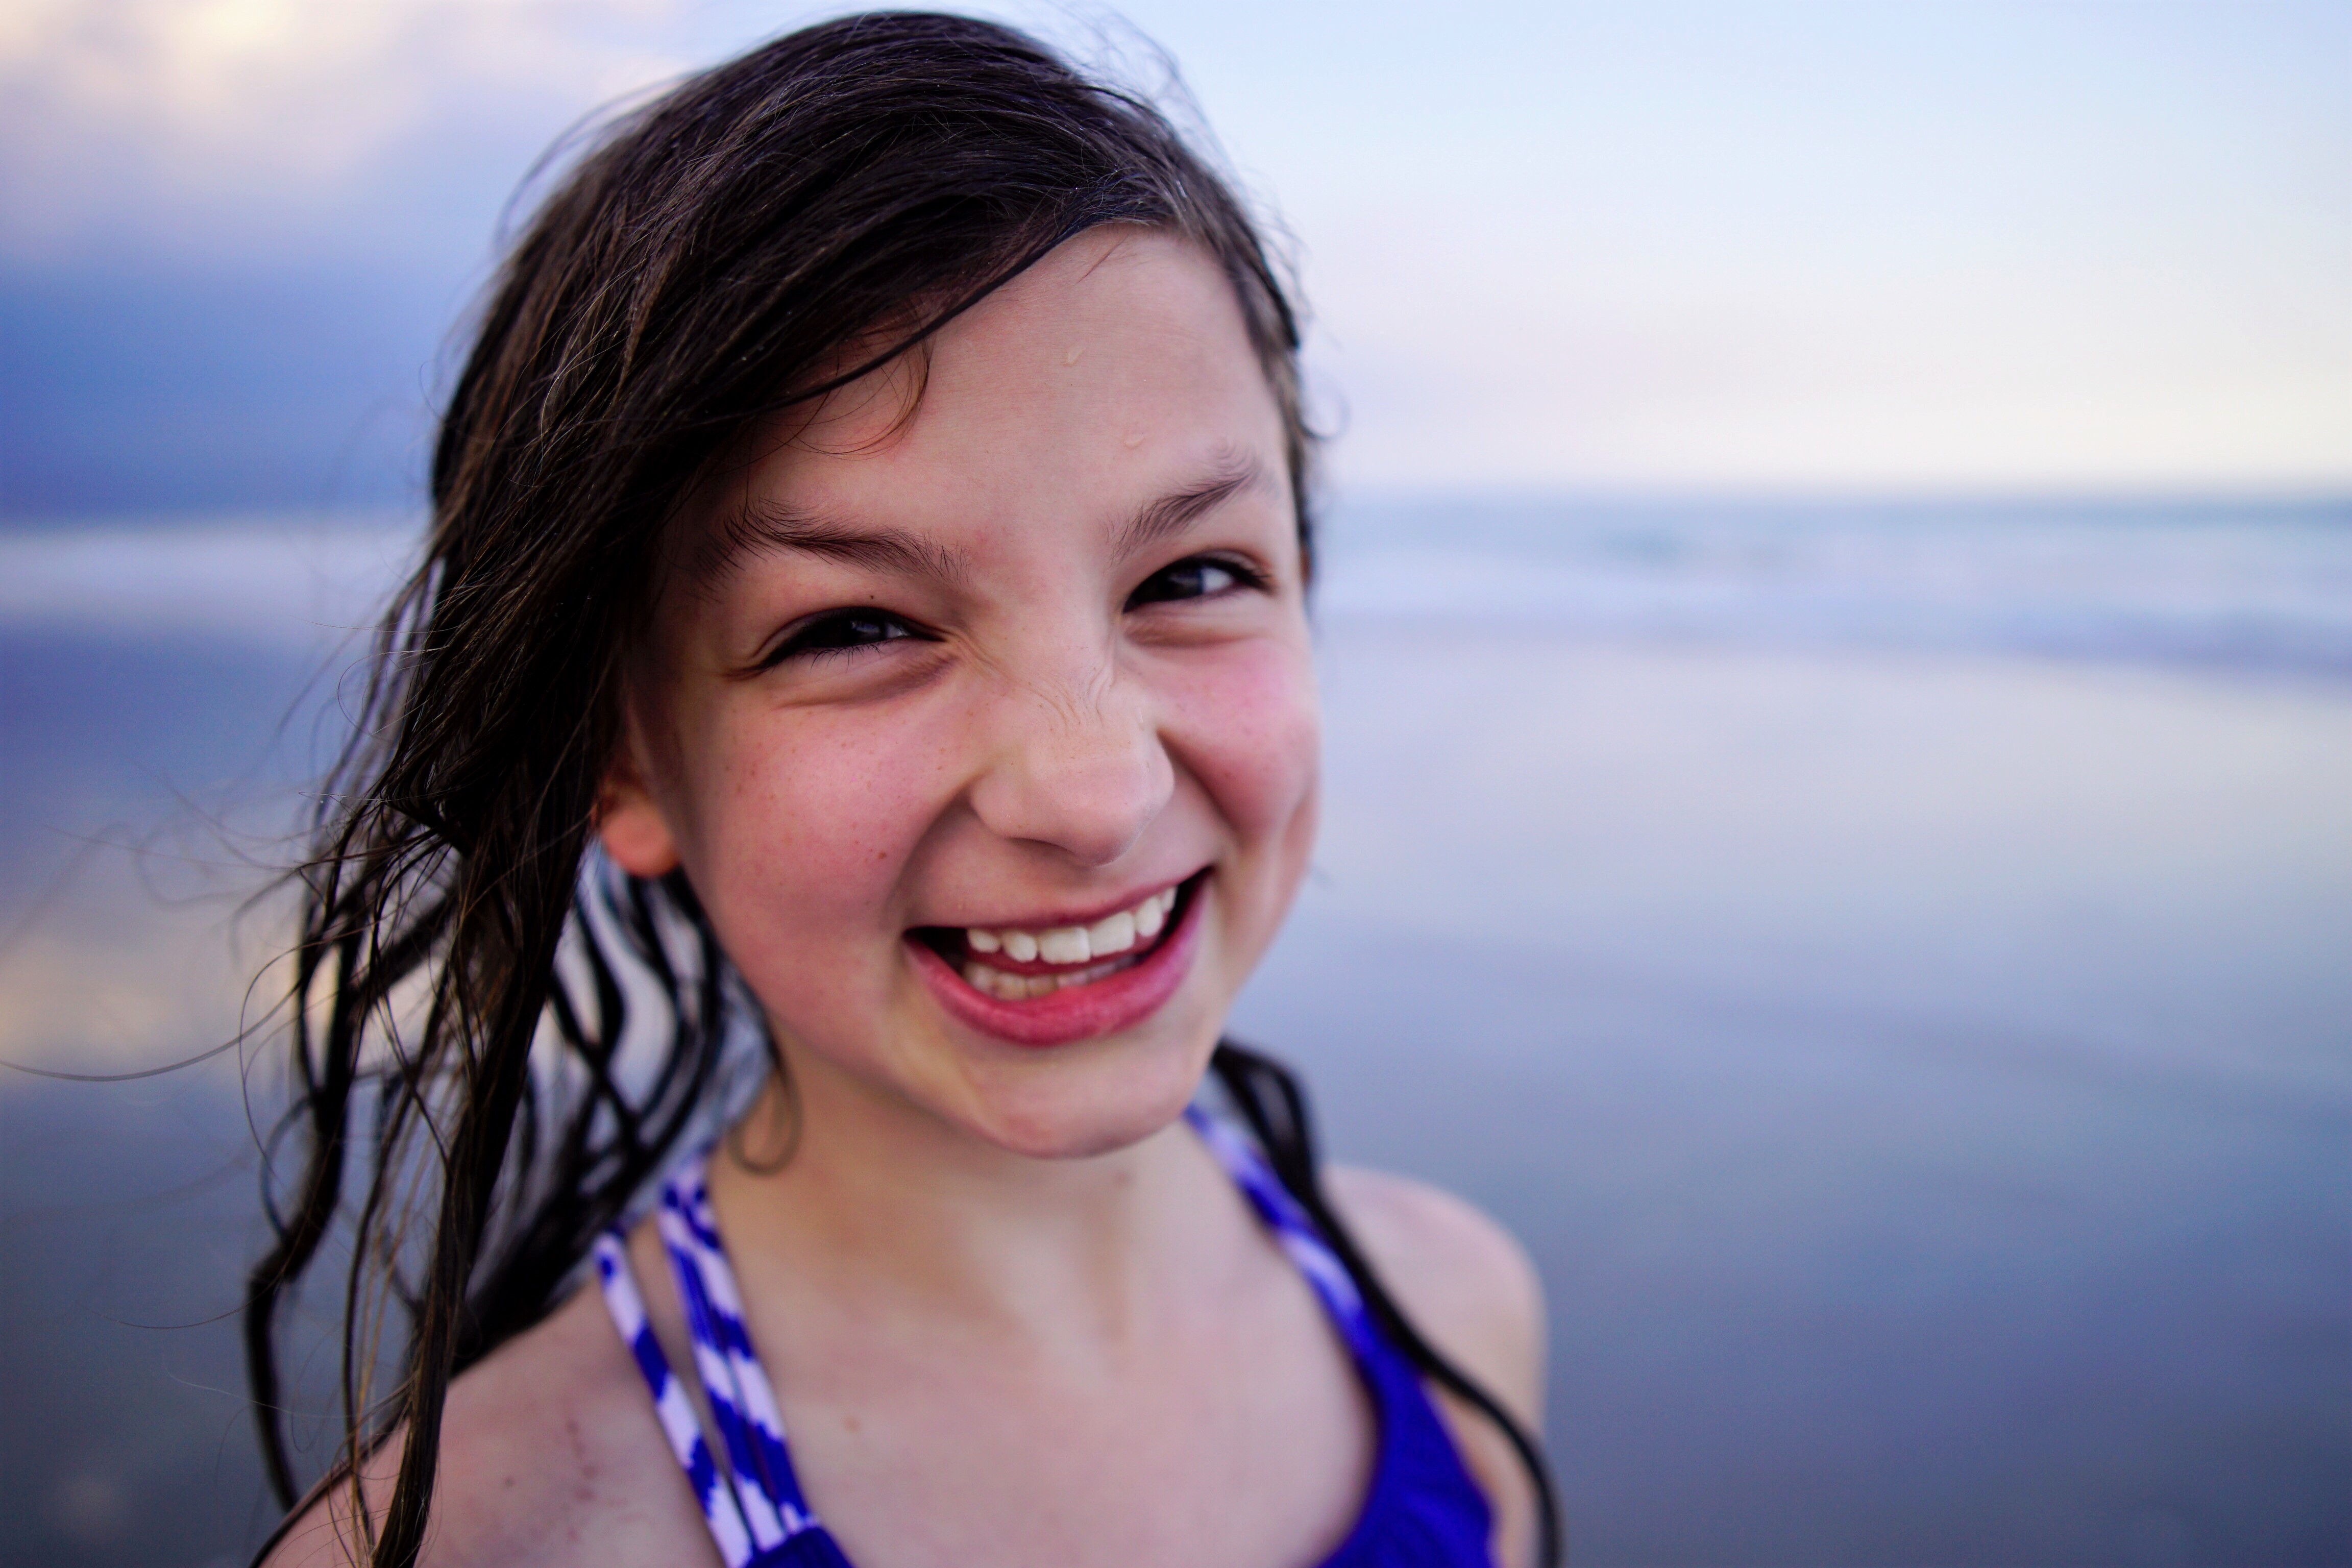
4. Get Rid of Cheese (and Say this Instead)
This sounds ridiculous but my number one tip for getting more natural smiles from your family is to have them say, “Thursday” instead of the traditional “Cheese”. When someone says “cheese” their mouth stretches unnaturally and their jaw clenches. It looks awful! When you say something that ends in an “ay” sound it causes you to make a more genuine smile. Somehow, we settled on “Thursday”. We’ve never had a picture where we’ve said this and had anybody not smiling or with a forced smile. It’s such a simple trick that works with any age. Try it right now: say “Thursday!!” and just feel your features lift and the twinkle in your eye. Okay, maybe not that last bit, but give it a try anyway.

5. Get Some Perspective
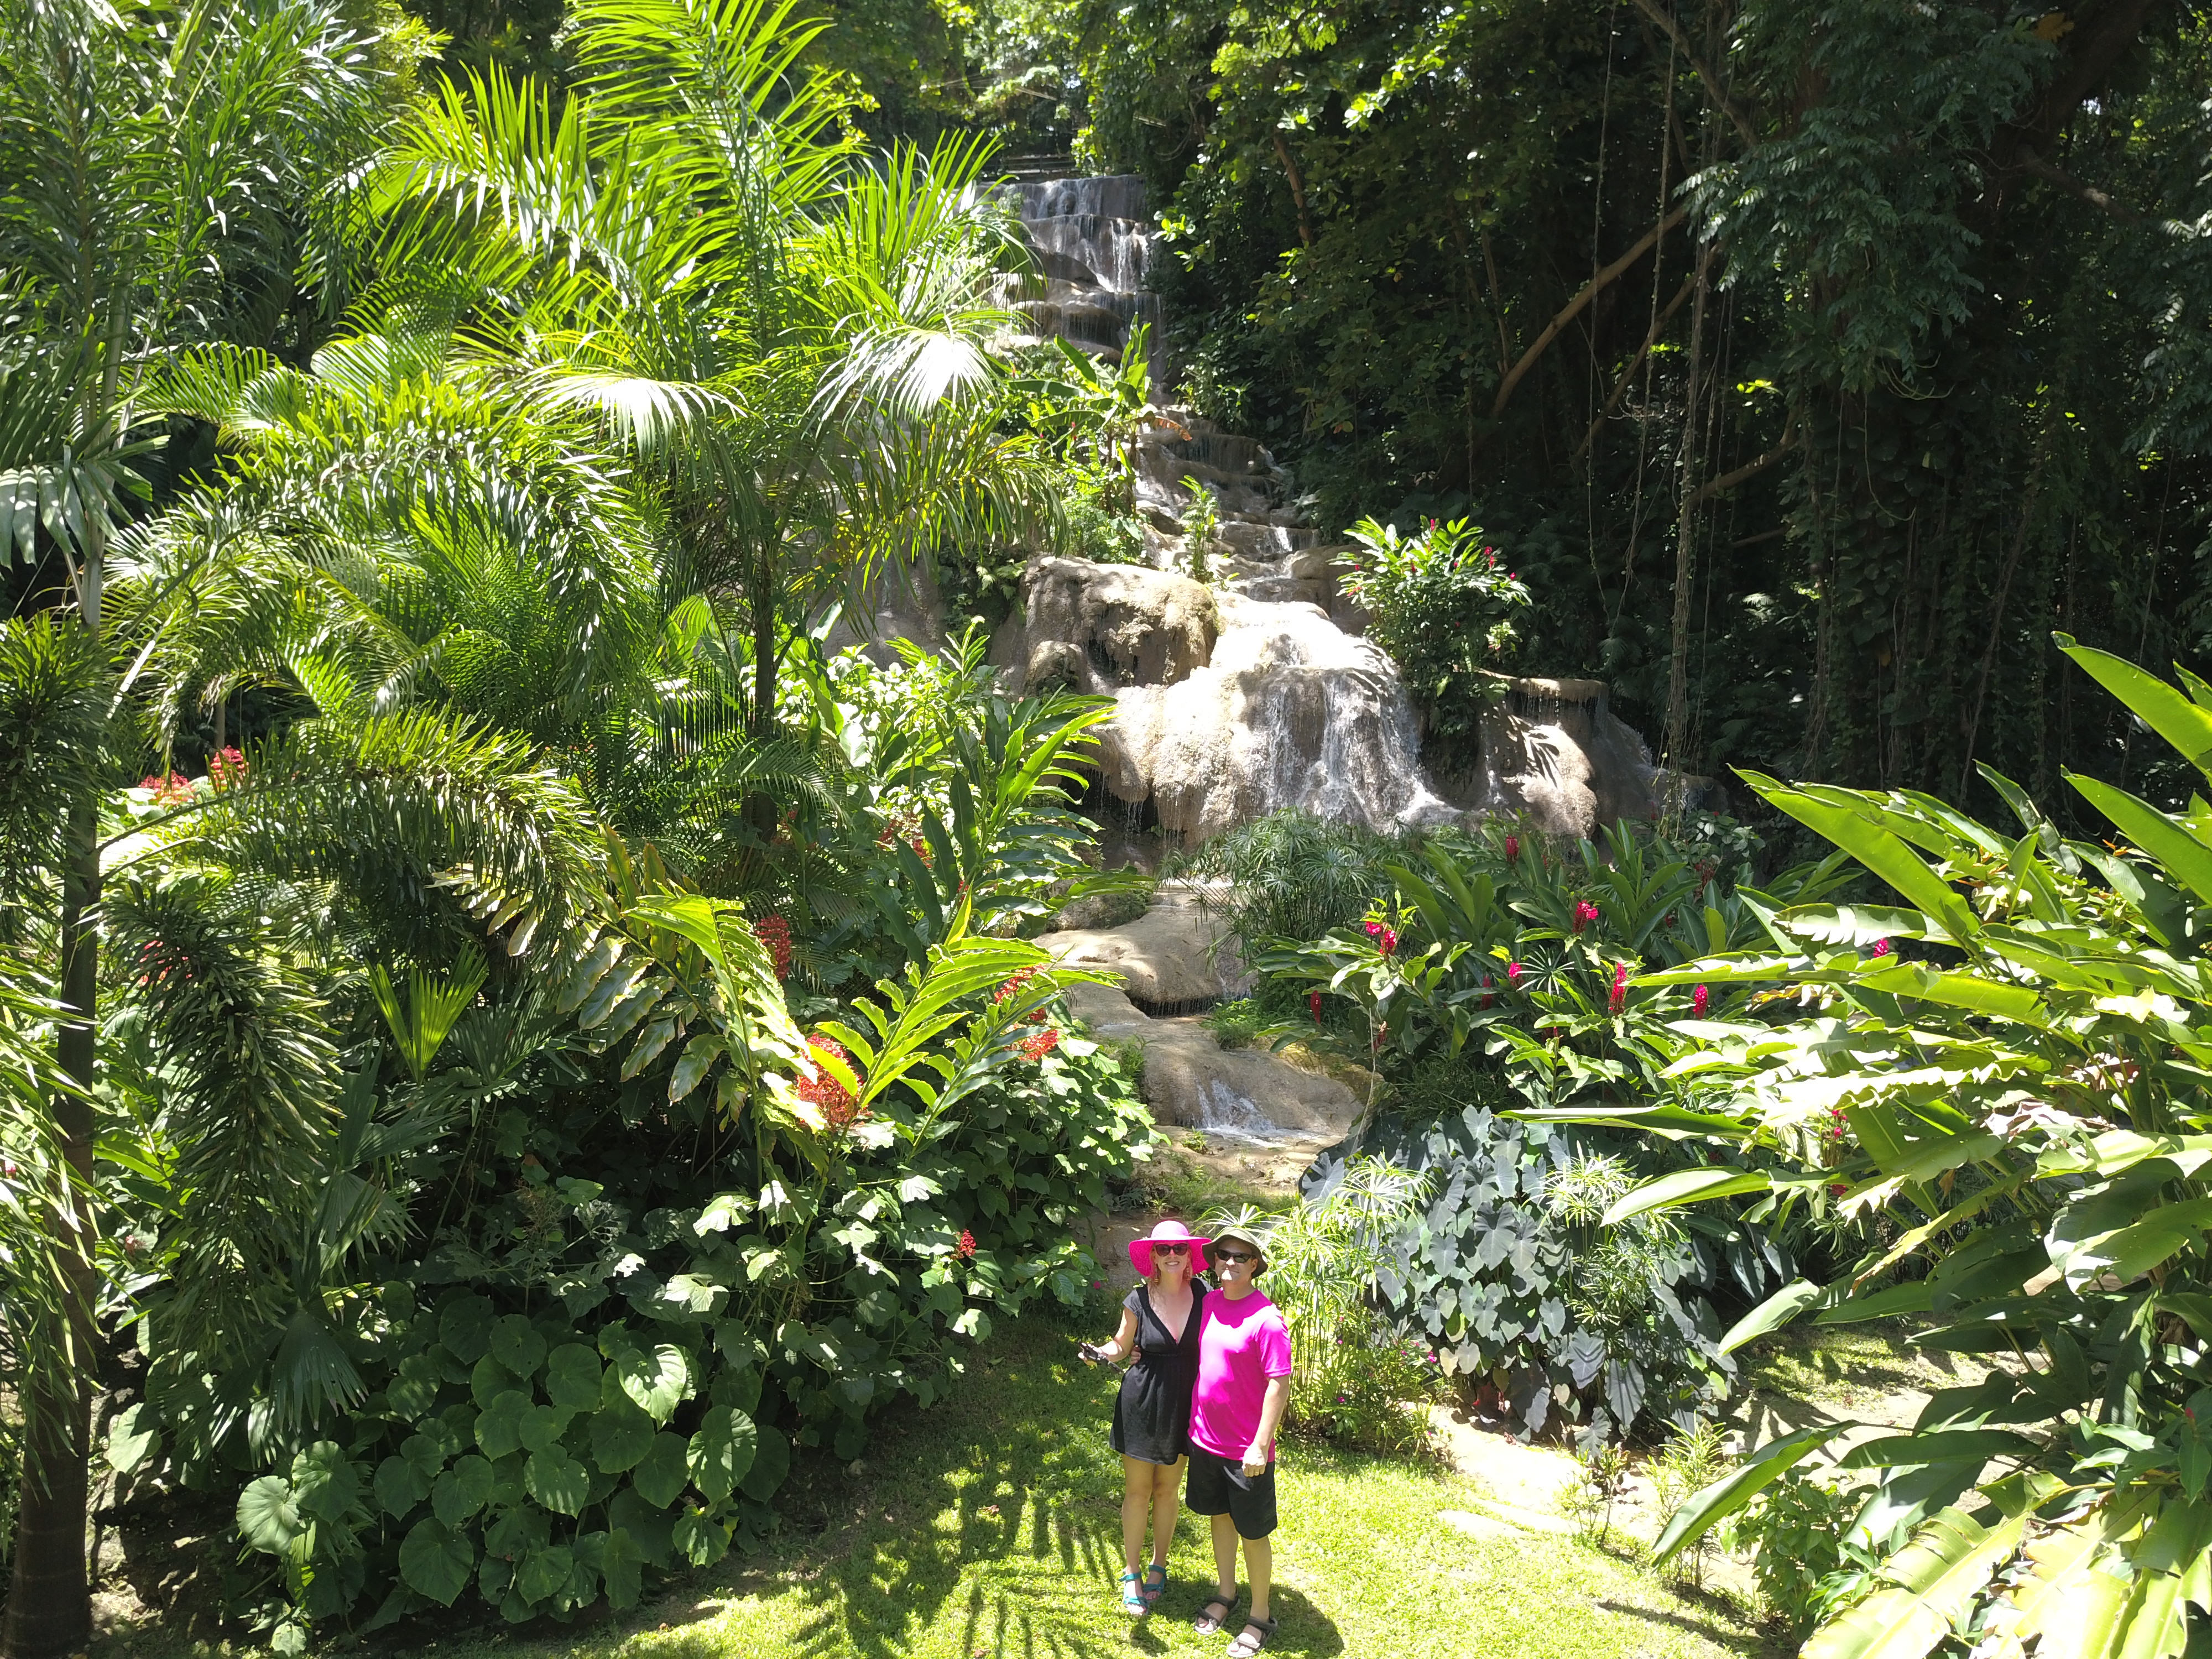
Most of the time, we shoot from our normal eye-level vantage point because it’s the easiest and most obvious. It’s also the most boring. I’m not saying you should abandon a straight forward shot completely, but if it’s the only way you ever shoot, try experimenting with a few different perspectives.
Often times getting low is the way to go. Especially when getting photos of kids. Shooting from the height they are playing at brings you into their world. It can add dimension and interest to landscapes too making you feel like you are a part of the image rather than looking into it. It’s much more visually appealing.
On the flip side taking an image from above can be equally interesting. Drones offer a really cool way to capture a totally different perspective on your family vacation. Plus, they are super fun to fly!! We love our Mavic Pro by DJI that folds down compact and is easy to use. Check out this deal for up to $150 off DJI drones!

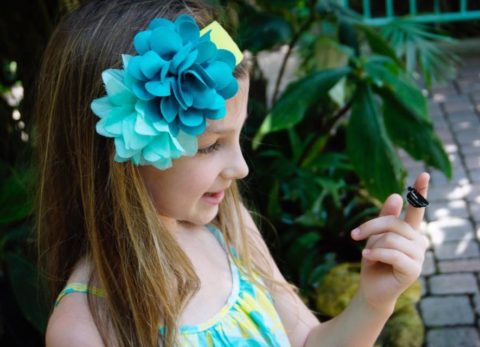
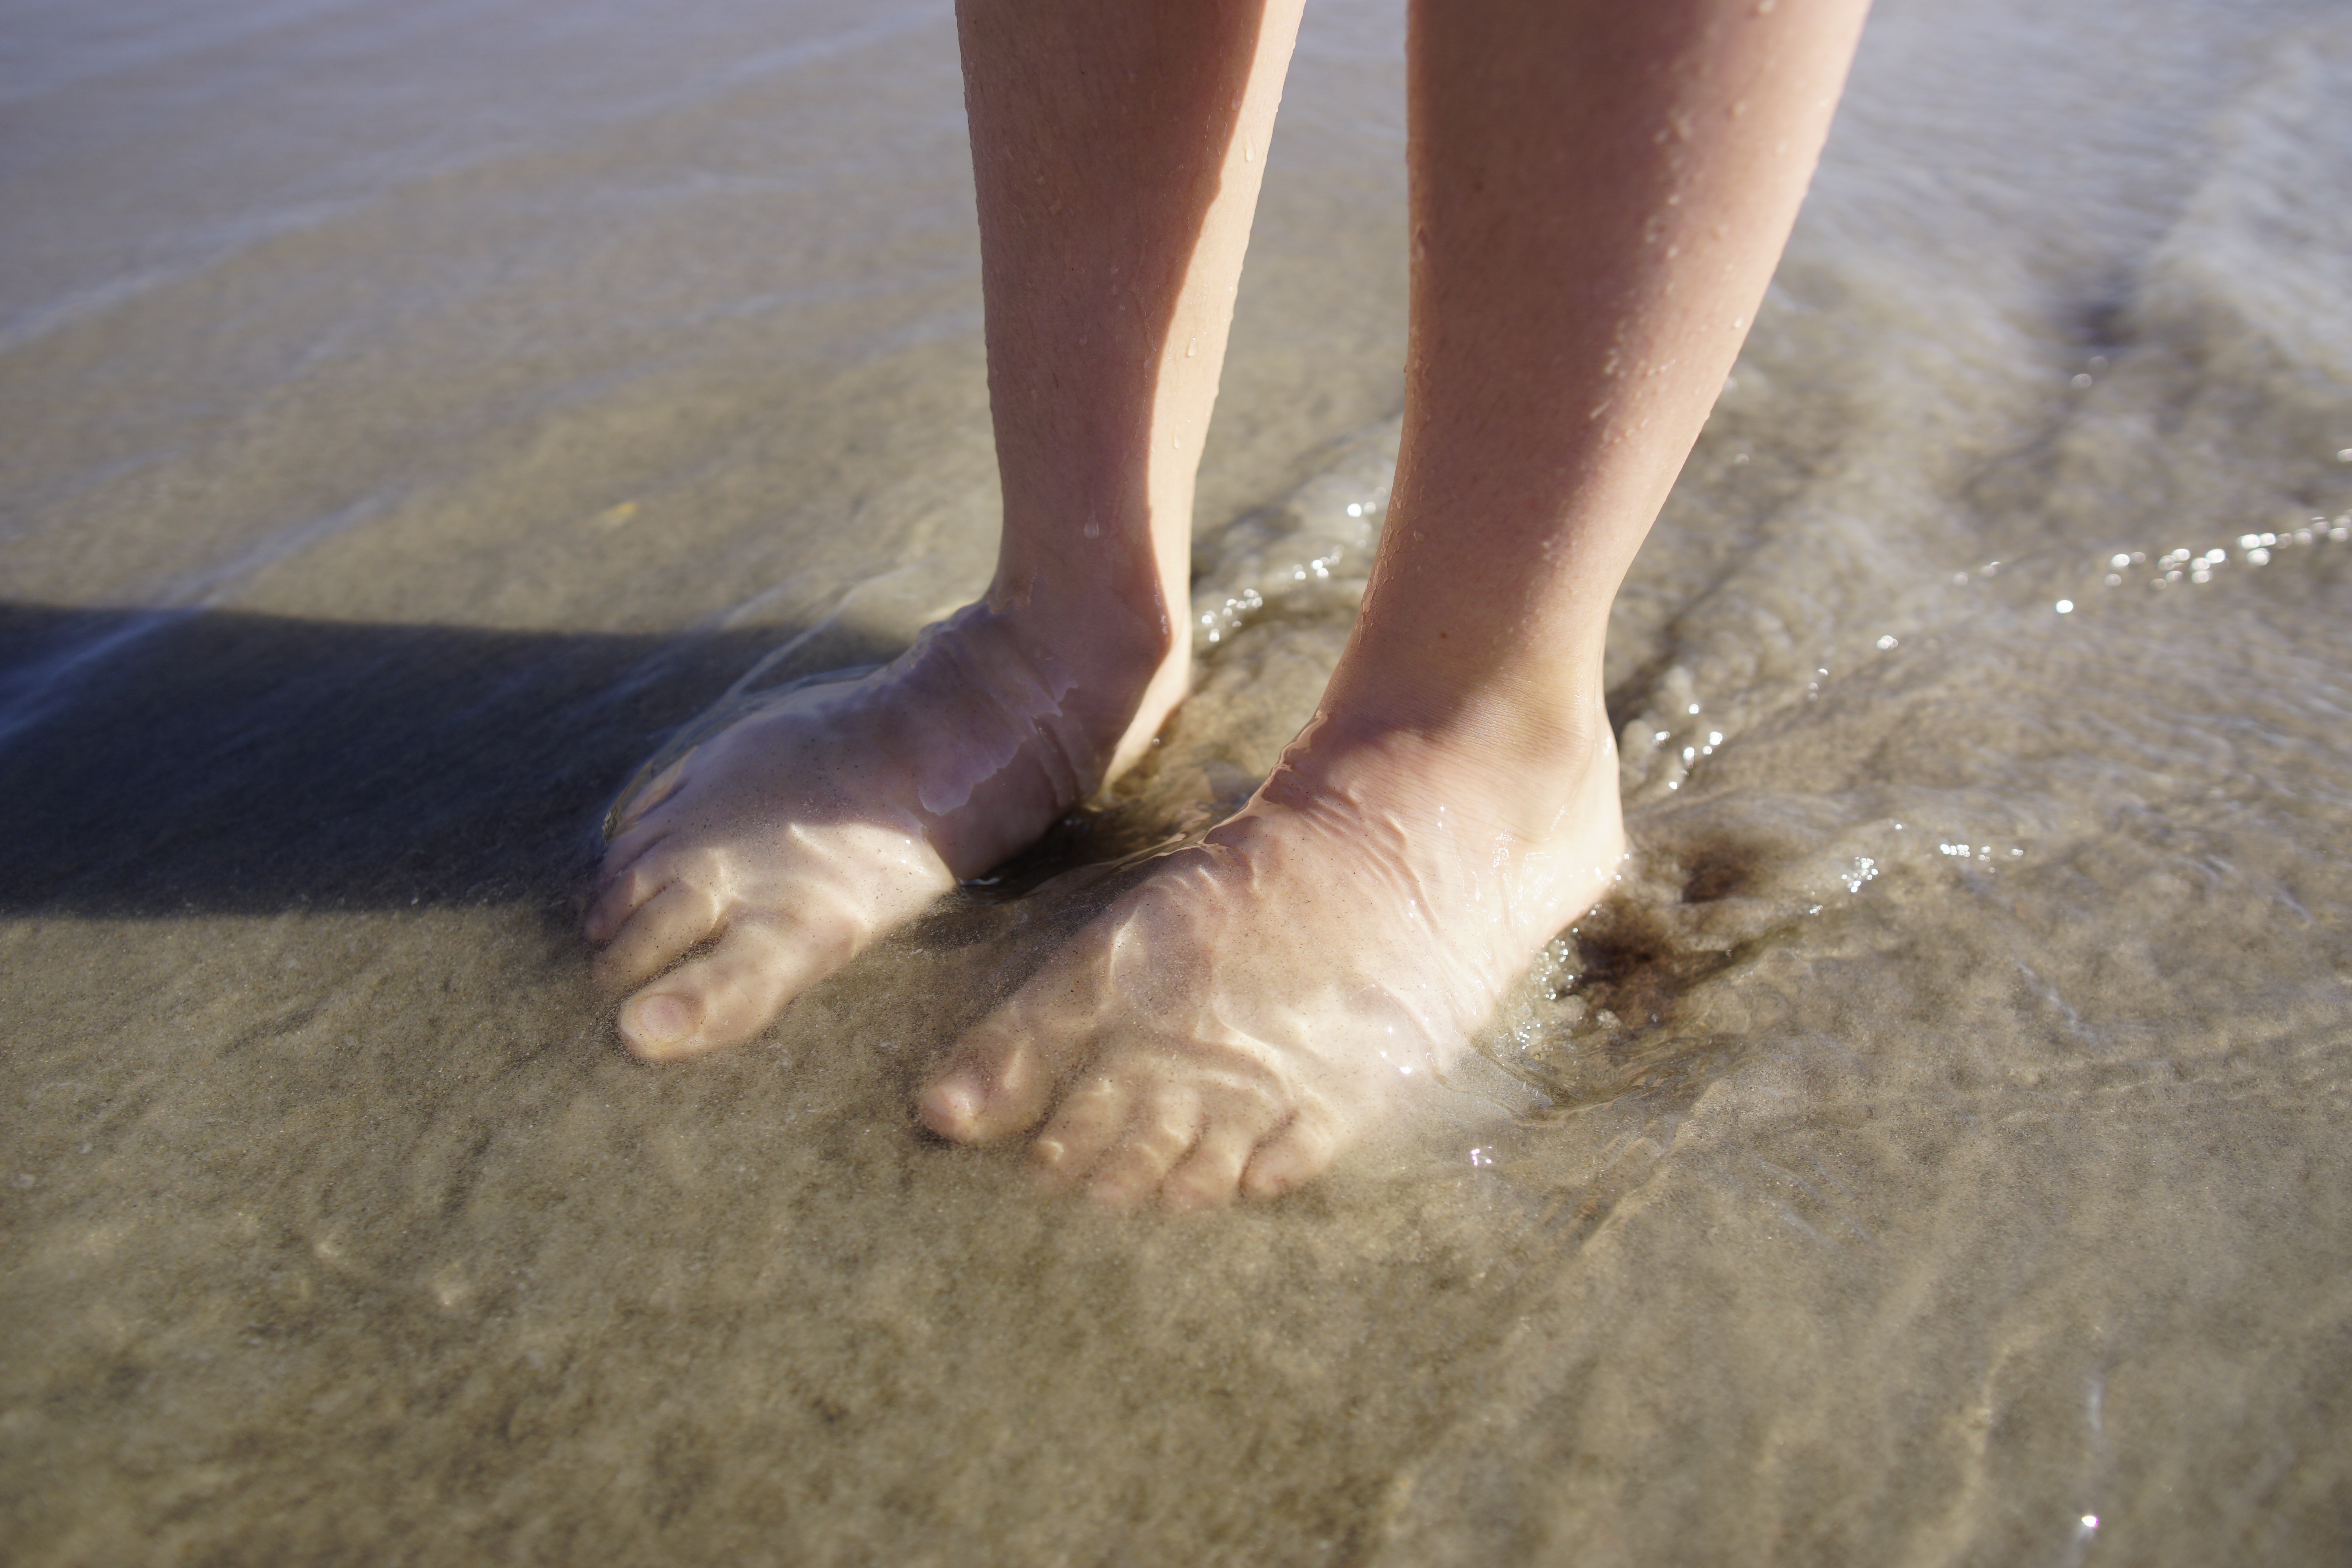
While people are the most important part of your family vacation photos don’t forget to capture the often-overlooked details. Go ahead and grab a shot of your child’s toes in the sand or those colorful bowls in the marketplace. You might have a tendency to shoot from wherever you are at the moment but getting close images can help bring the story of your family’s adventures to life, especially when paired with photos of the entire scene.

6. Get Lit
Good light is essential for fabulous photos! The first couple hours after sunrise and the last couple hours before sunset are known by photographers as “The Golden Hour”. This is an ideal time to shoot landscapes, cityscapes, portraits, and just about anything as it paints everything with a soft, almost ethereal light. It also happens to be a great time to avoid crowds.

Of course this does not mean that I suggest you only shoot during the early morning and late afternoon hours. Shoot all day and all night but pay attention to where your light is coming from and how to work around it. Seek open shade or diffuse the sunlight through tree branches, windows, behind buildings, etc.On the technical end you can manipulate how much light you let into your camera by controlling the aperture and the shutter-speed. Many cameras will also allow you to compensate the exposure up or down.
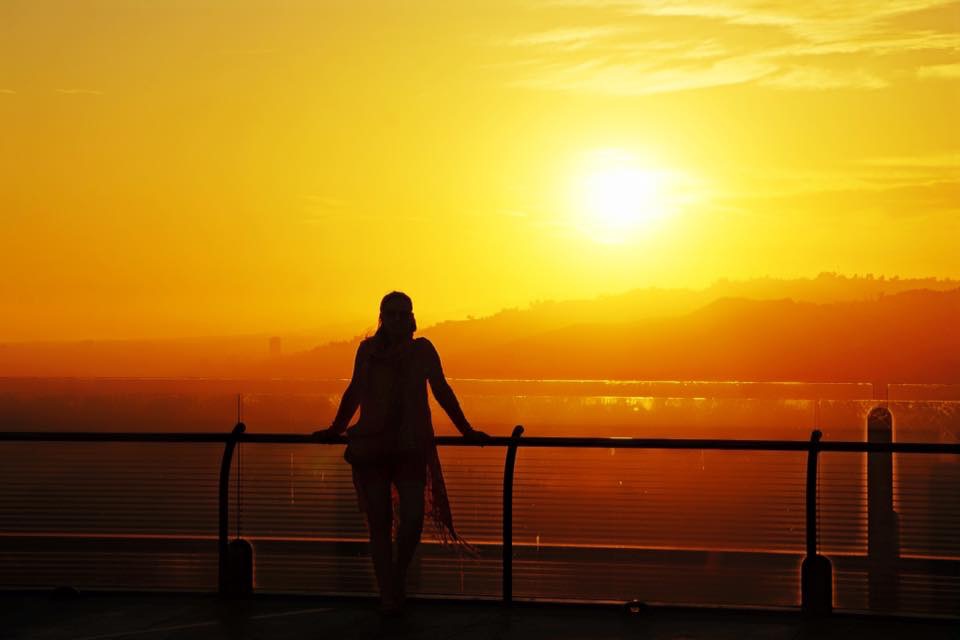
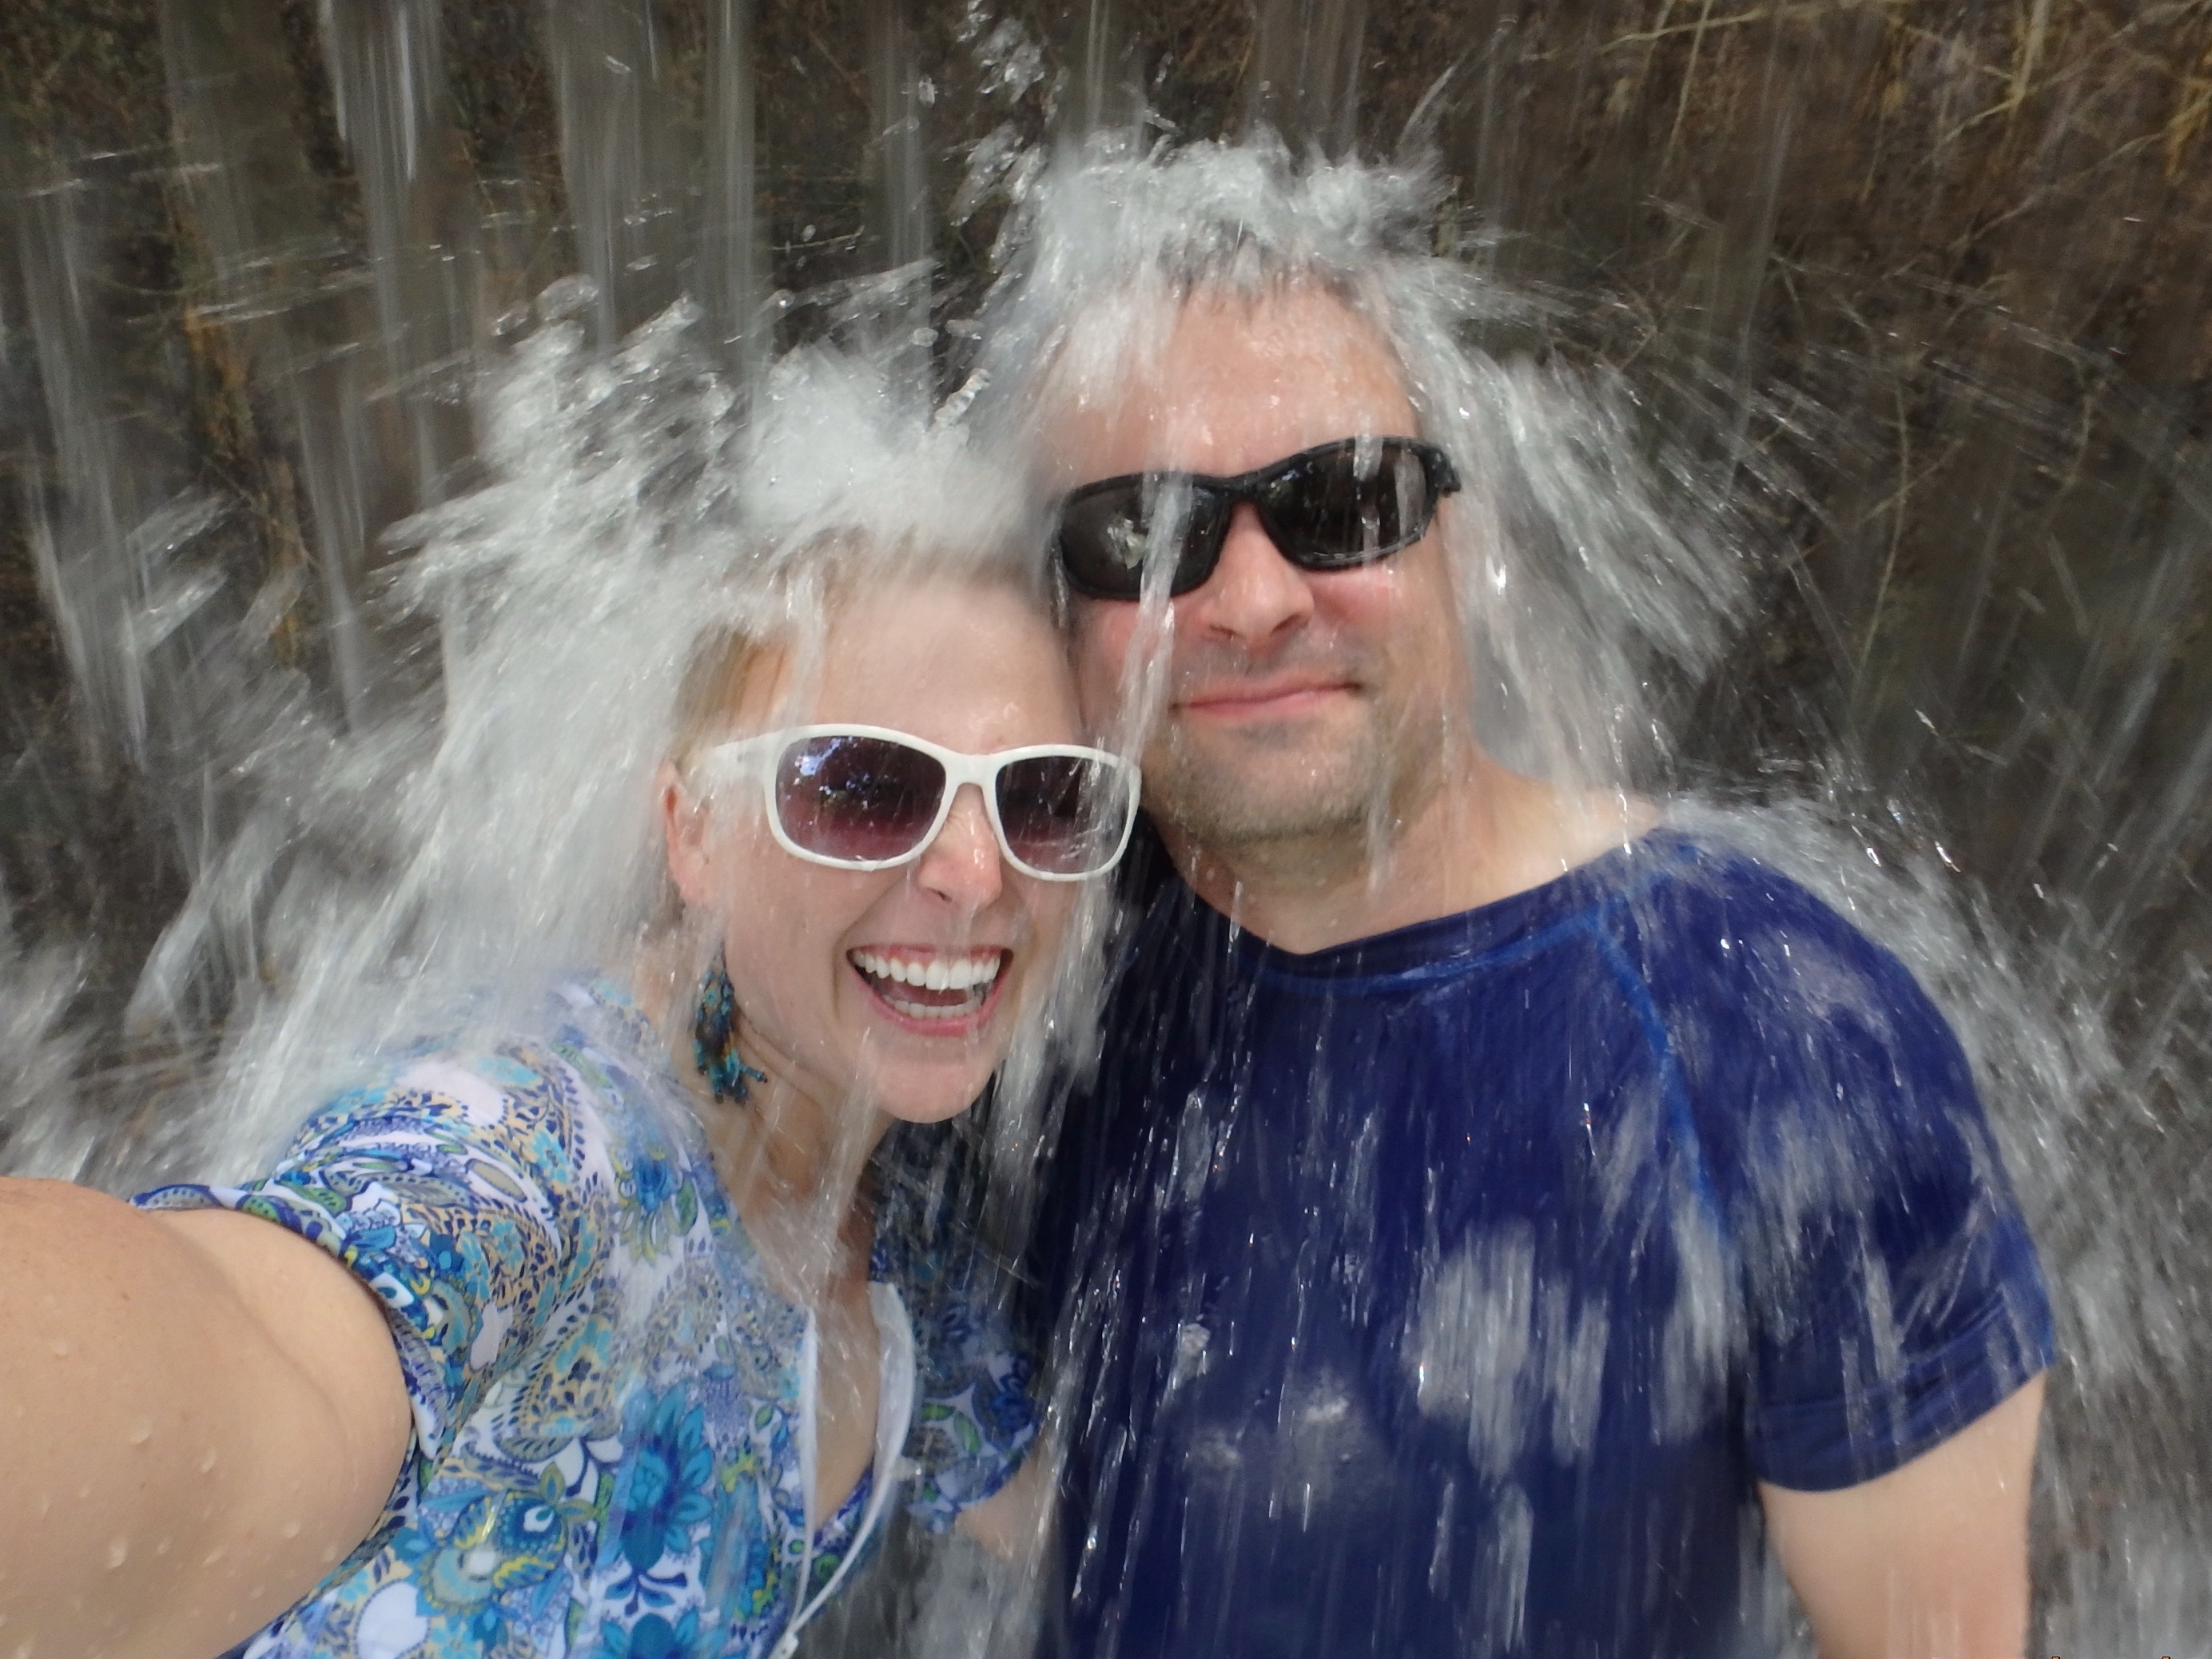
Generally, you want to have the light behind the photographer so that it hits your subjects evenly but there are some situations where it can be awesome to totally flip the rules and shoot into the light. That’s how you capture stunning silhouettes. Just remember to make the sun work for you rather than vice versa and don’t be afraid to move people and items around a bit for better natural light.

7. Get Inspired
Before you head out on vacation do some research on what your destination has to offer. I like to specifically do an image search to see what types of shots really grab my attention. My favorite tools to use for this are Pinterest, Instagram and Google image search. Pinterest and Instagram can especially be a gold mine for beautiful photo ideas and locations since they are image heavy platforms. You can easily save your findings in both the platforms too! I save images right to my phone’s camera roll, so I have them as a reference when I’m out capturing my own images.

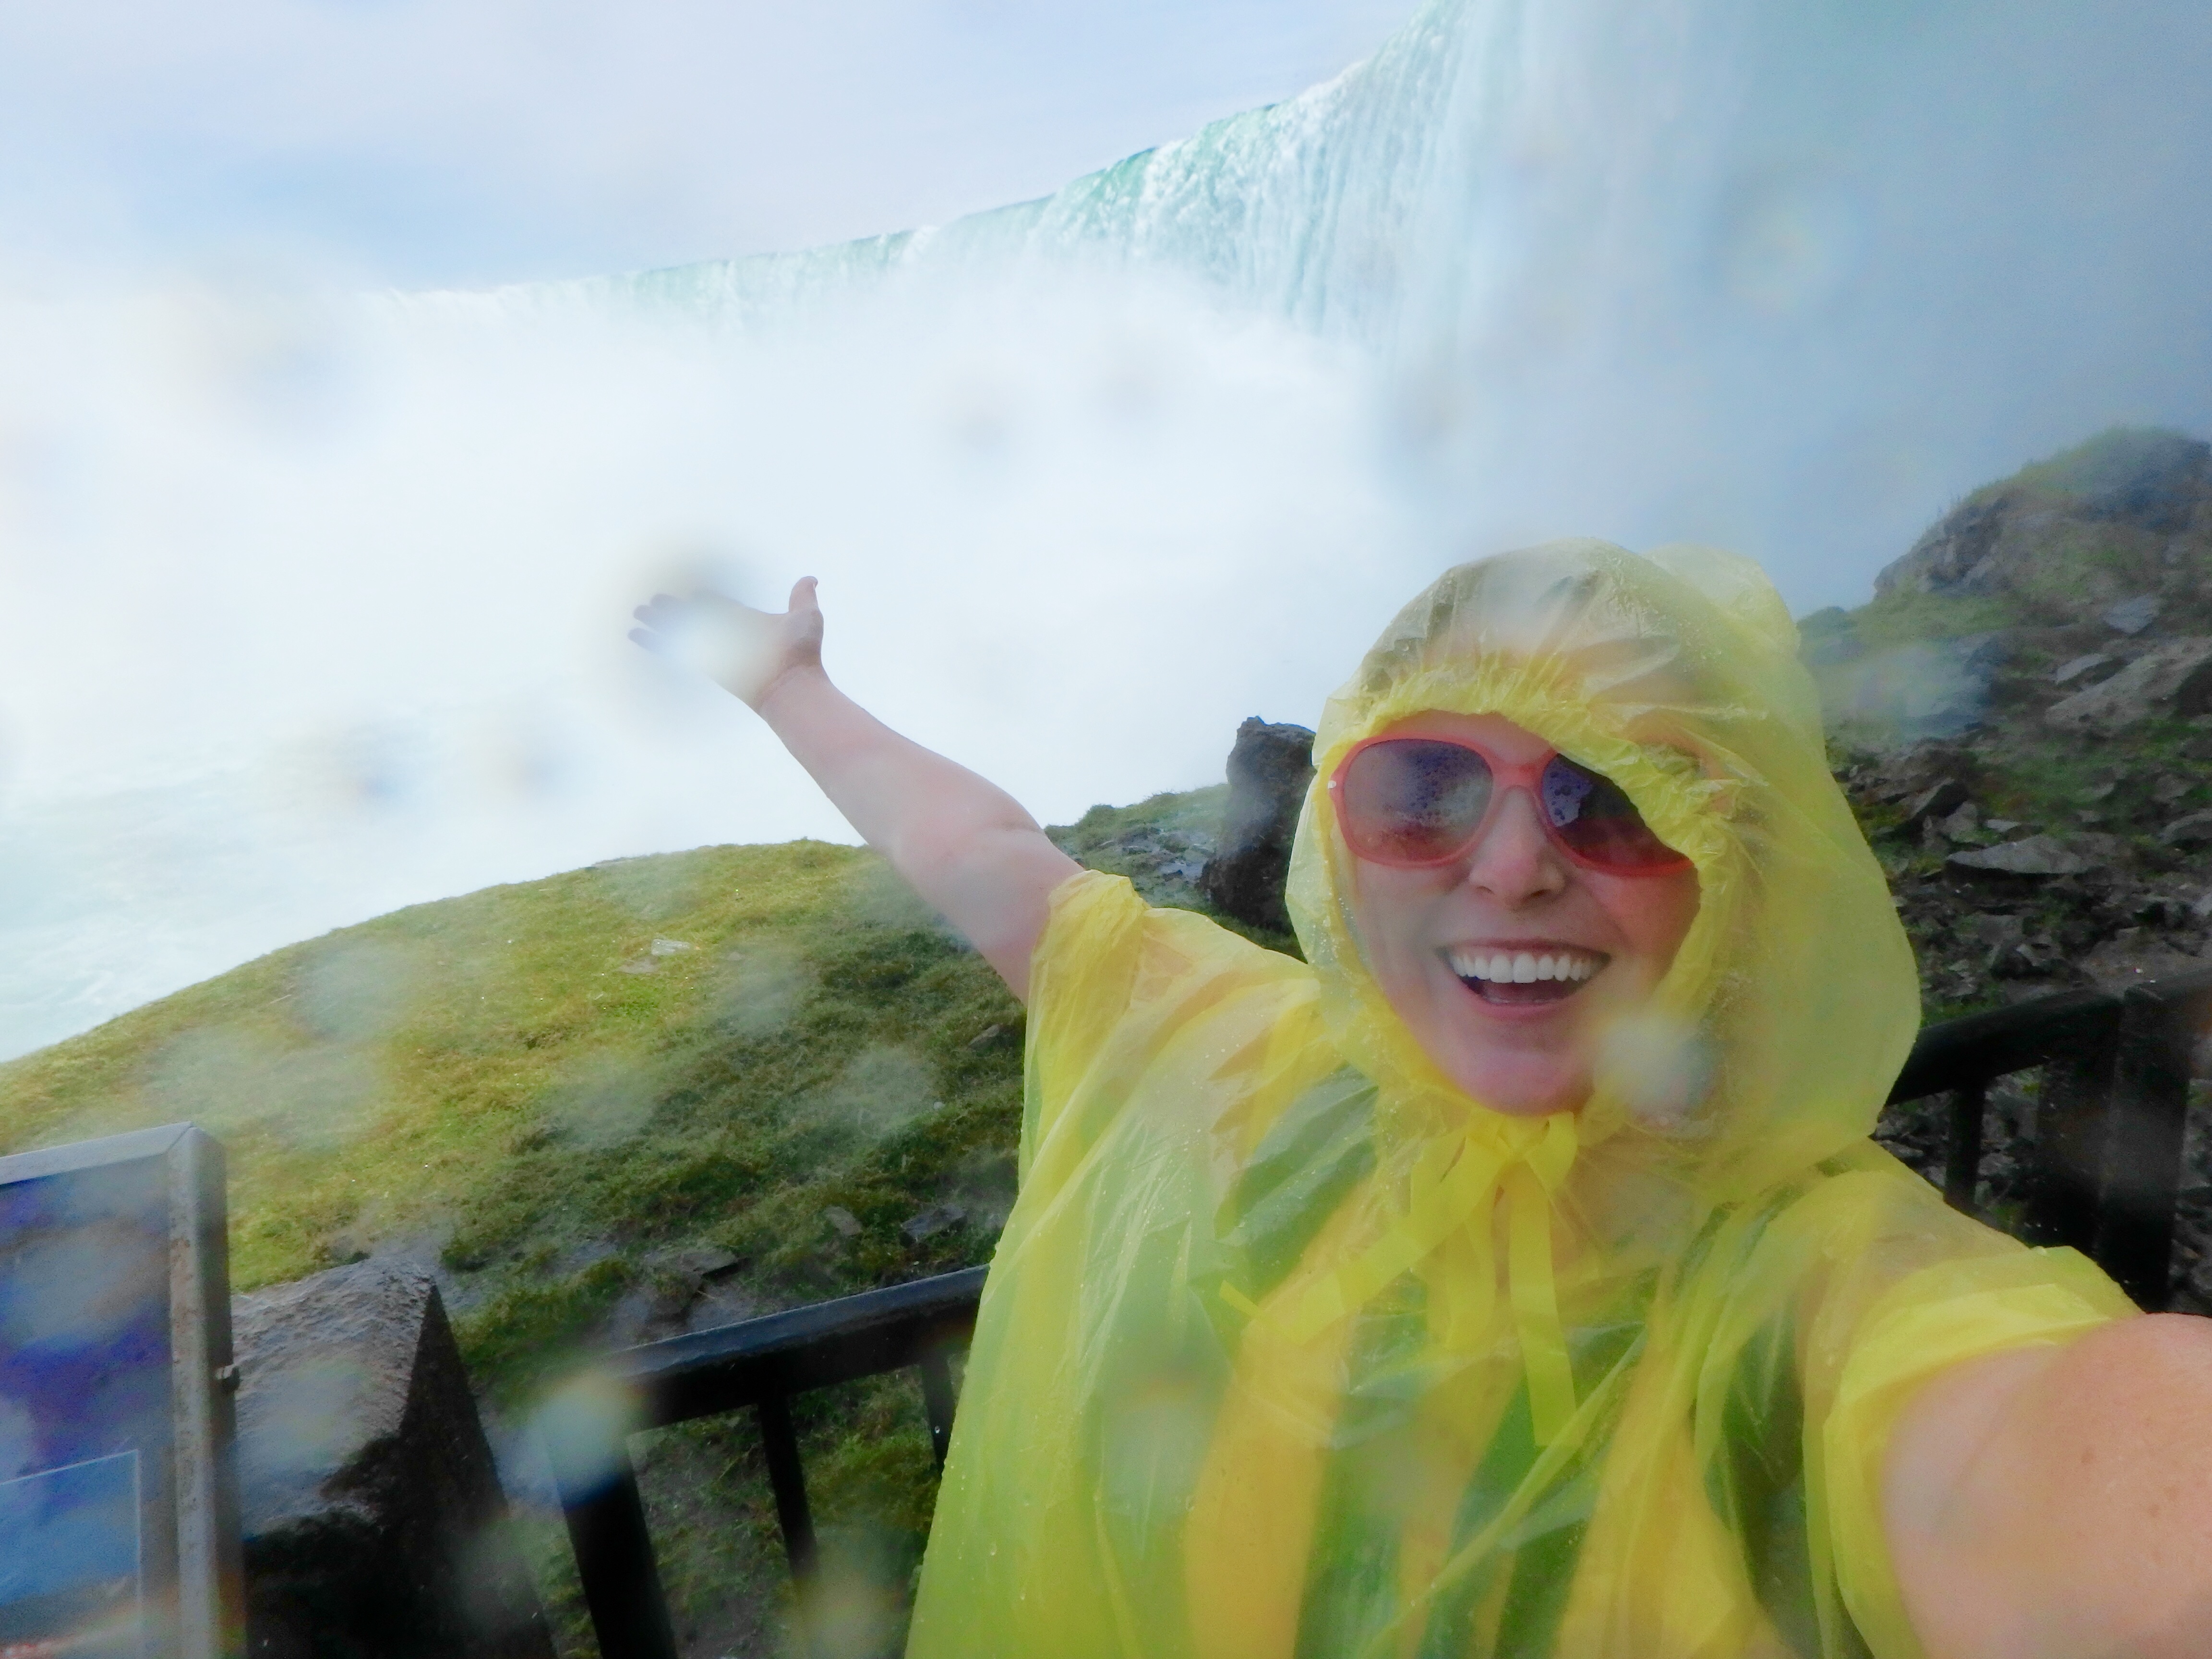
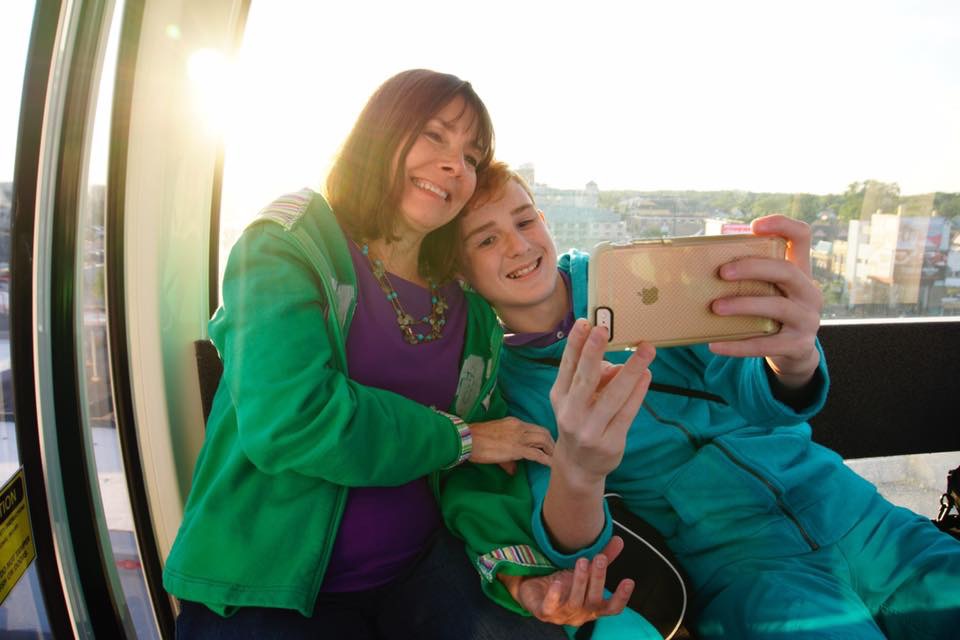
8. Get in the Picture
This goes out to all the Moms and Dads who do the bulk of the family photography! Make sure YOU are in some vacation photos. When your kids are all grown up and looking at old vacation photos, you want them to know you were right there in the action also. Embrace the selfie! Selfies get a bad rap, but they have a way of bringing you into the moment too and offer a fun perspective.

Don’t be shy about asking a stranger to take a photo of you with your group. They are probably on vacation too and happy to help out! And don’t be afraid to check the photo and ask for a repeat if feet get cut-off. This goes back to being familiar with your camera. The more you know about it the easier it will be to tell someone else how to capture a great image for you. Make sure to offer to reciprocate for them as well!

I also love to utilize photo pass type programs at theme parks and resorts. This is a great way to get photos of your whole family from someone who is generally pretty experienced and in all the best pre-planned places to catch the action. Often you can get a deal when purchasing all your photos from a visit instead of just an individual shot. I try to let the Photographer know that we’ve purchased a pass and would like to have several photos taken. The photo pass system was how we captured so may shots on our trip to the Riviera Maya…

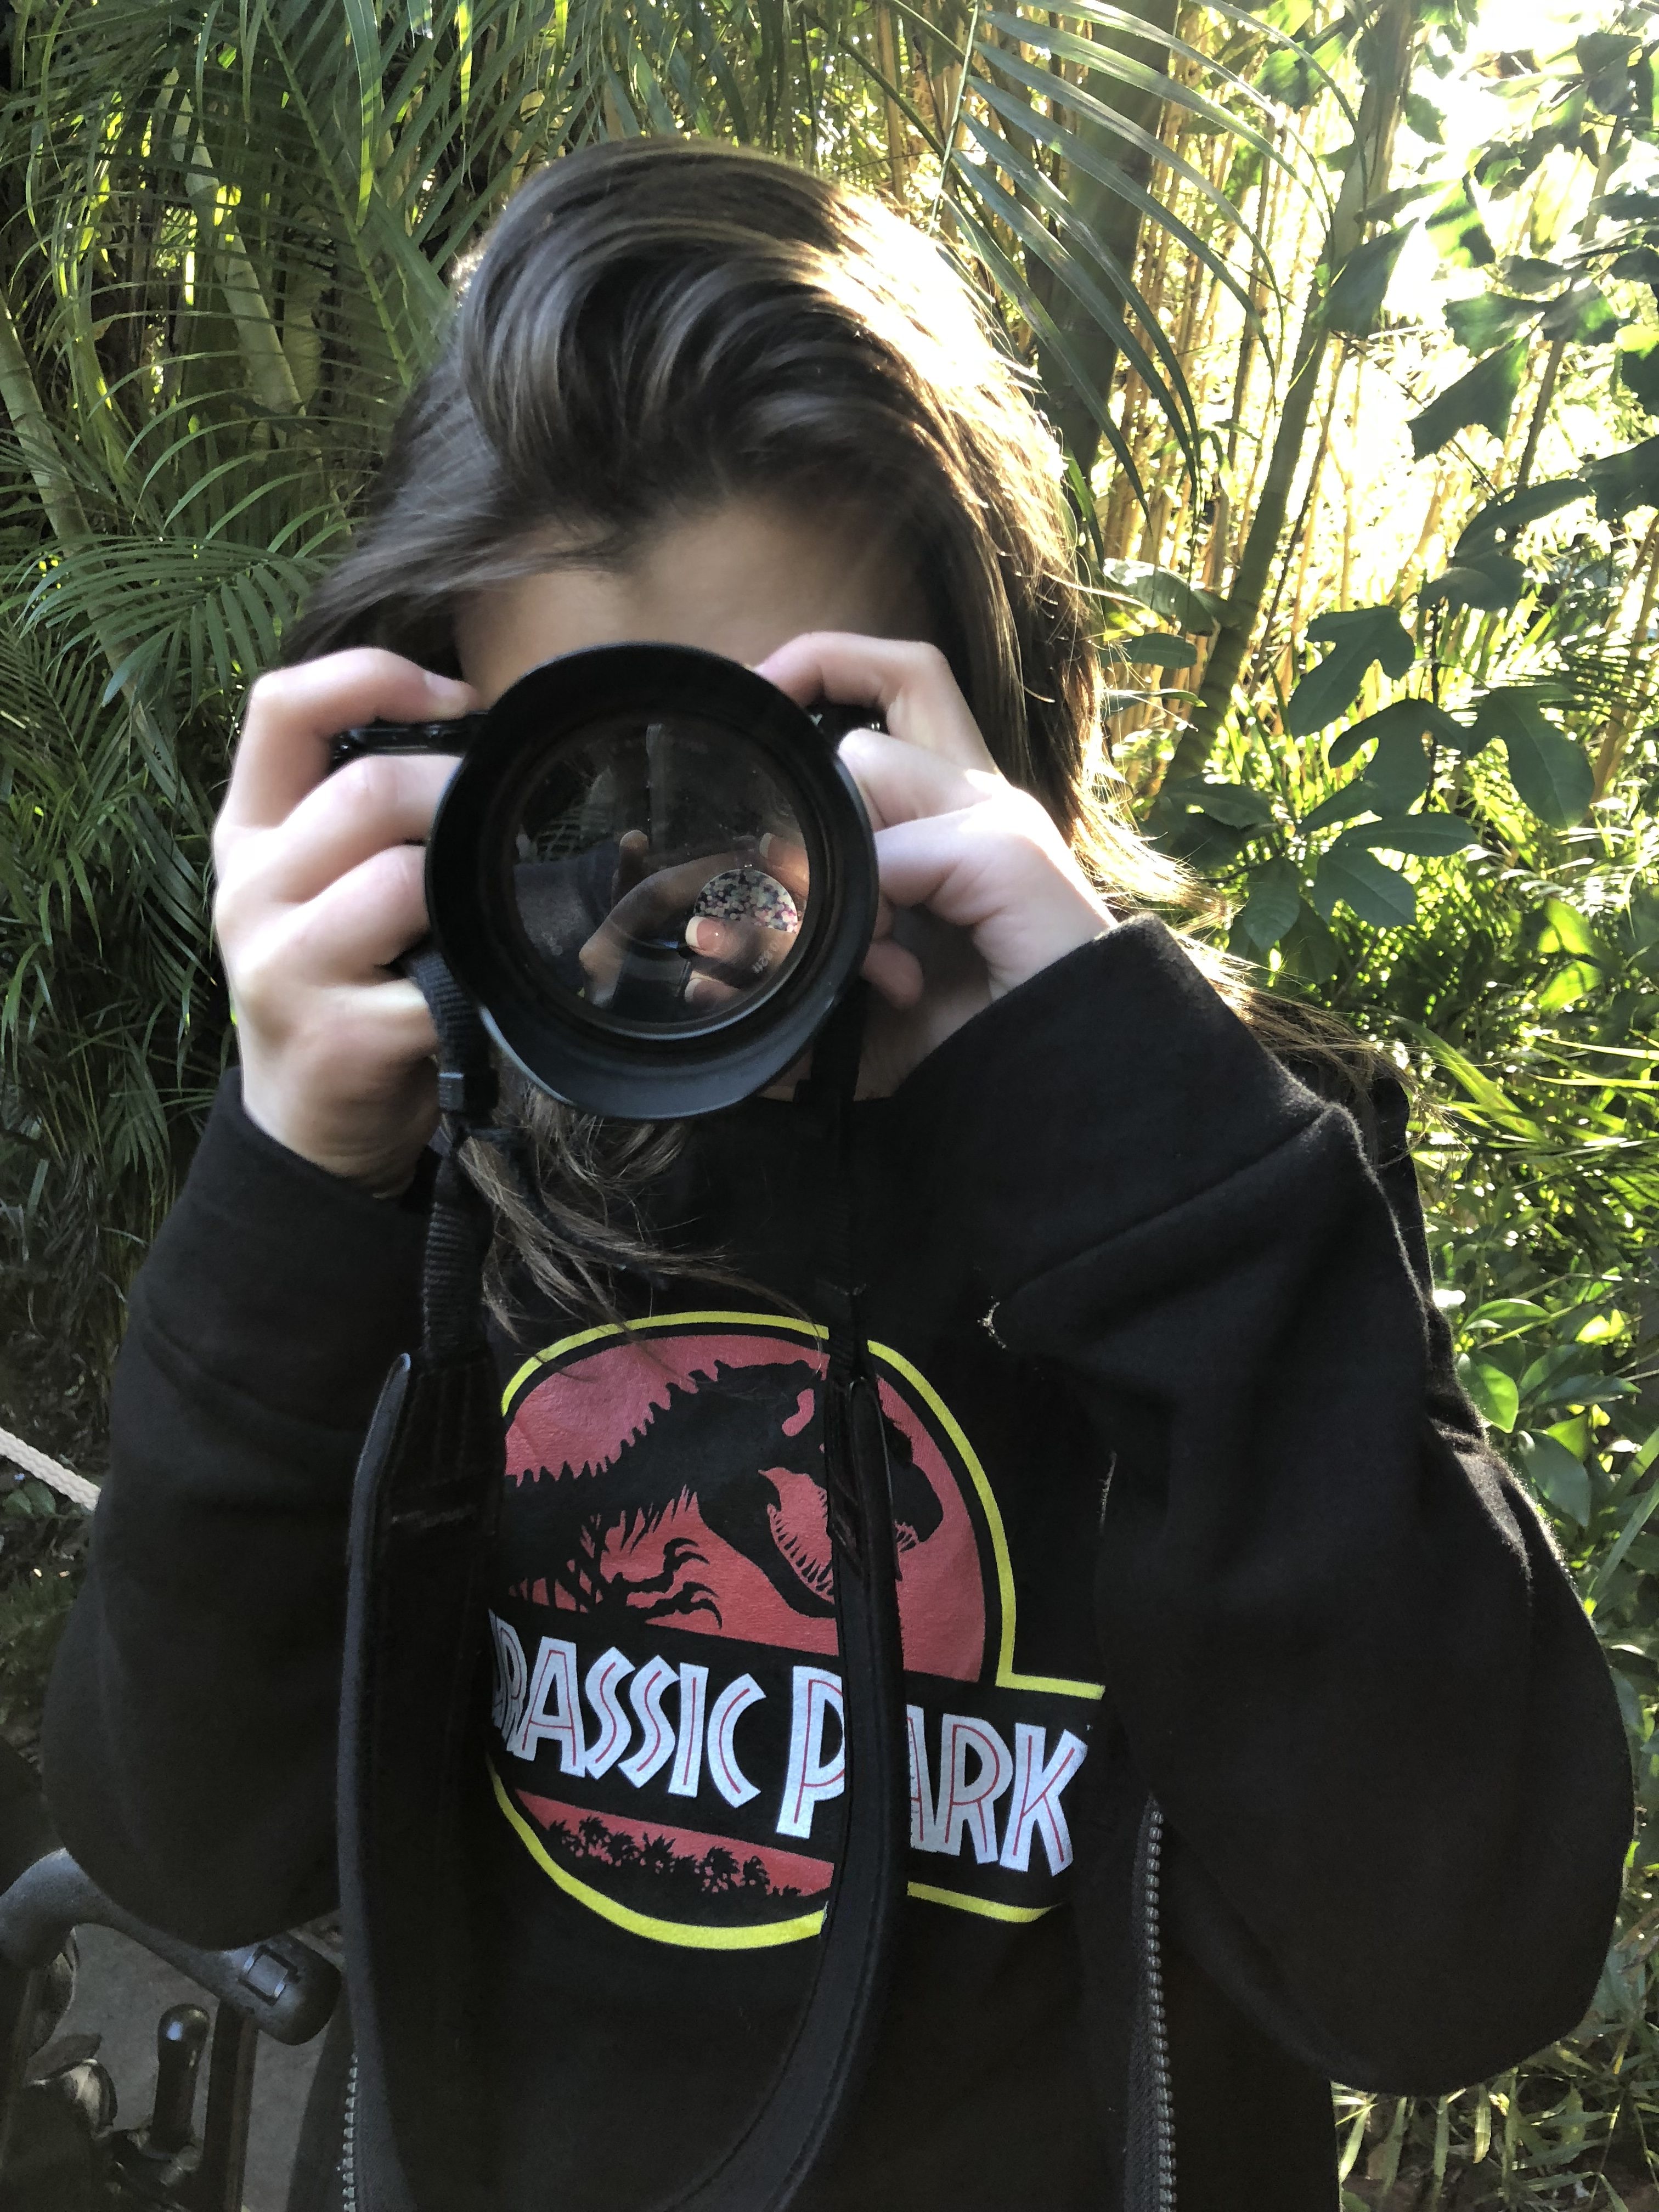
Another great way to make sure you get in some shots is to get your kids involved. Hand over the camera and let them be the photographer. You may be amazed at what they capture from their perspective!
9. Get Candid
This is another big one for parents so listen carefully. It is okay, and in many cases preferable, to get photos of your family NOT looking at the camera. Trust me. Telling a genuine story of your kid’s childhood definitely includes them NOT starring into your camera. No fake smiles or stiff poses. You want images that capture real experiences and authentic emotions. One of the best things about cameras today is that you can shoot continuously with basically no lag time, allowing you to capture candid moments more easily. The end result are more natural images.
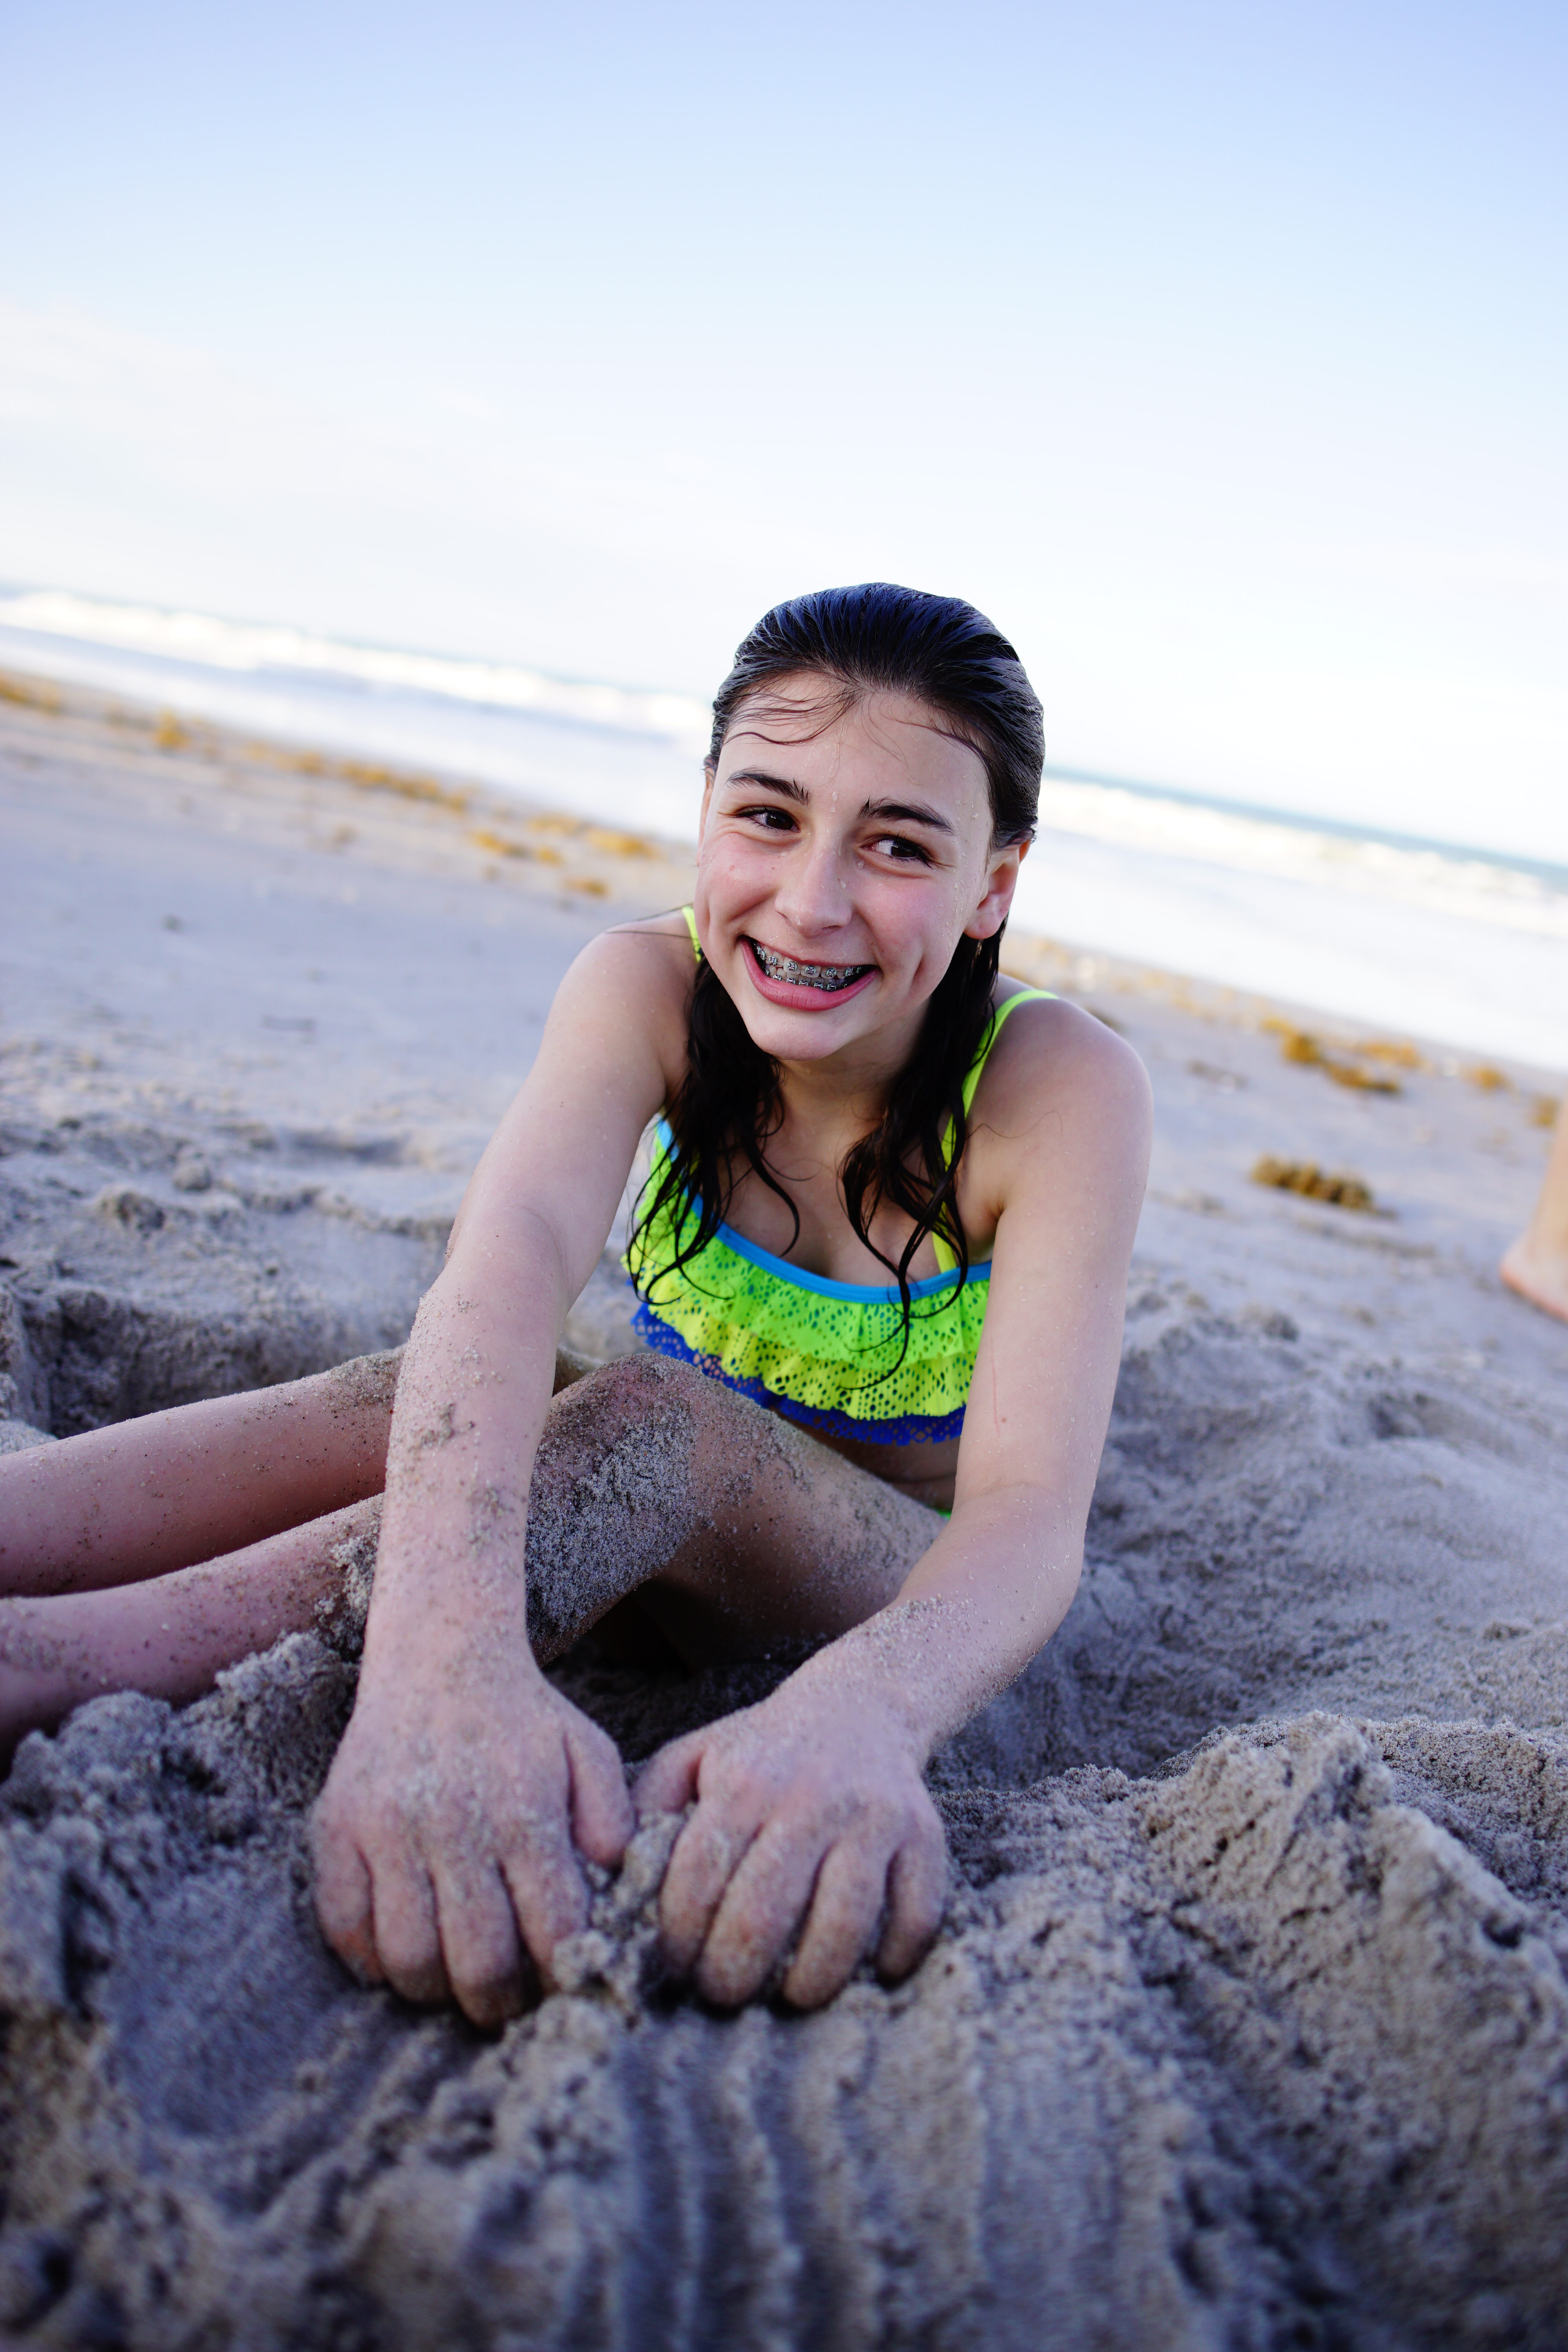
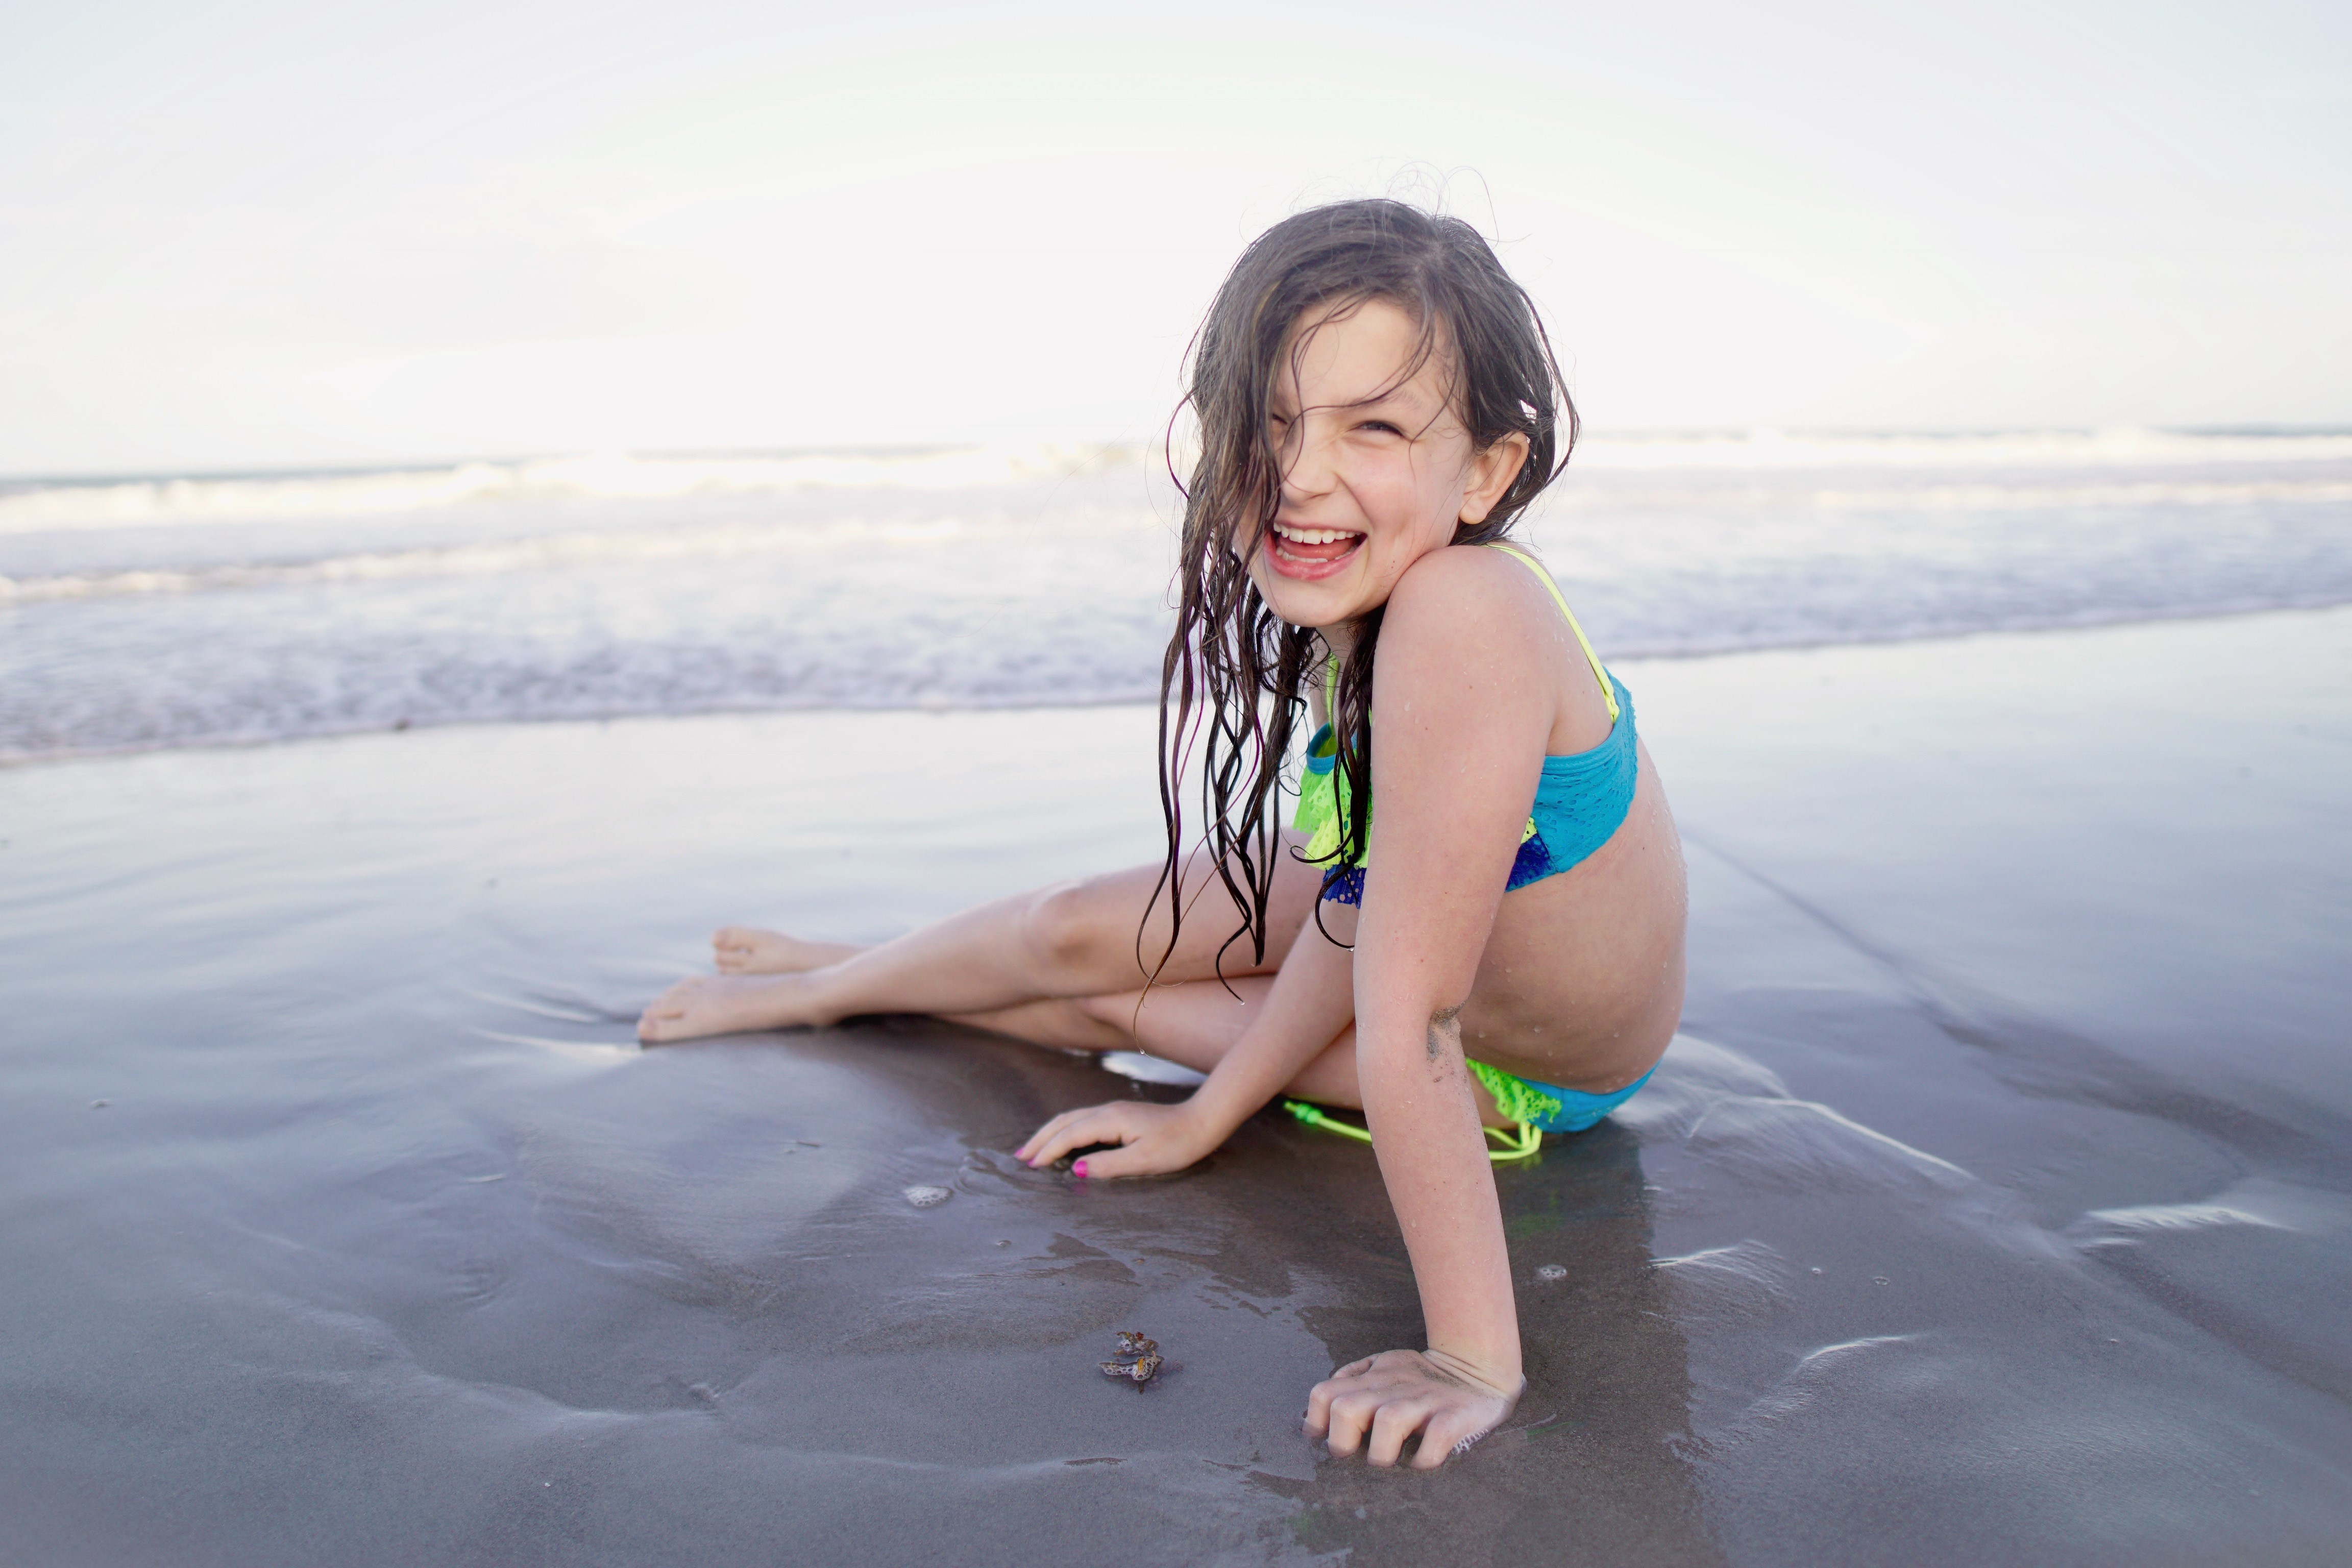
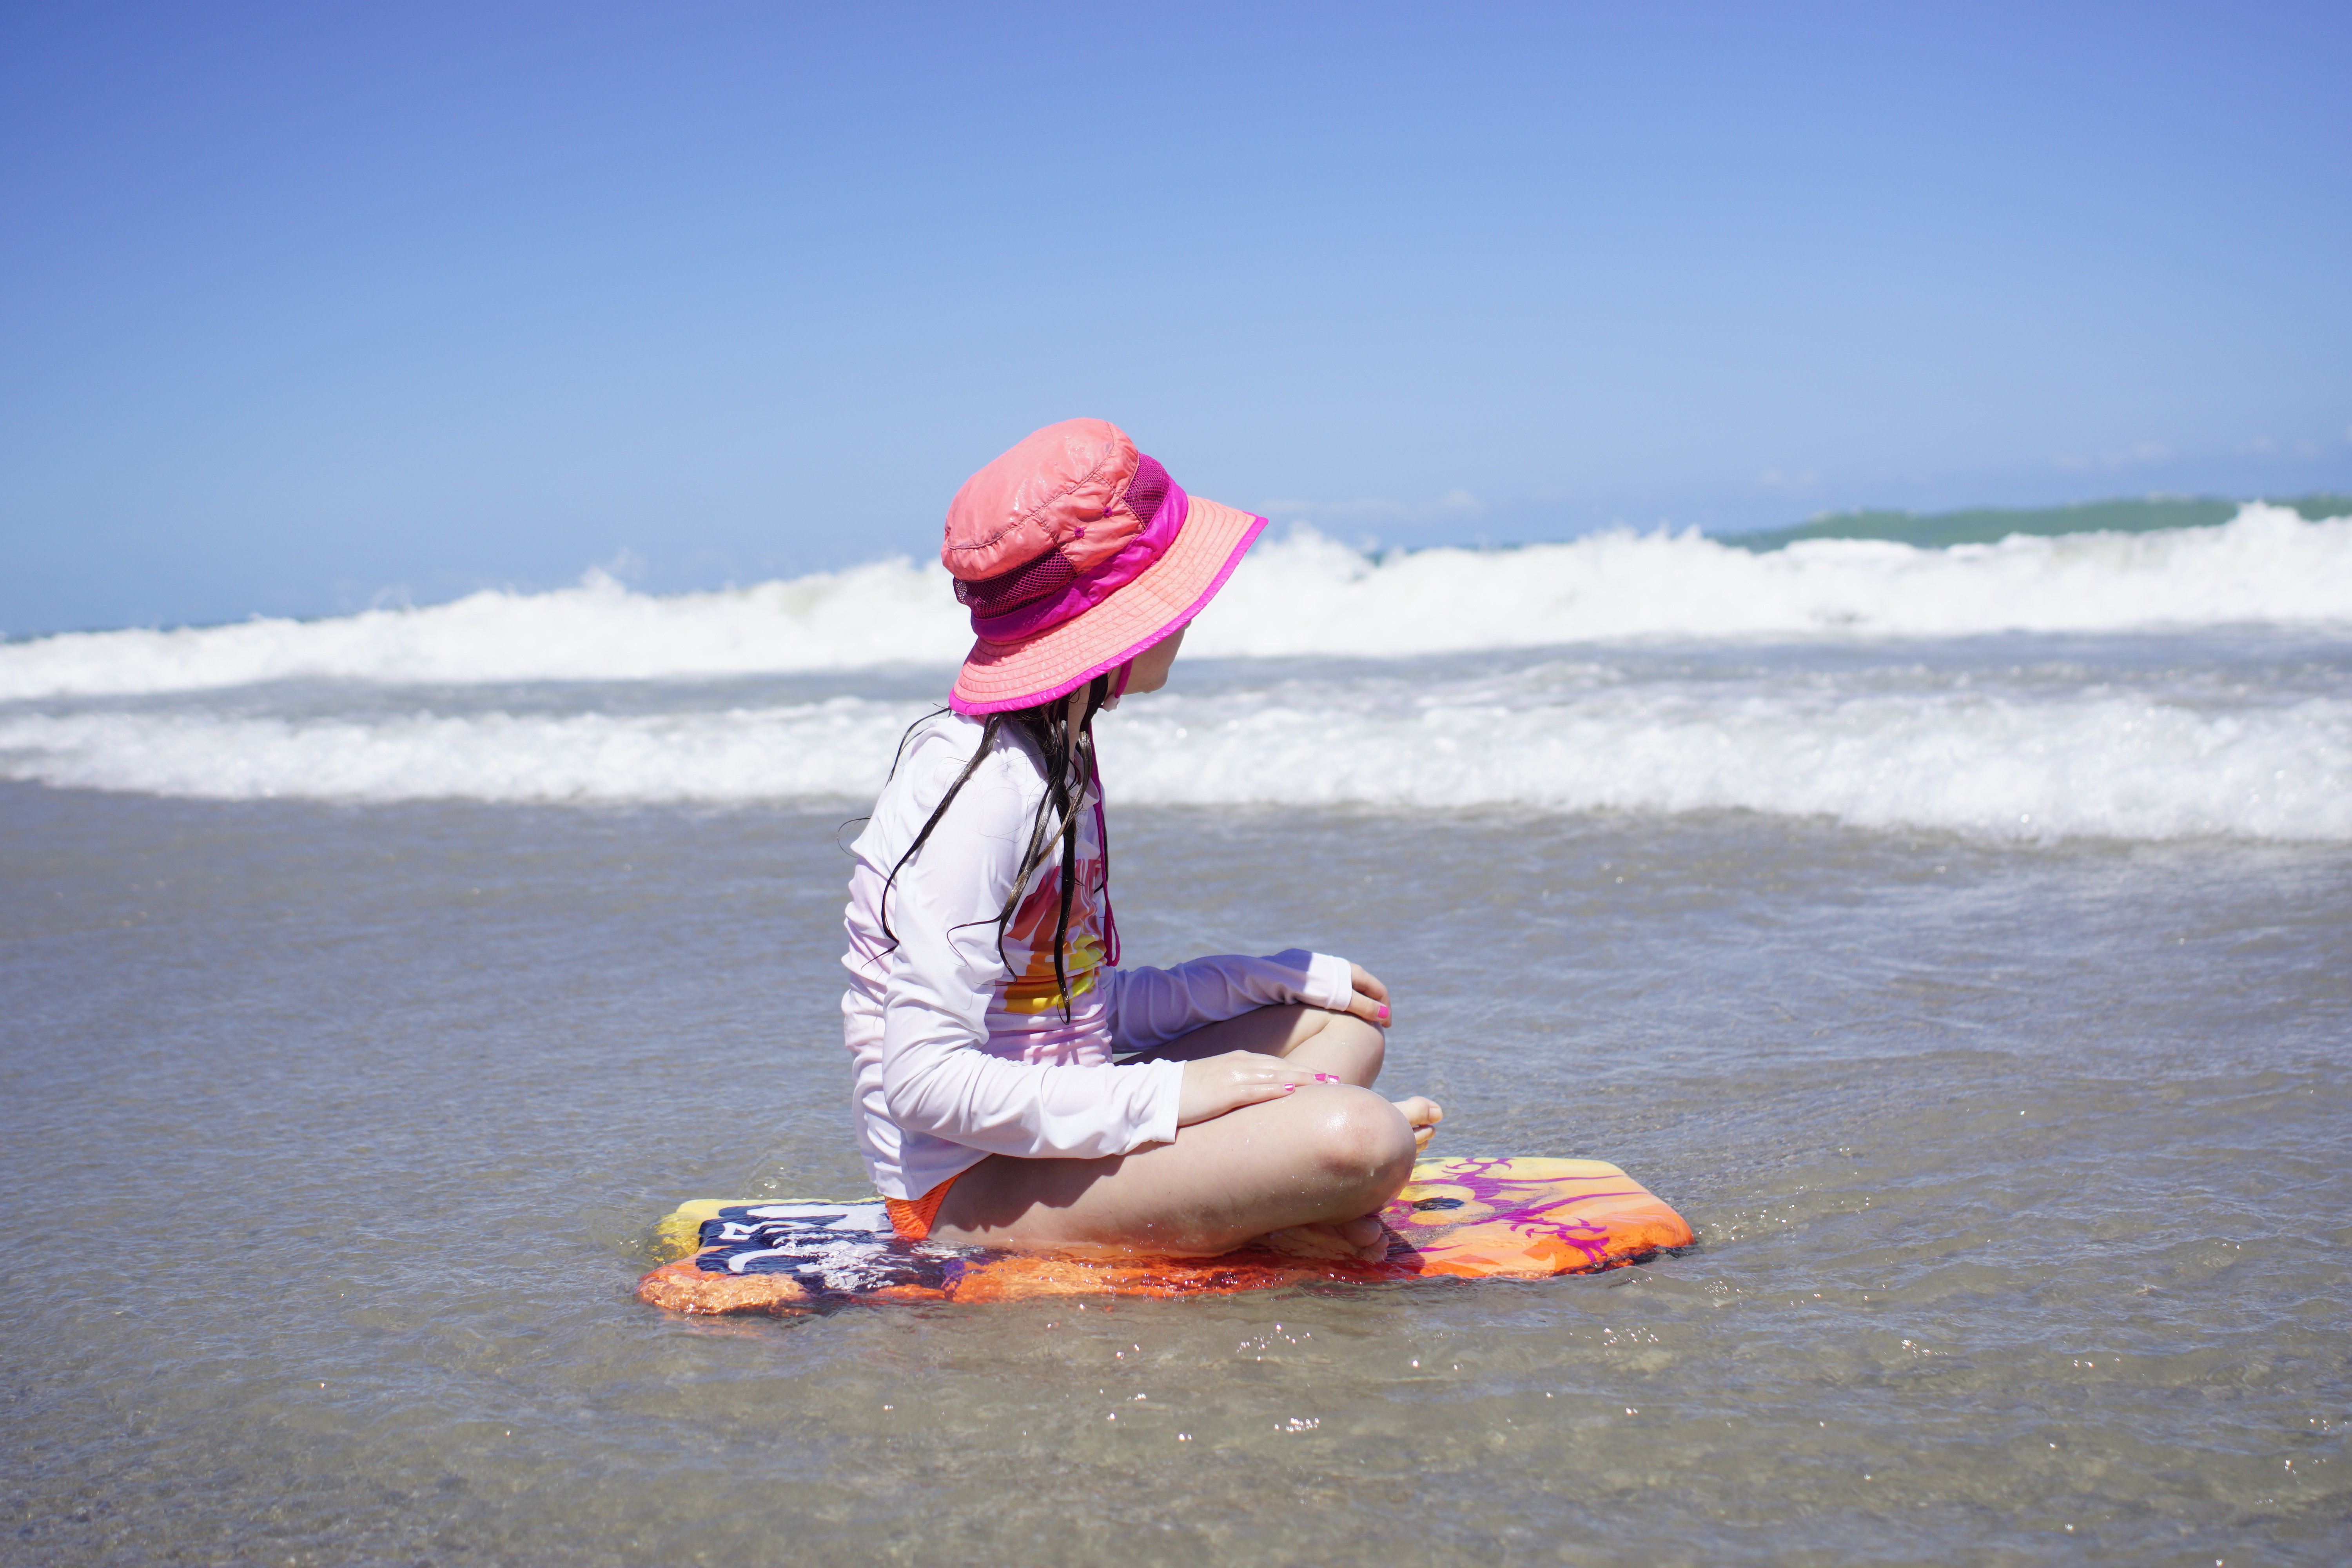
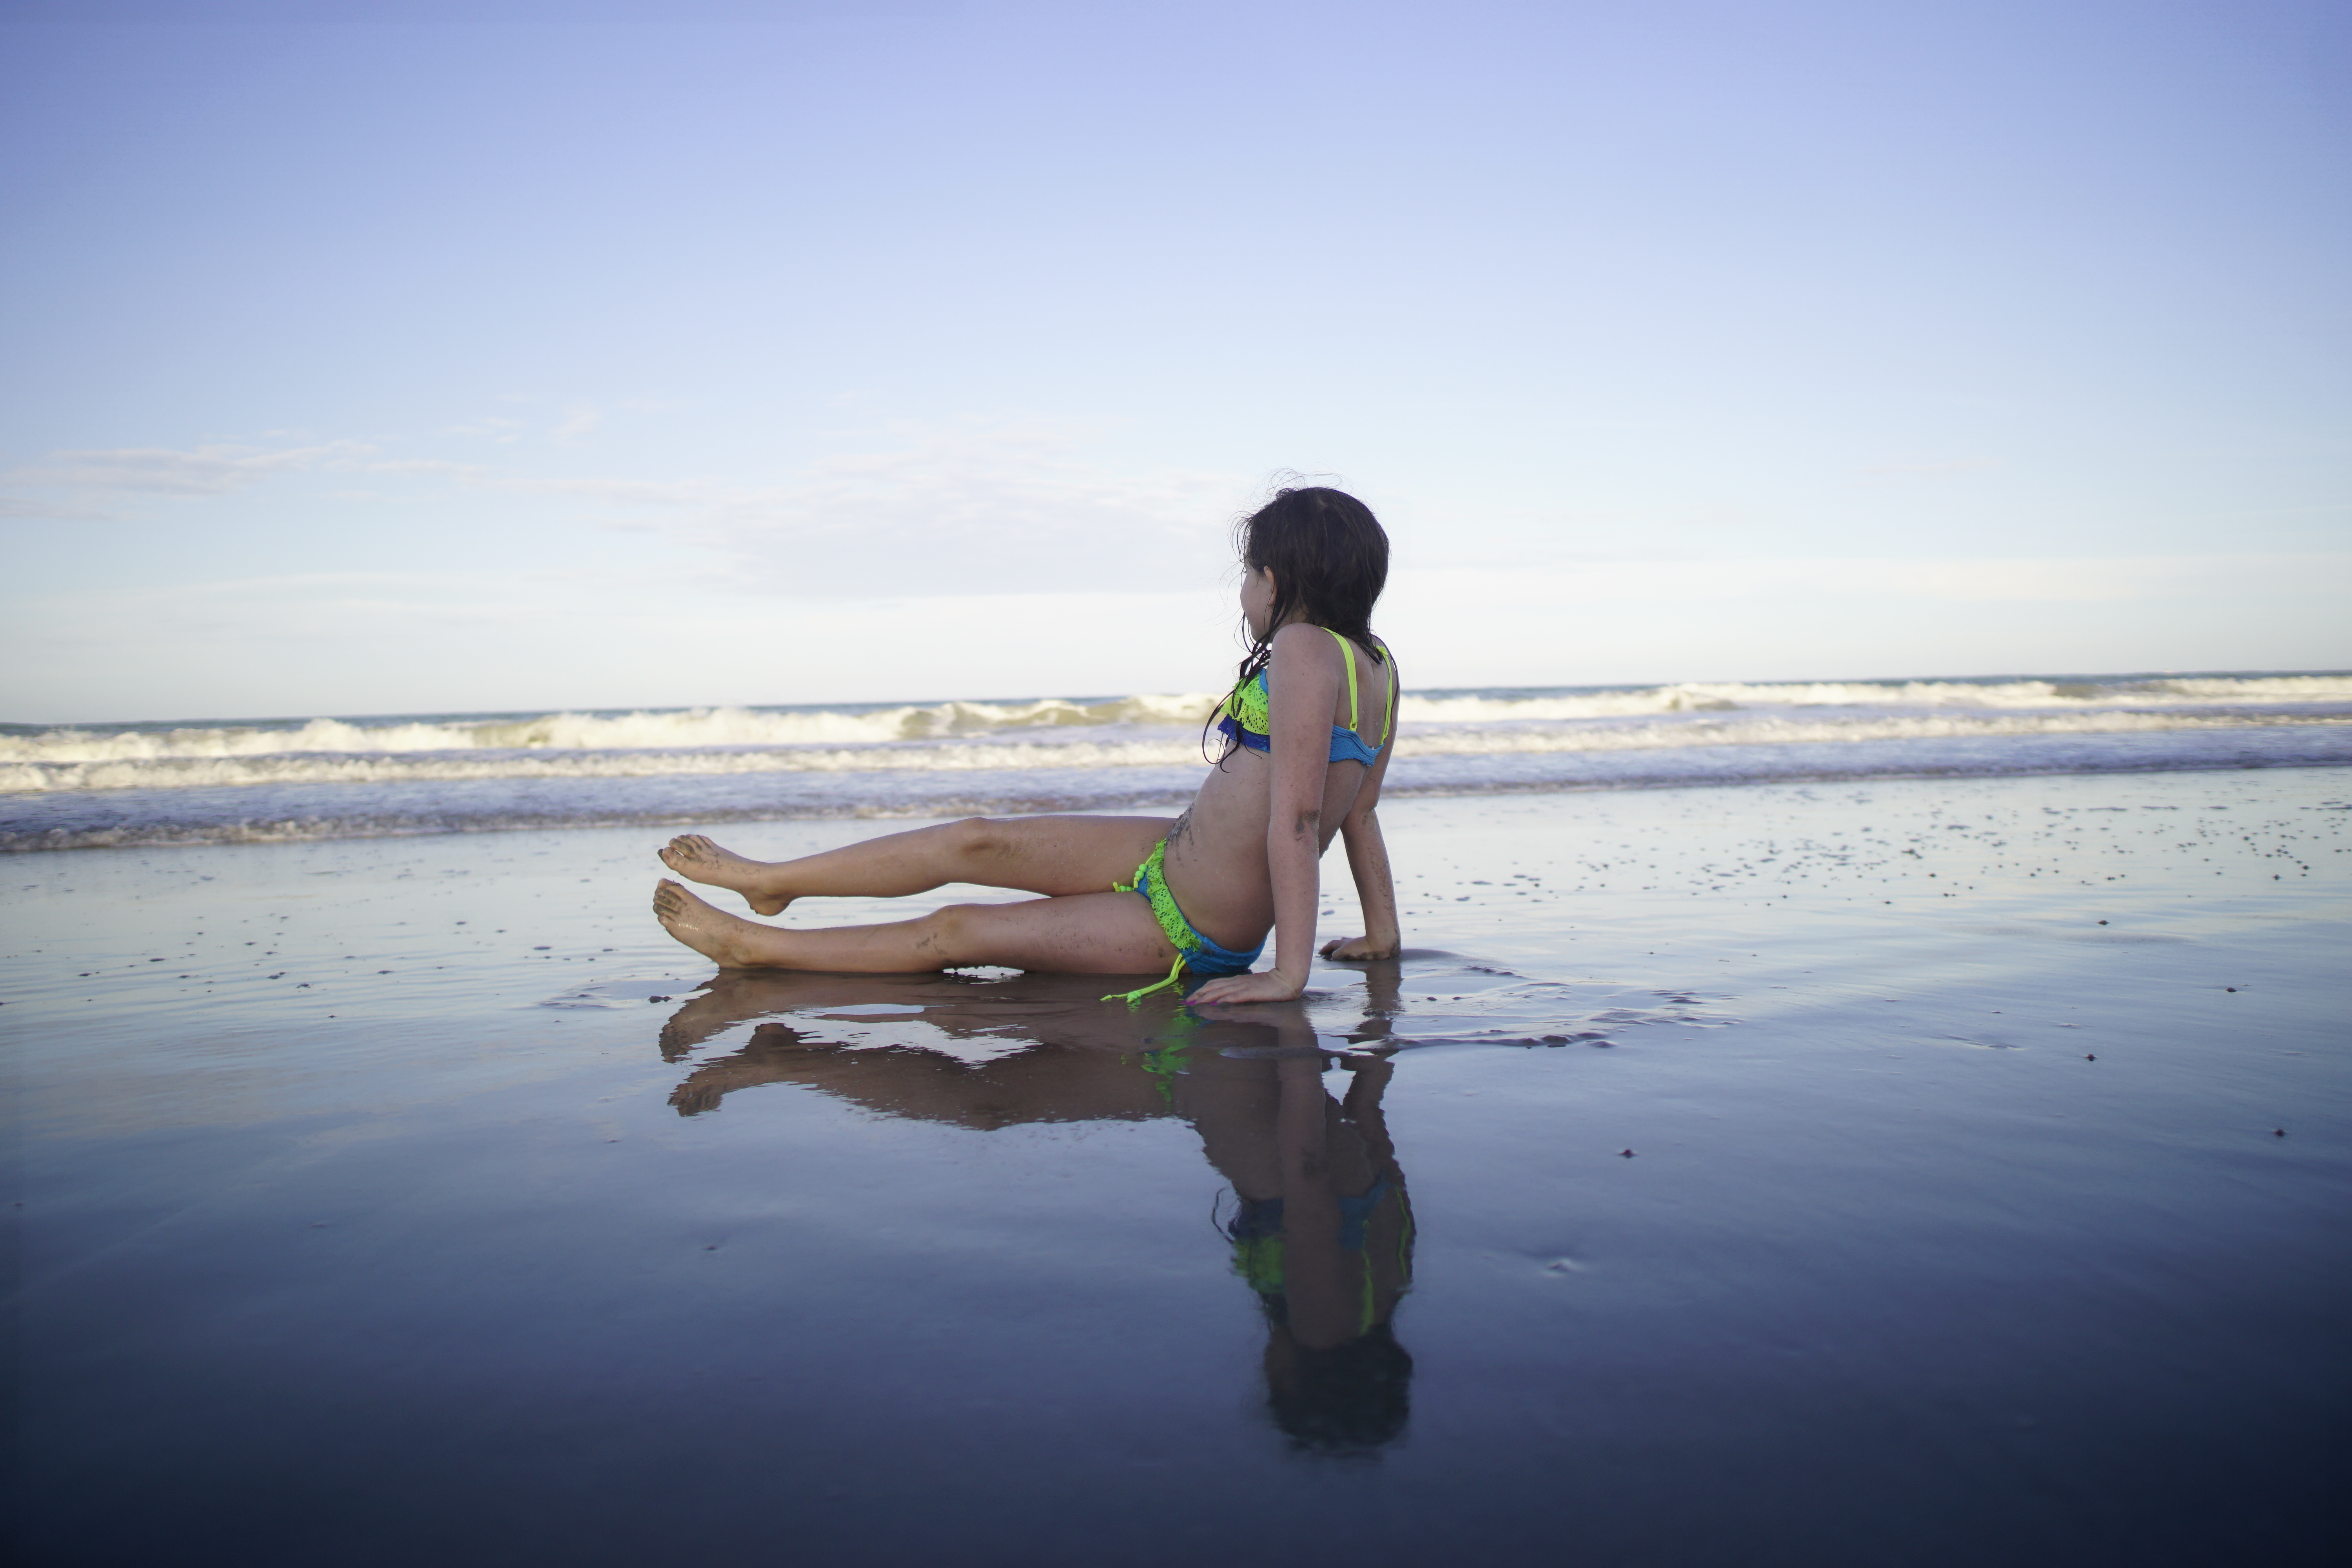
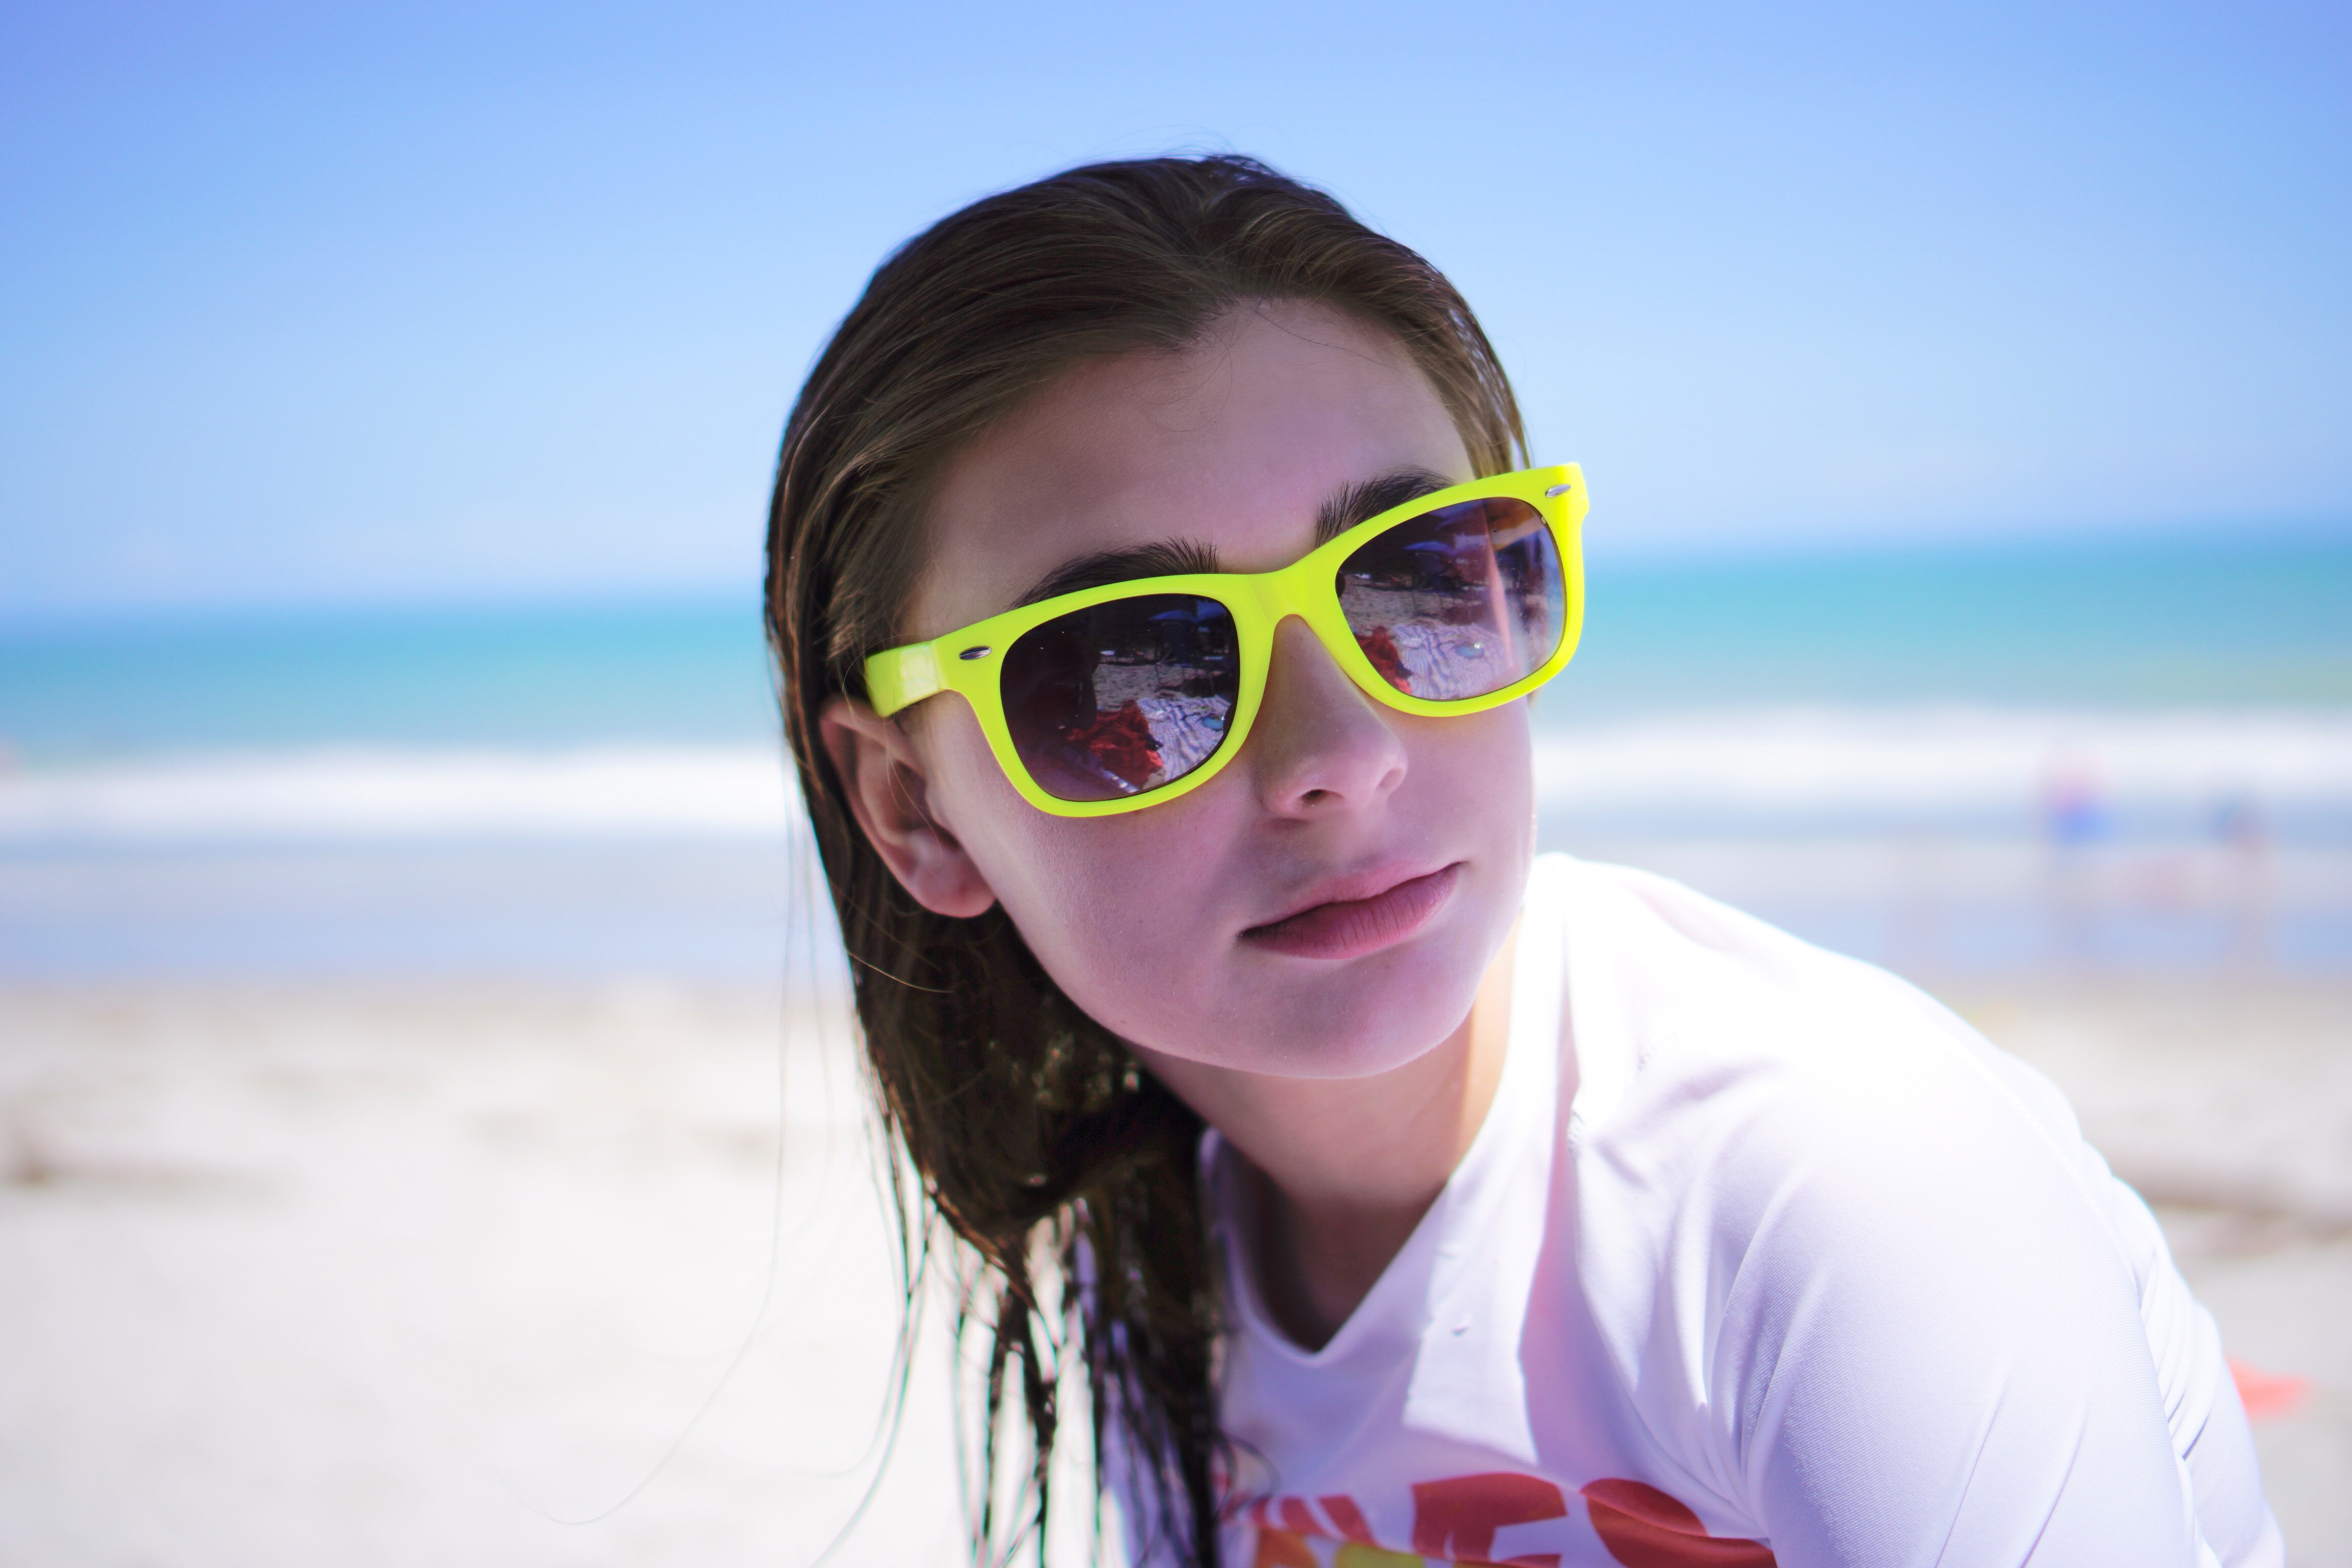
If you own more than one lens don’t be afraid to go “long”. Choose a lens anywhere from 85 -210 mm and just stand take a step back and let the moments happen without you near or even noticing that they are being photographed at all. I took these shots from my beach chair while my daughter enjoyed the ocean with my long lens…
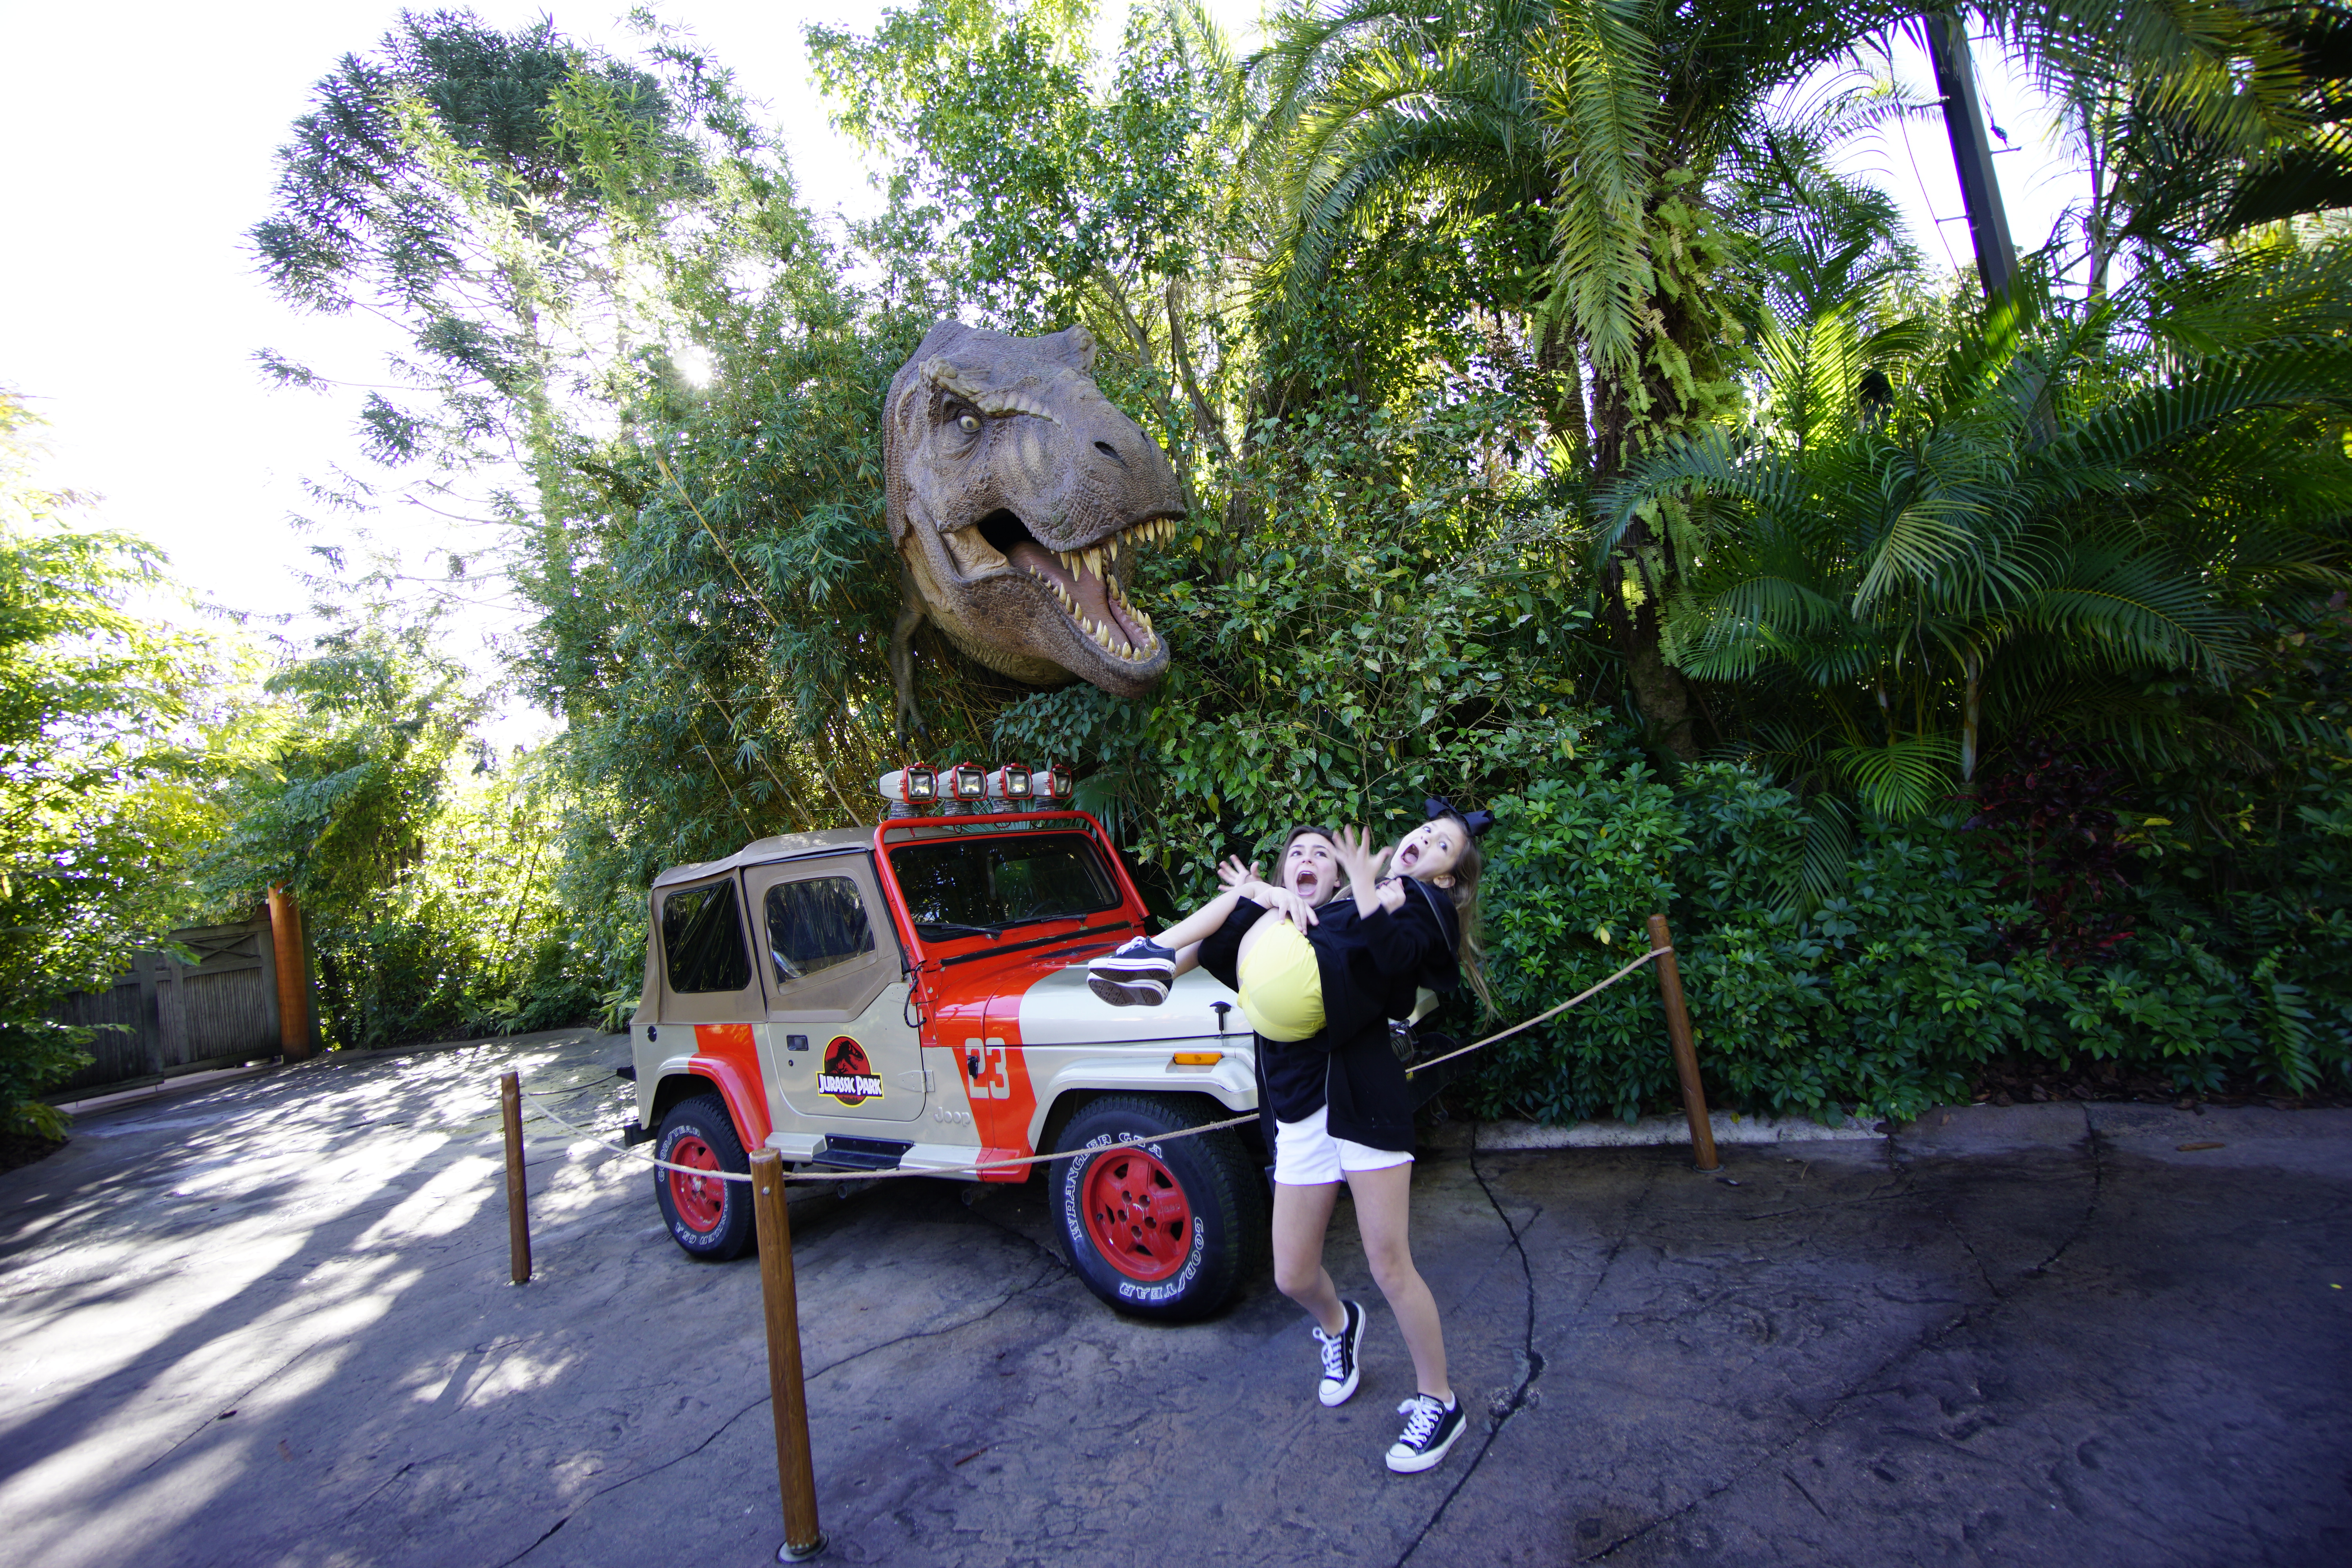
Even in the typically posed shots you can make things interesting just by being willing get a little silly.

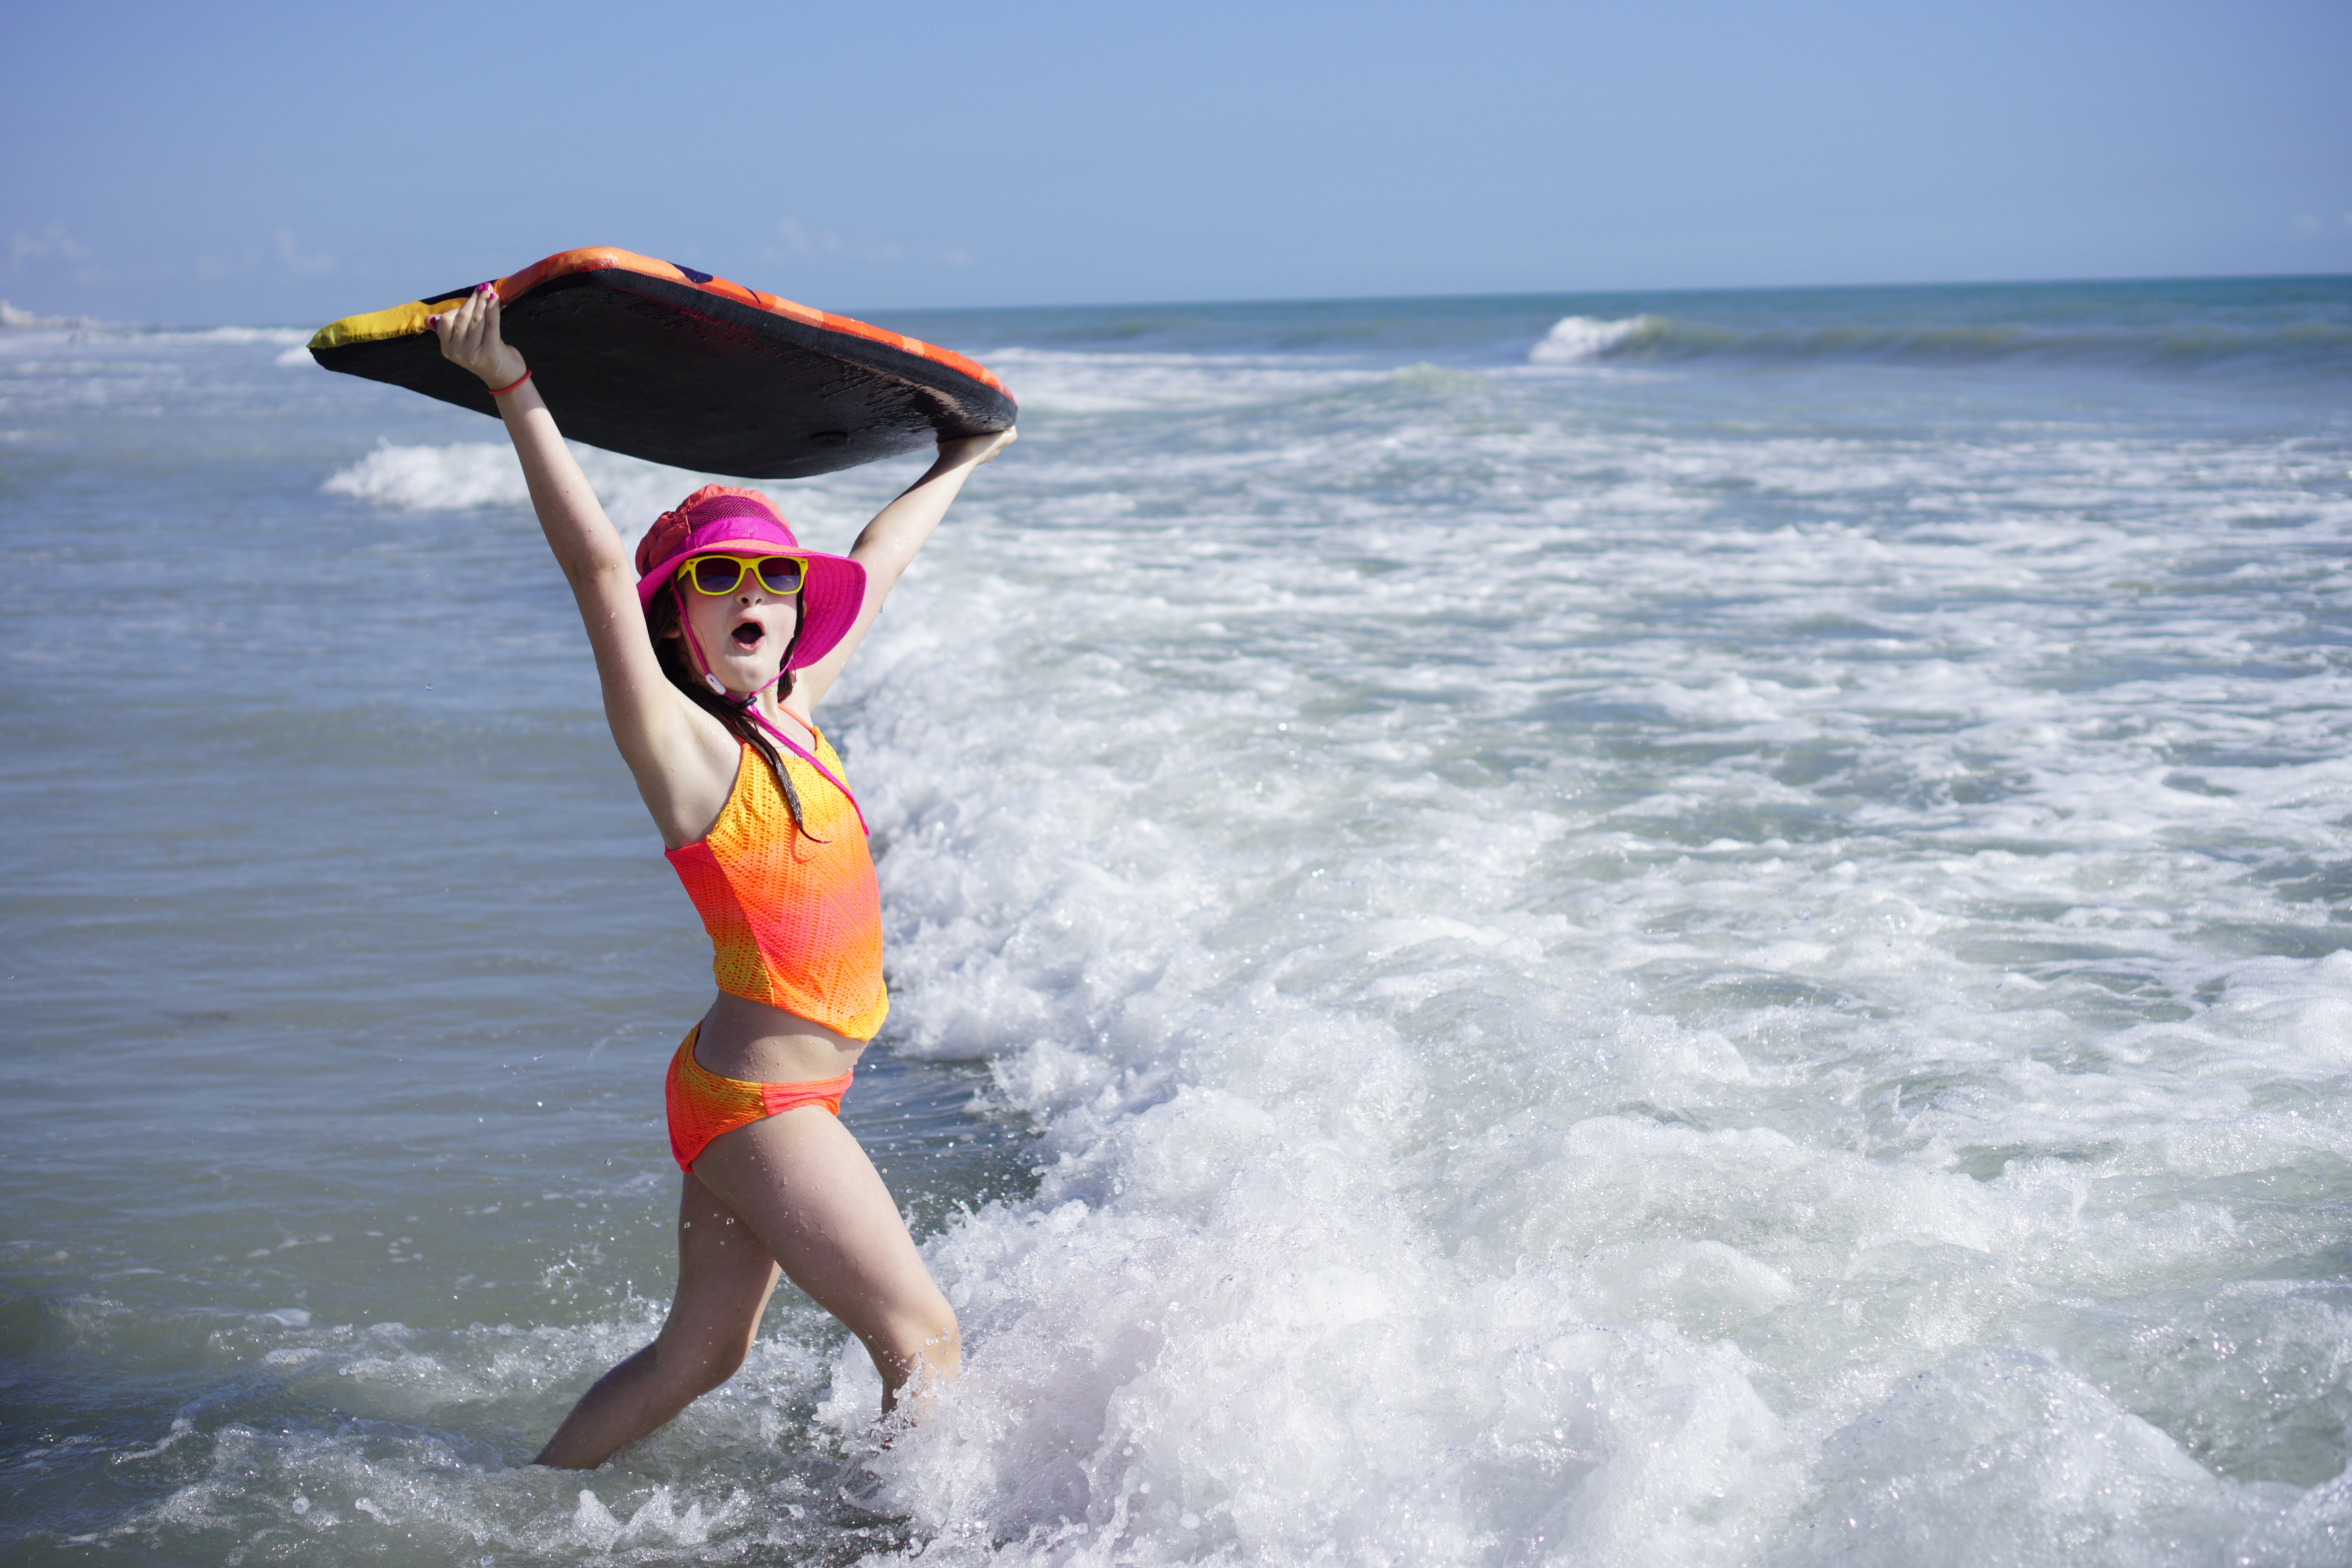
10. Get into Position
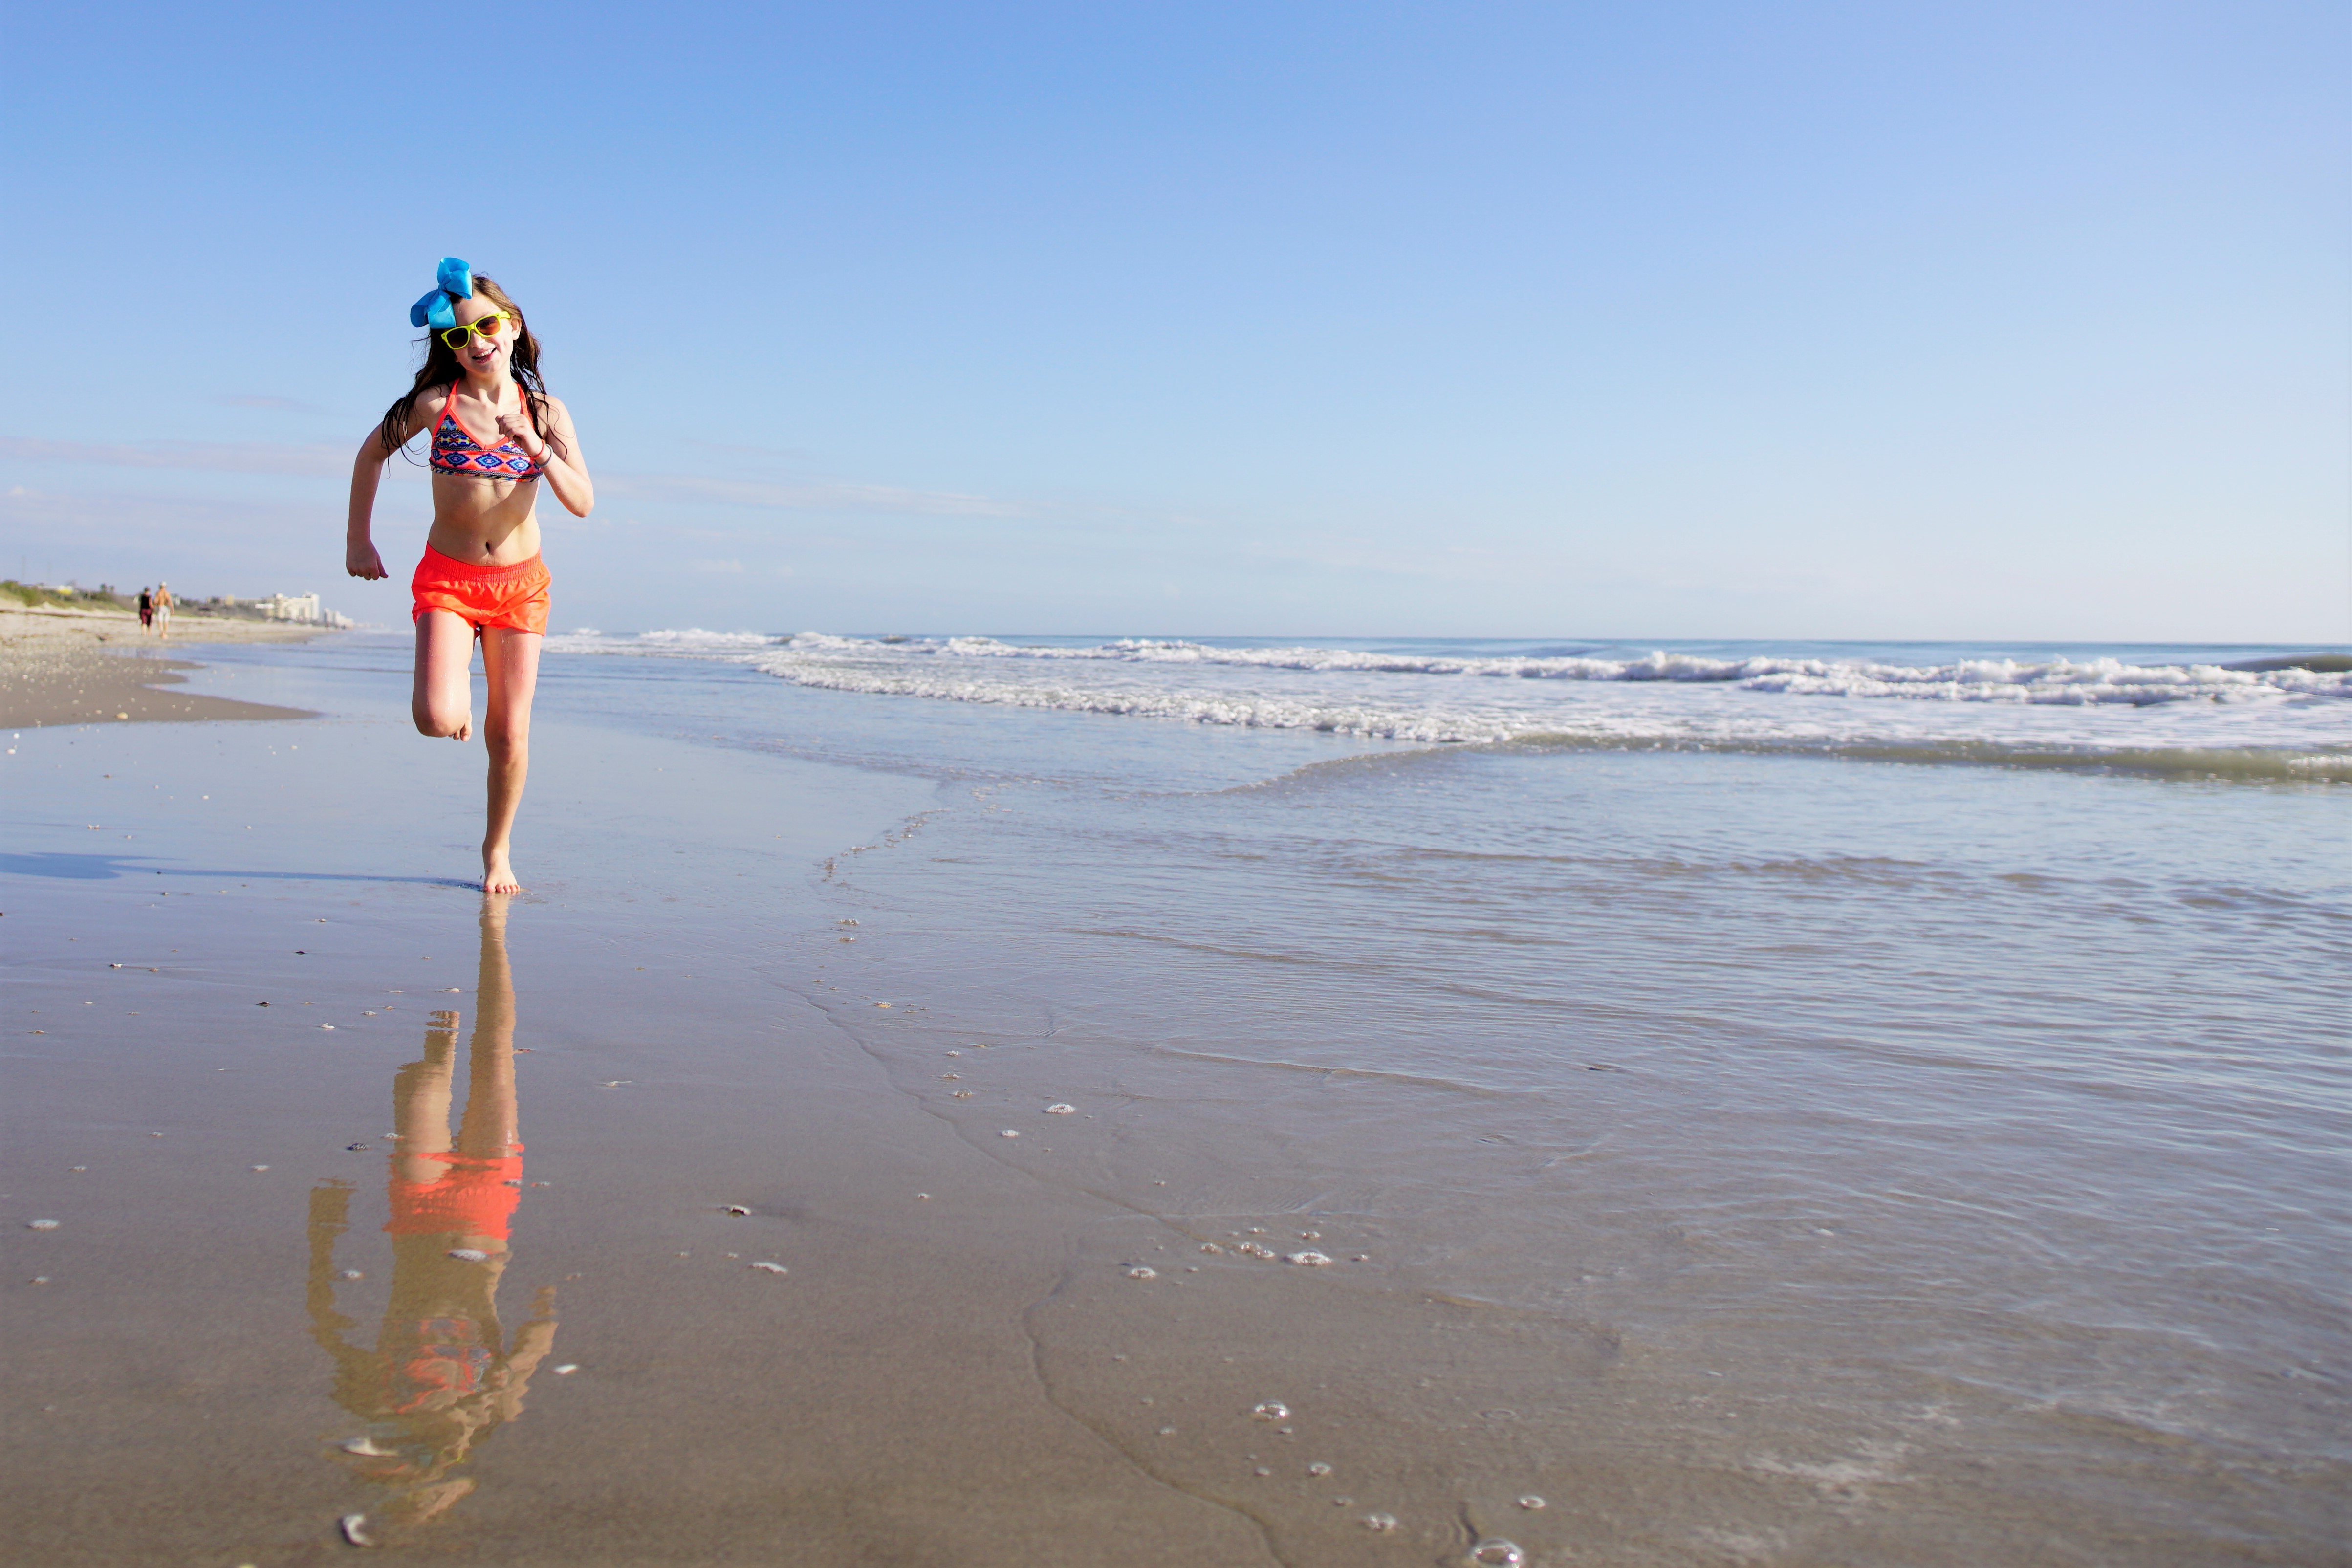
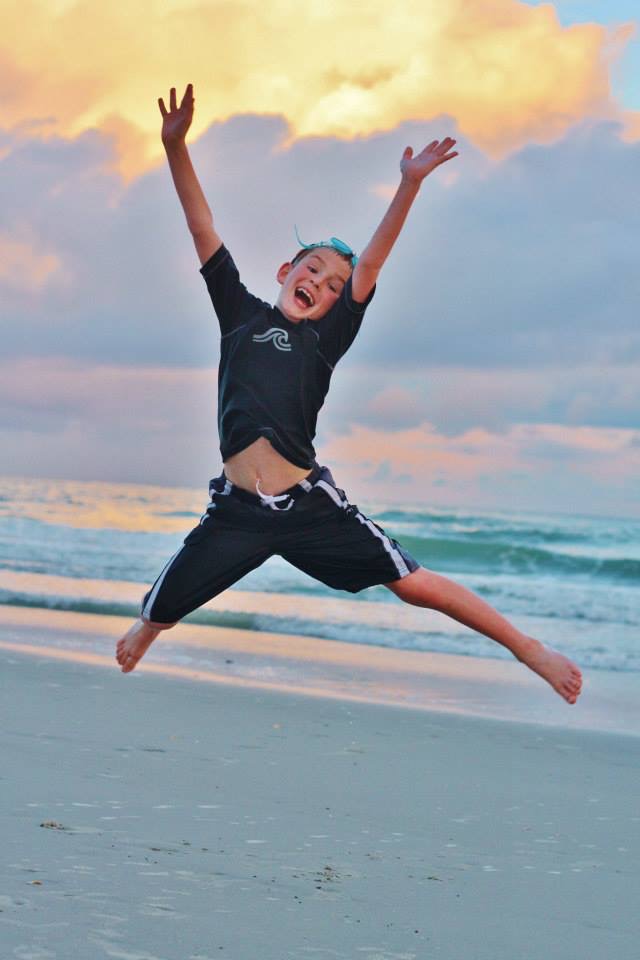
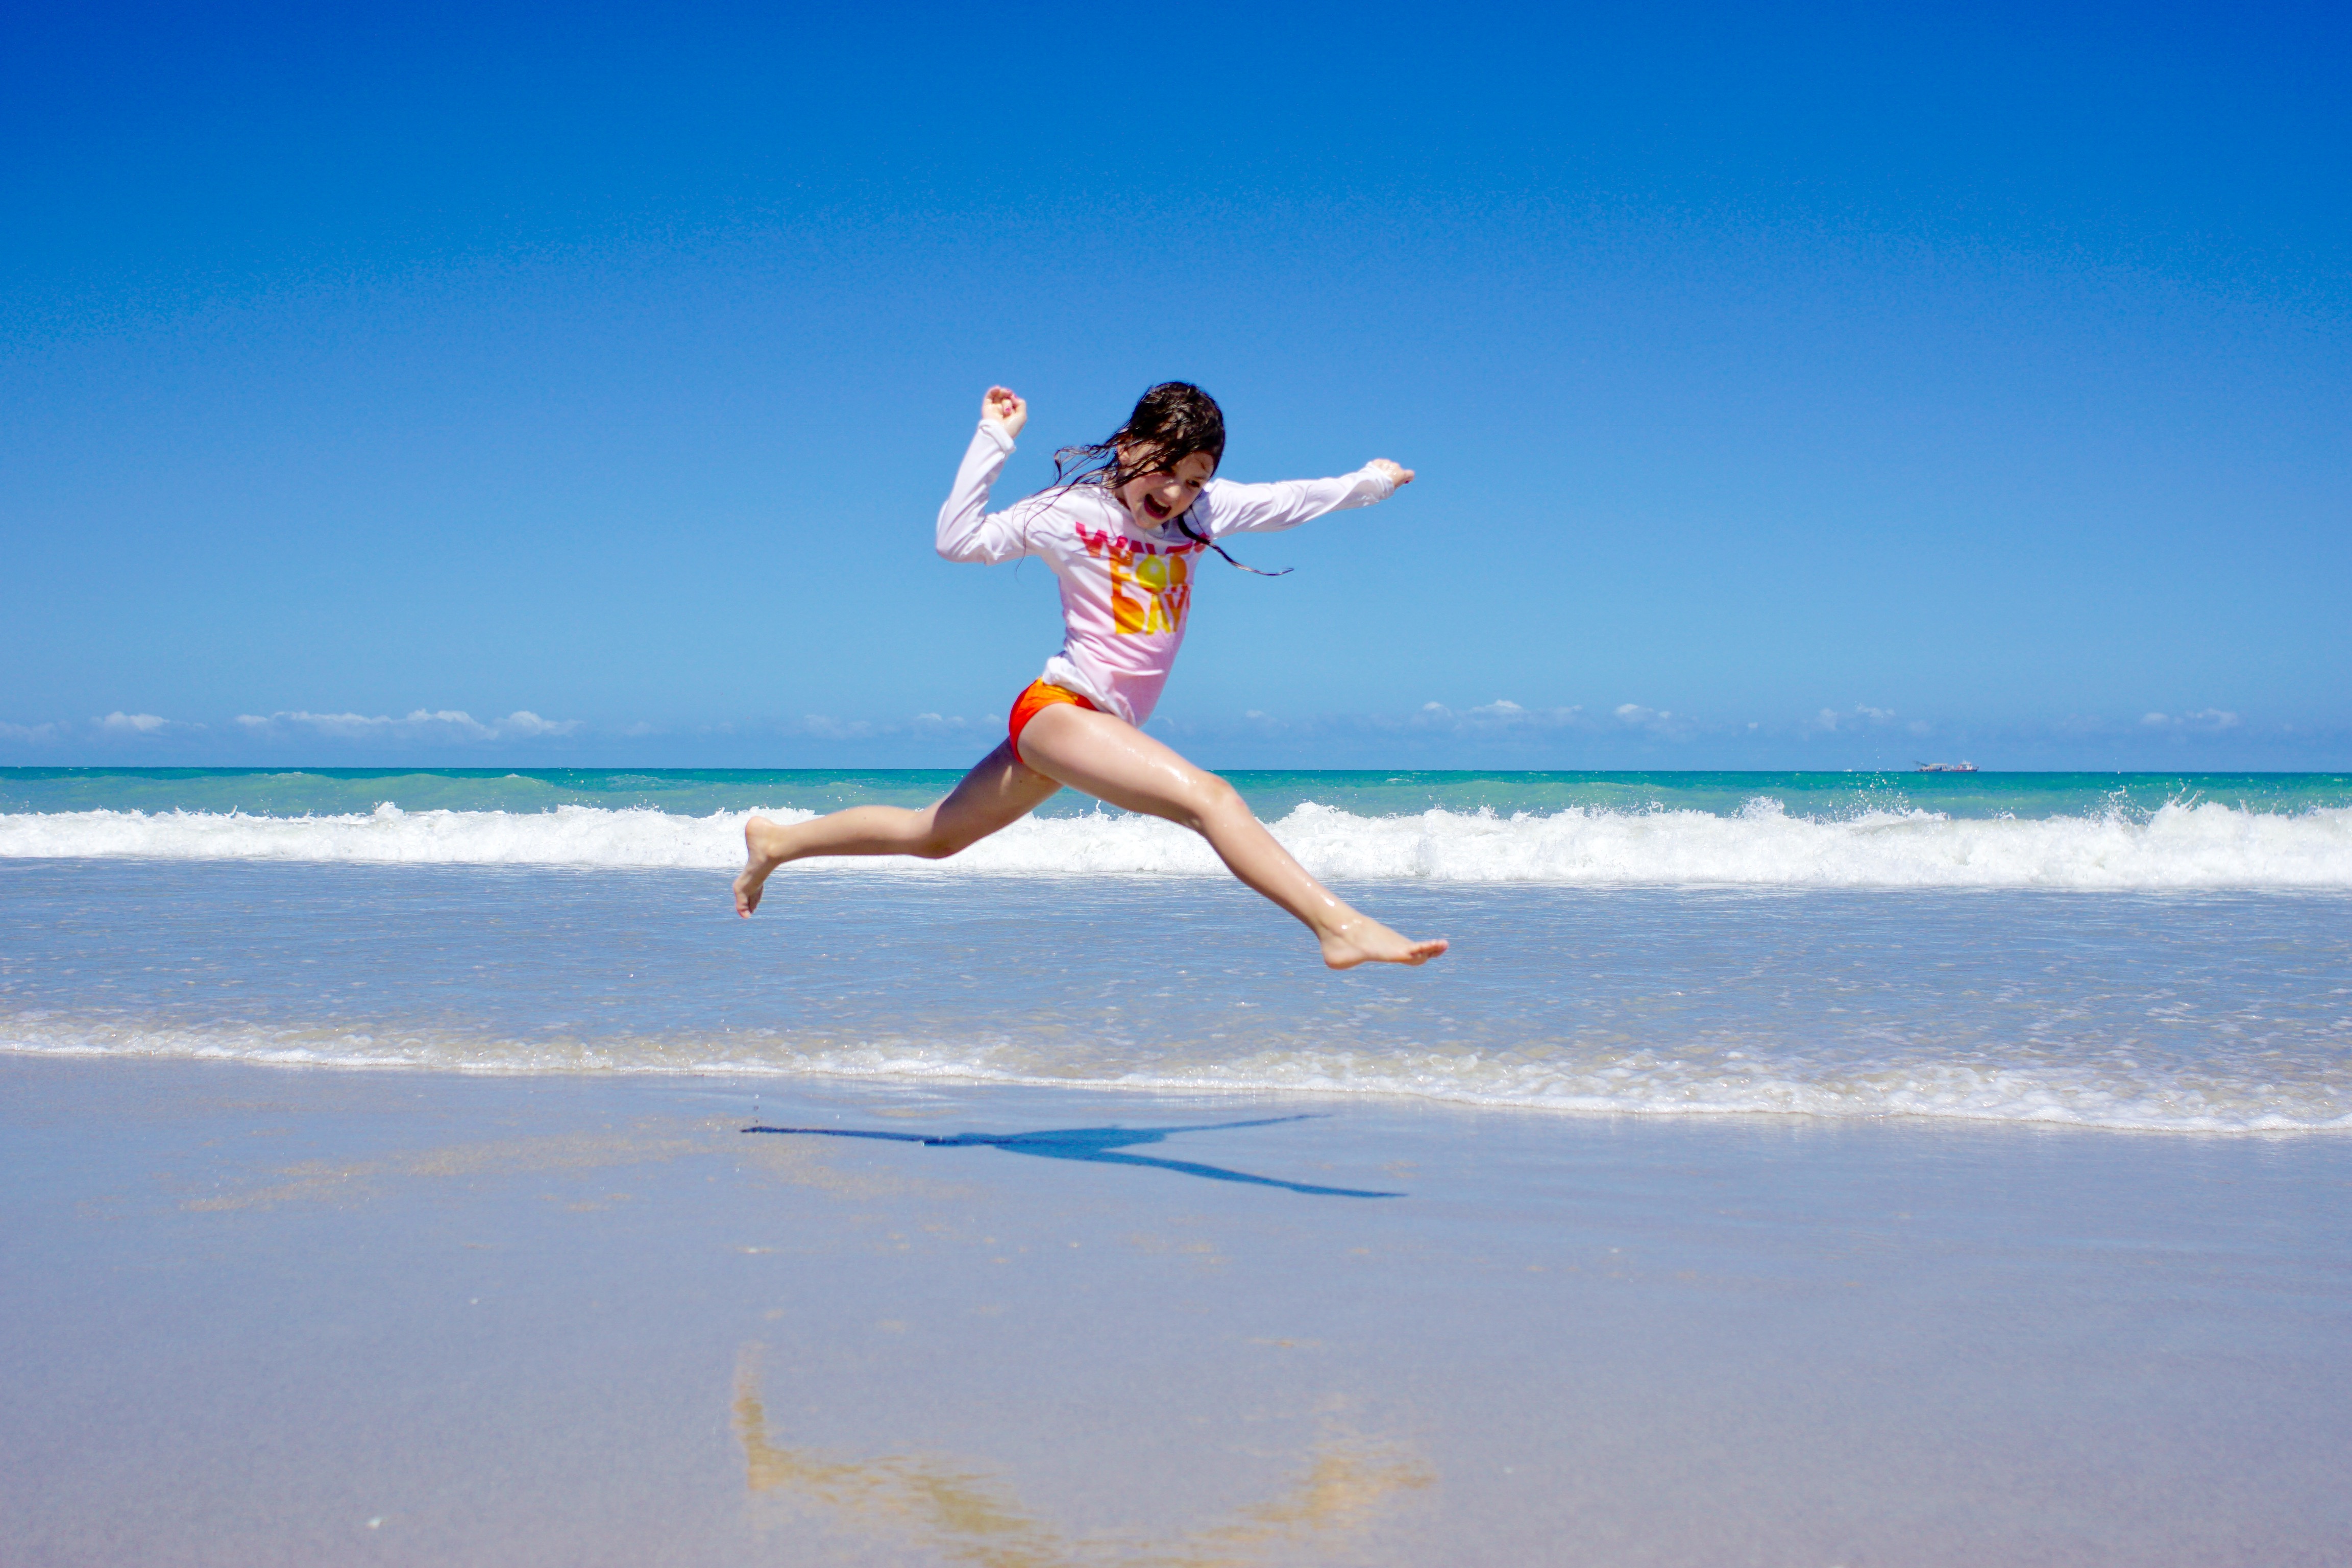
While candid photos are my favorite, it’s also totally okay to coach your kids along to great images. I know it seems like I’m contradicting myself here, but, let’s get real. Kids can be ALL OVER the place ALL the time! So occasionally I will say, “Hey, guys, run out into those waves together or “Let’s see how high you can jump!” This way kids are still doing their kid thing, but I am ready and waiting to get a great shot. Another tip to be poised for just the right action shots is to get a bit ahead of your family and then capture them coming towards you.
11. Get Away from Using Flash
Ninety-nine percent of the time I prefer to shoot without flash. Sometimes it’s necessary but I always prefer to use natural light. When shooting at night good gear makes all the difference. Opt for a fast lens that lets in a lot of light. A wider opening in the lens, i.e. the aperture makes it easier to capture great images in low light.


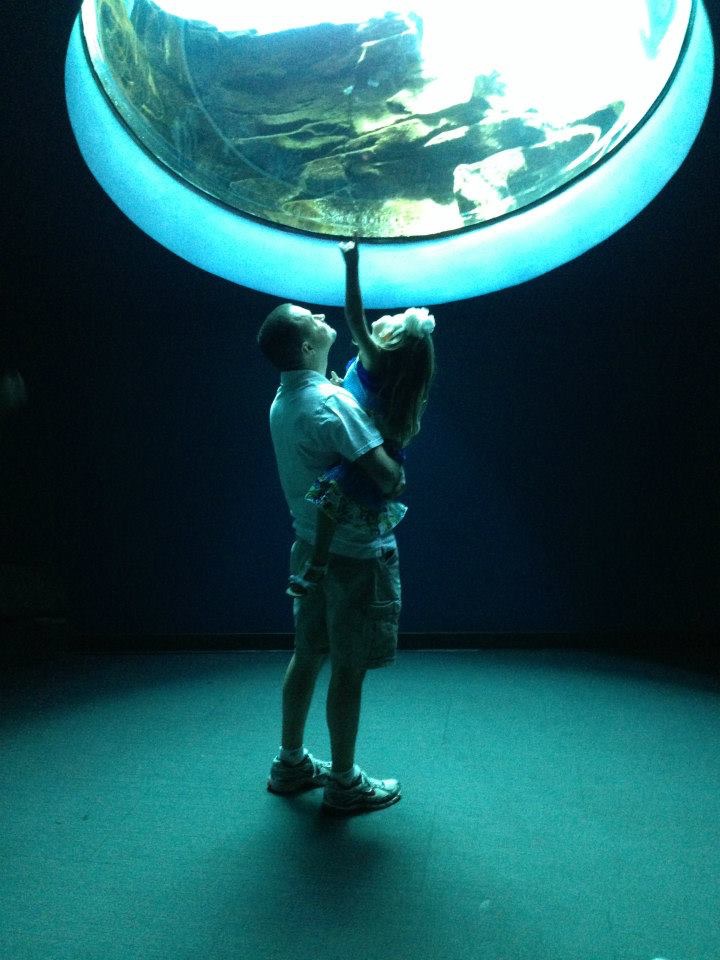
If you only have an iPhone (like the image below was taken with), try to stabilize it as much as possible, so it has a better chance of picking up light. If nothing else, try to find any light around — like a street light or a window— and position it so it falls directly on your subjects. A lot of time the light you do get without a flash can be much more interesting.
12. Get Up Early
This may seem like a crazy tip for a family vacation but if you want truly stunning photos (and some pretty amazing lighting), make sure to rise early to beat the crowds. Especially if you’re going to a tourist hot spot (like the Wizarding World of Harry Potter at Universal Orlando pictured below)– –the earlier you arrive, the more likely you are to get a picture without hundreds of other people crowding the photo. Plus, you’ll avoid the harsh sunlight that usually starts to hit around late morning and early afternoon.


13. Get Wide
If getting your crew up early just really isn’t your thing, consider a wide-angle lens. People have often remarked on how un-crowded our vacation photos are. While we do try to travel in off seasons my secret to cutting other vacationers out of my images really lies in using a wide-angle lens. I’ve come to find that time and time again, the wide angle makes photos look way more interesting because it allows for extra detail in the photo that is normally cut off of the sides. It captures what your eye sees plus the periphery.
This gives your images some context. Instead of having a bunch of close-ups of your child’s face and looking at it years later and wondering where that was taken, remember to step back and capture your surroundings too.
Just remember that when photographing people though with a wide-angle lens keep them towards the center of the shot so they don’t get distorted.

14. Get Snapping
One of the many benefits of taking photos with digital cameras is the ability to take a ton of photos in succession. The more images you have the more likely you are to capture some that are truly spectacular. One tip for capturing the perfect frame is to use a burst mode or continuous shooting. Sometimes it takes a lot of shots to get just what you were looking for. A combination of patience and lots of attempts will often land you the most spectacular images.
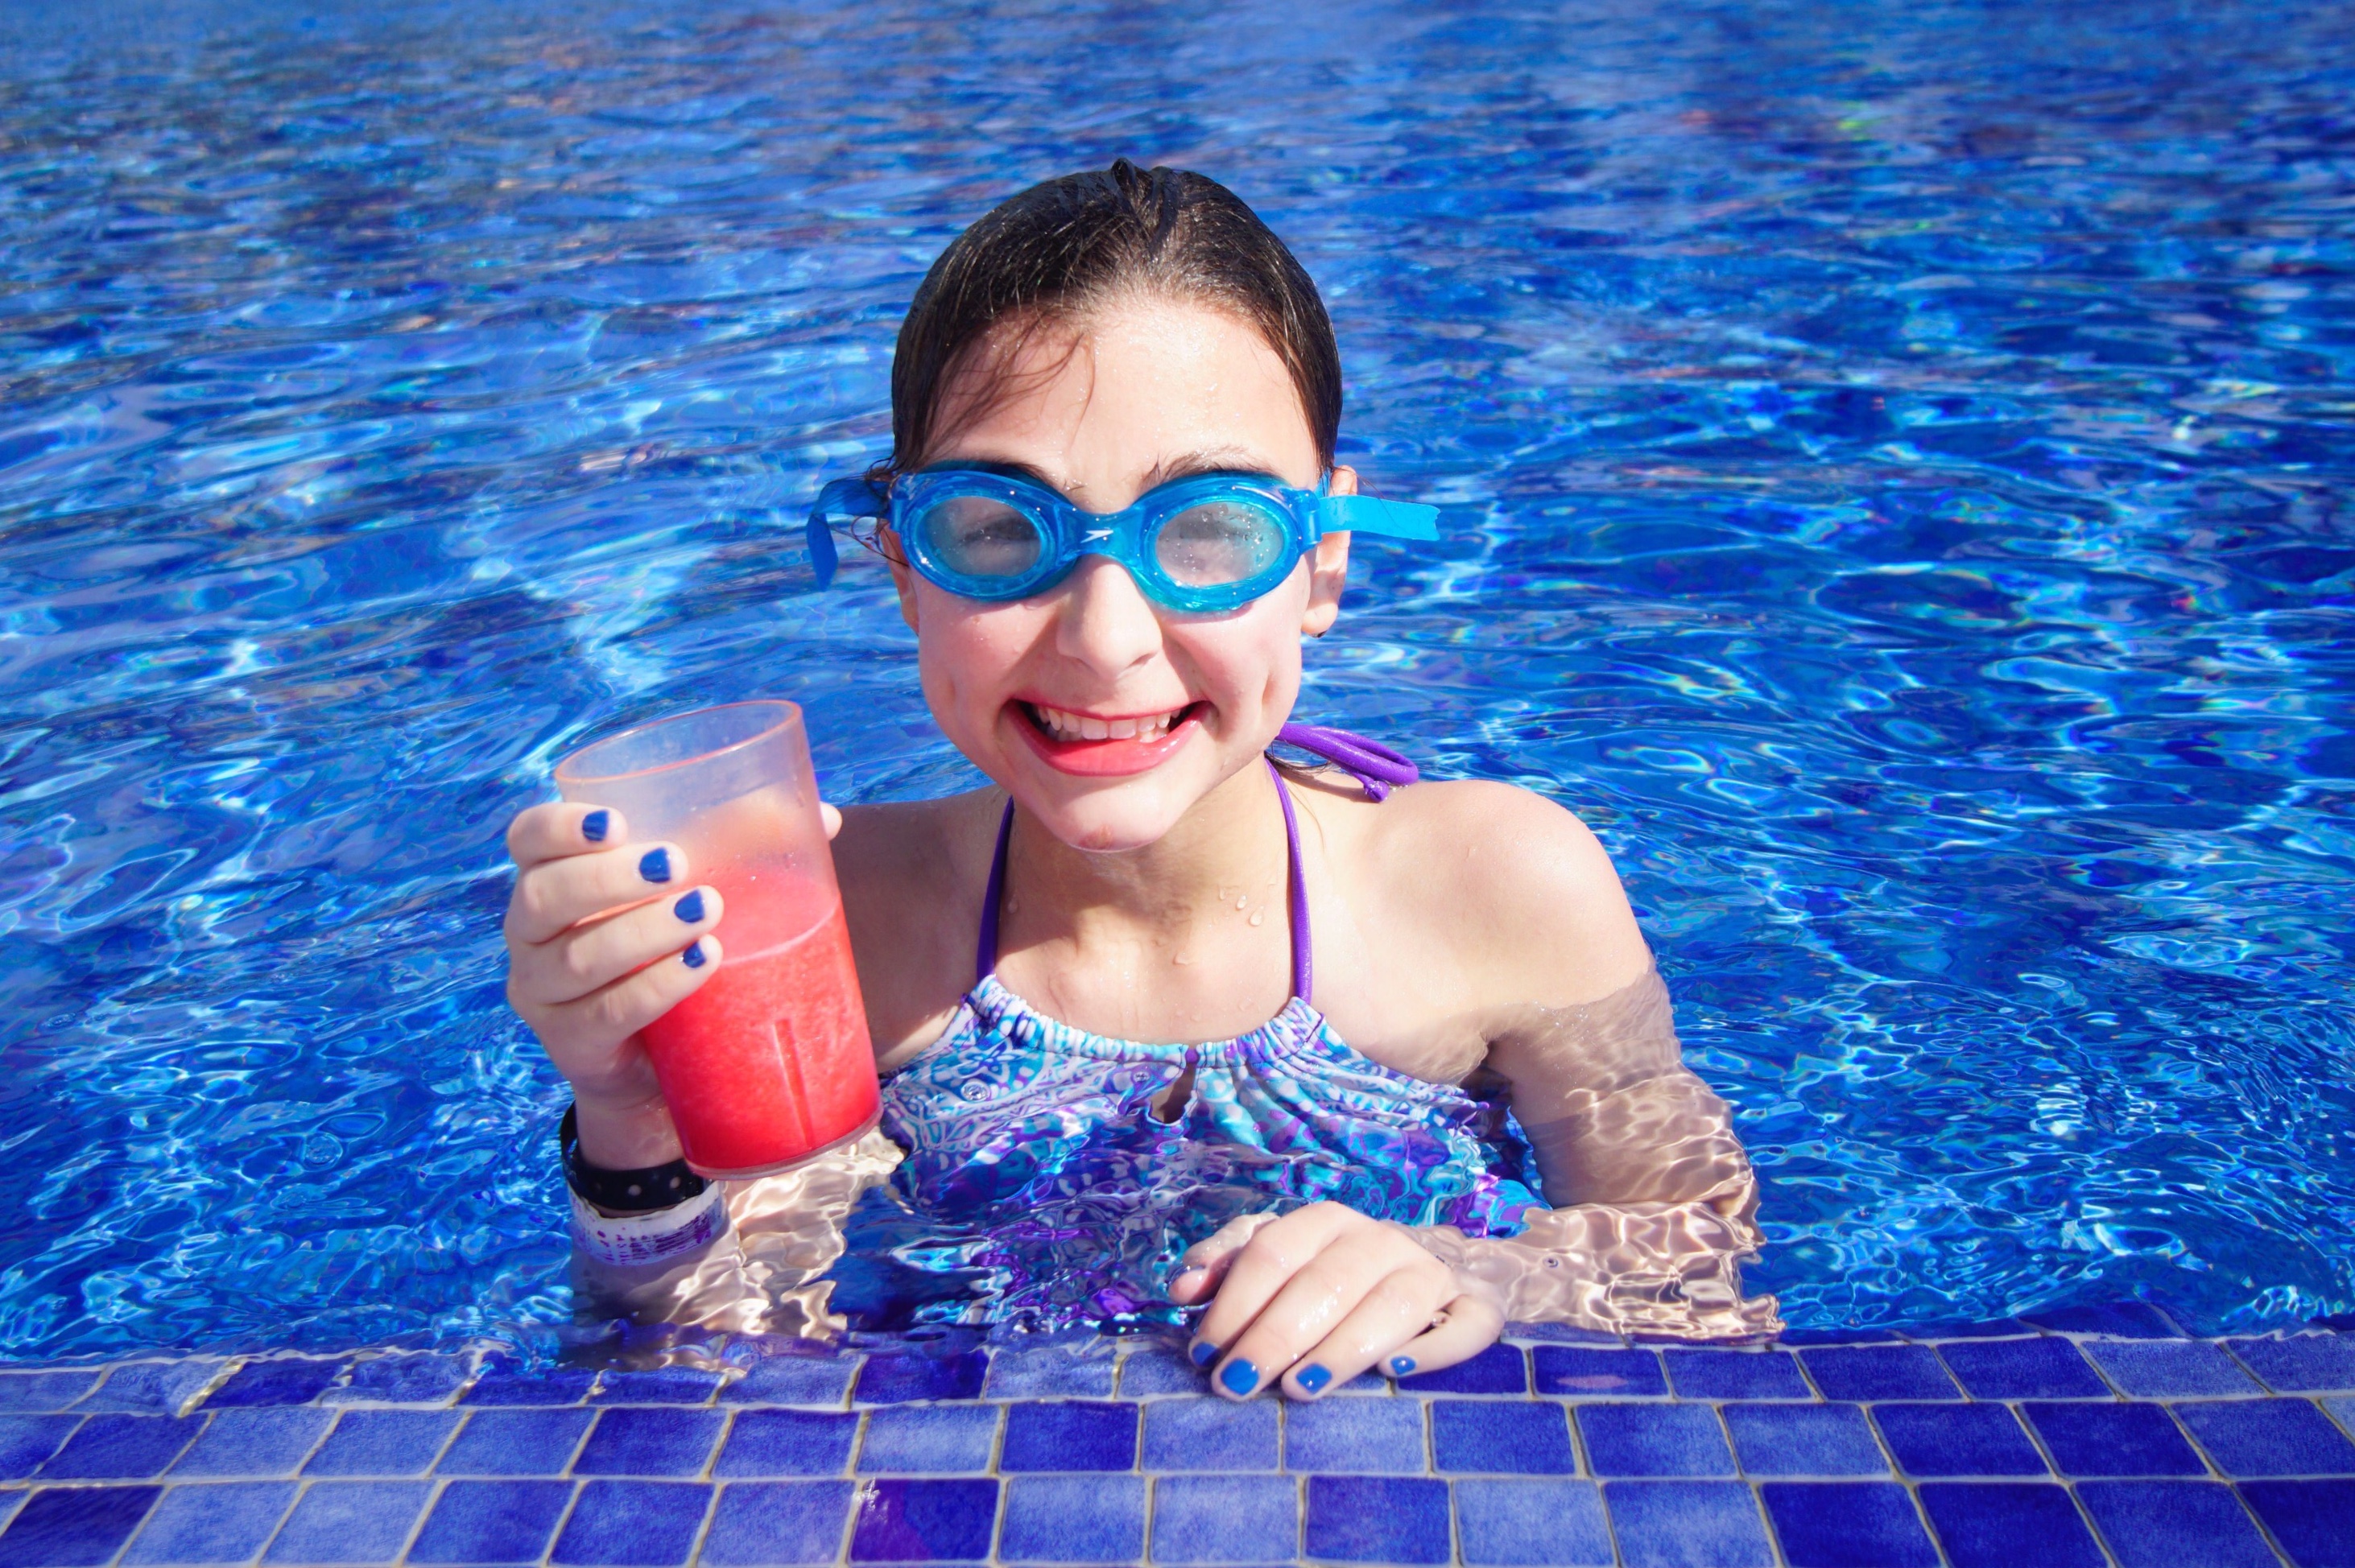
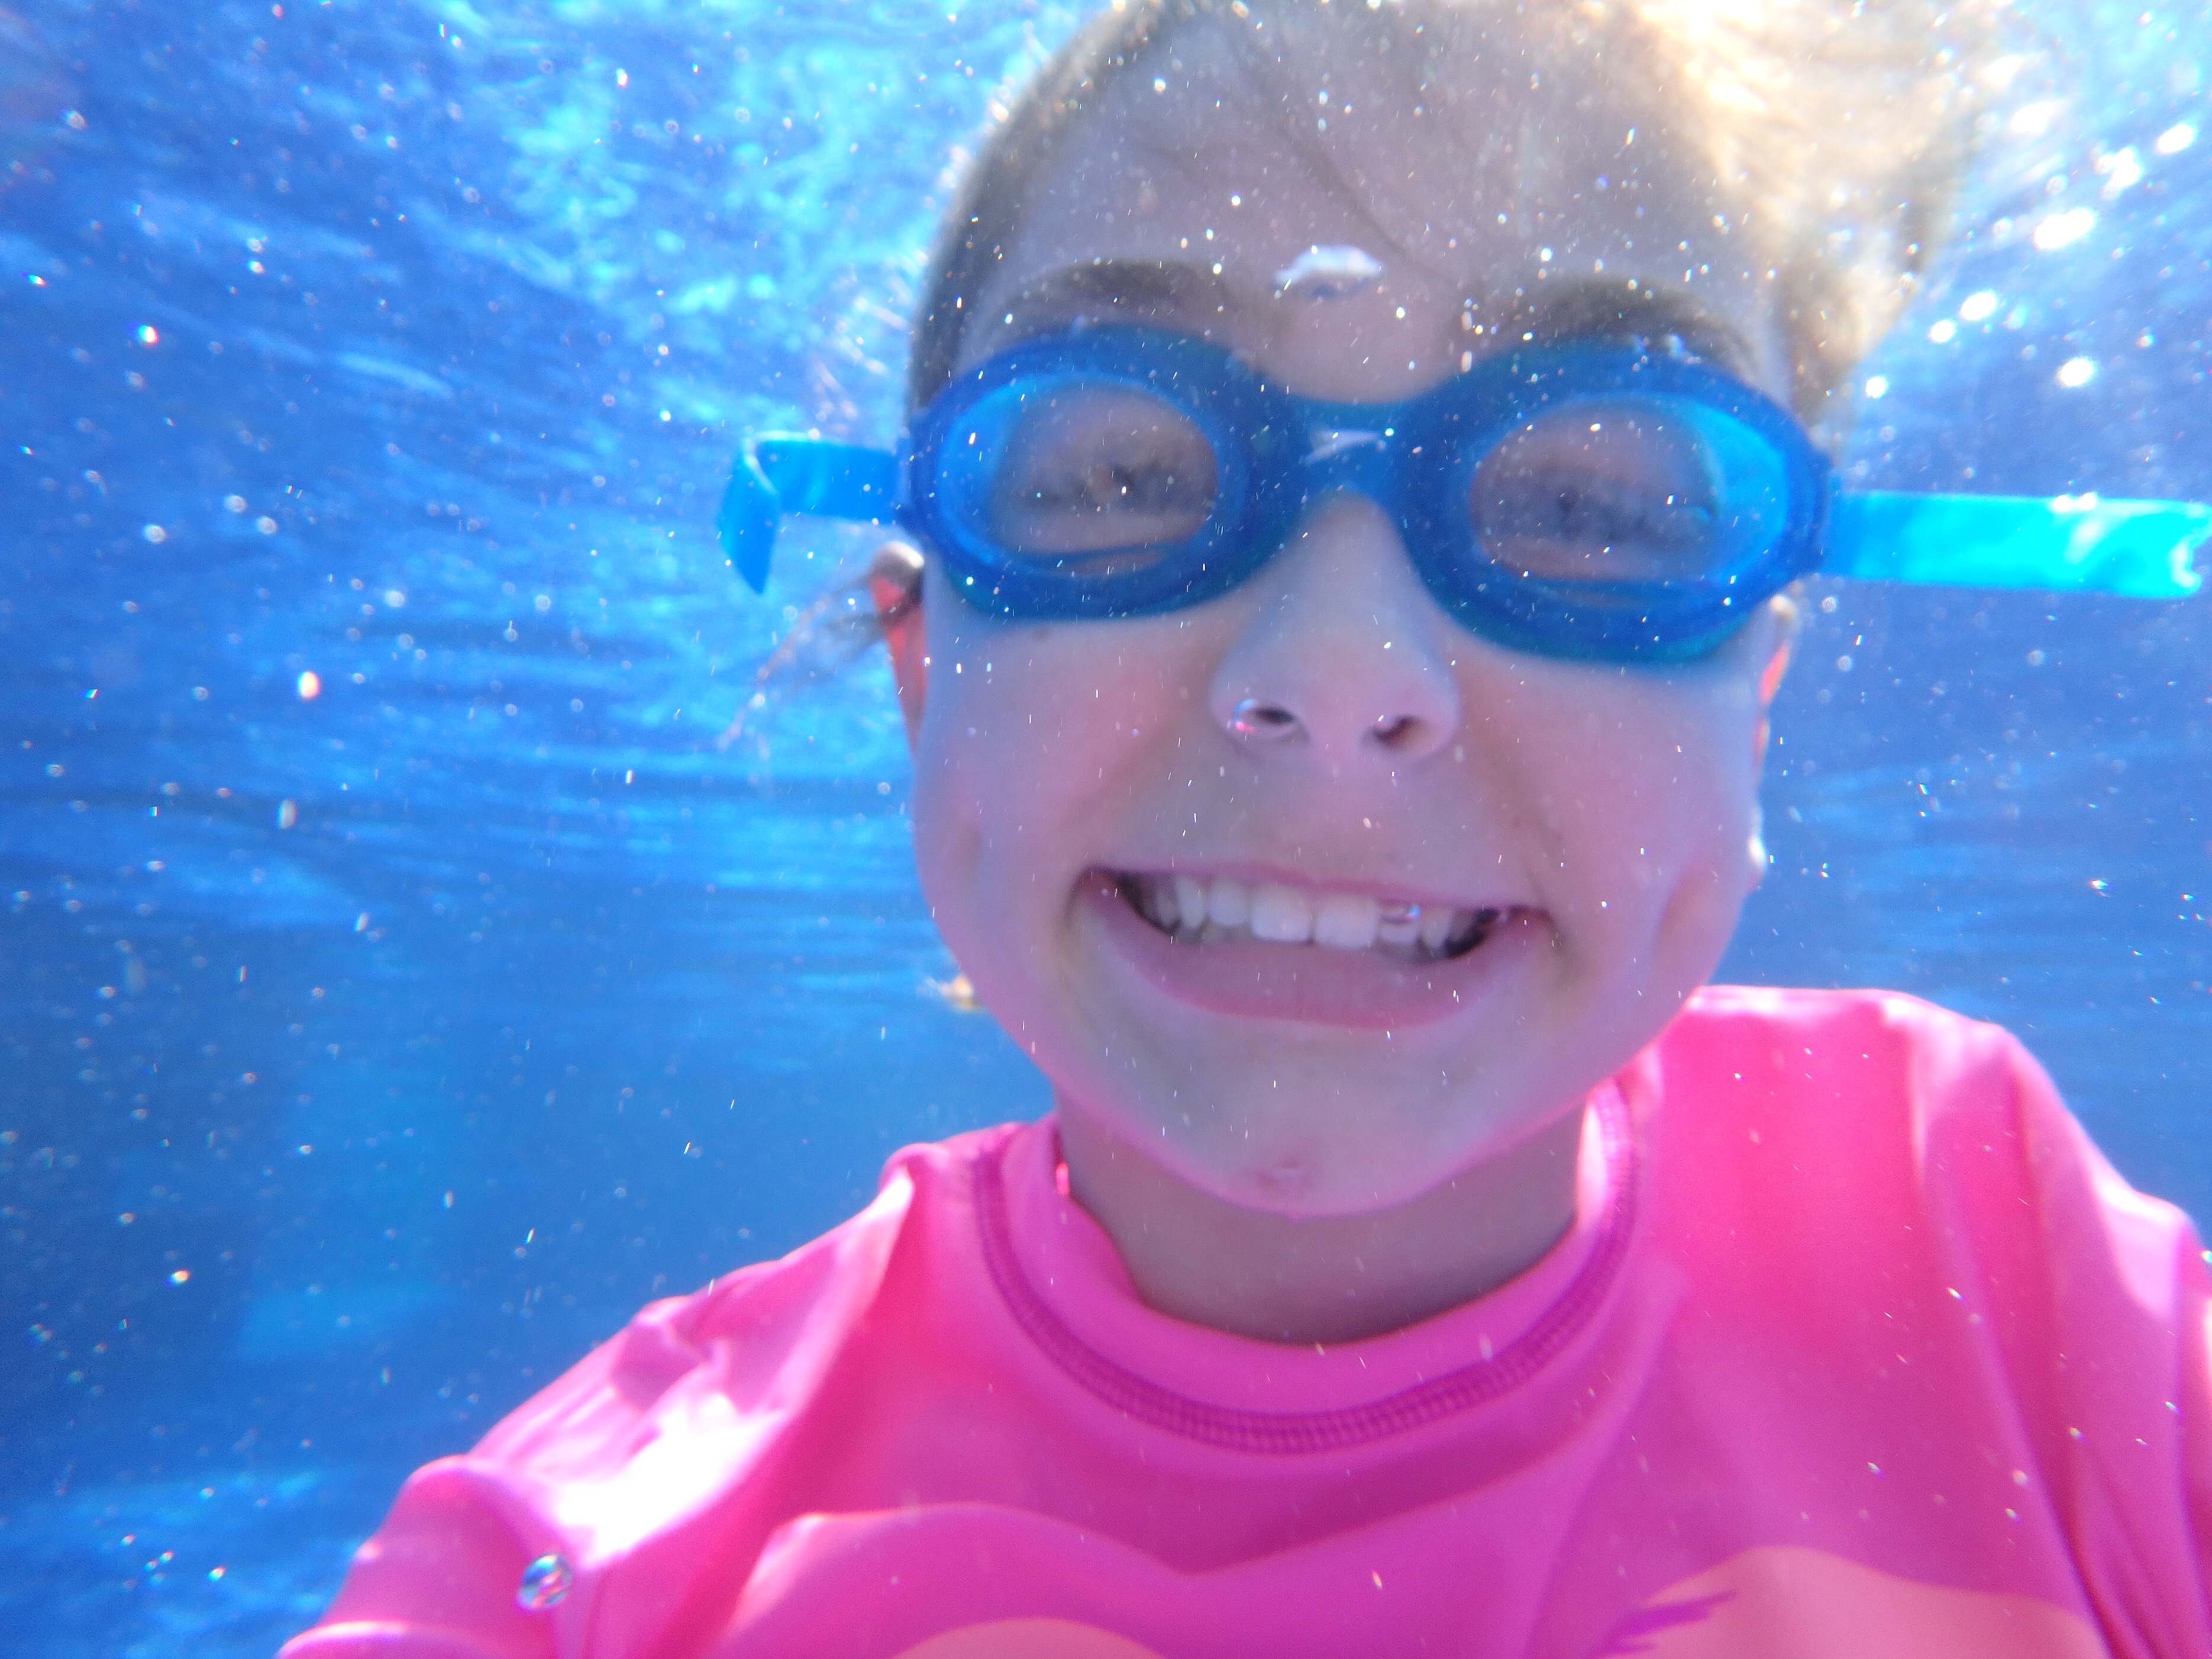
15. Get Wet
Gone are the days of buying disposable underwater cameras from the local drug store. Now, there’s a ton of gear out there to help you take really awesome photos underwater. We like the Olympus Tough and the Go Pro lines. I also recommend purchasing a floating wrist strap. That way you never have worry about your camera sinking if you accidentally let go.
This is another situation where its fun to hand the camera over to your kids and see what they capture.
16. Get Steady
Tripods are especially great for indoor situations where keeping your camera stead is key. You can use a slower shutter speed to let in more light while the tripod keeps the camera from moving and making the image blurry. If you don’t have a tripod, you can balance your camera or phone on a flat surface, like a table, to keep it steady. Or find something nearby that can be used to steady your camera. Here I made use of pillar to prop my camera on while getting photos at Universal.
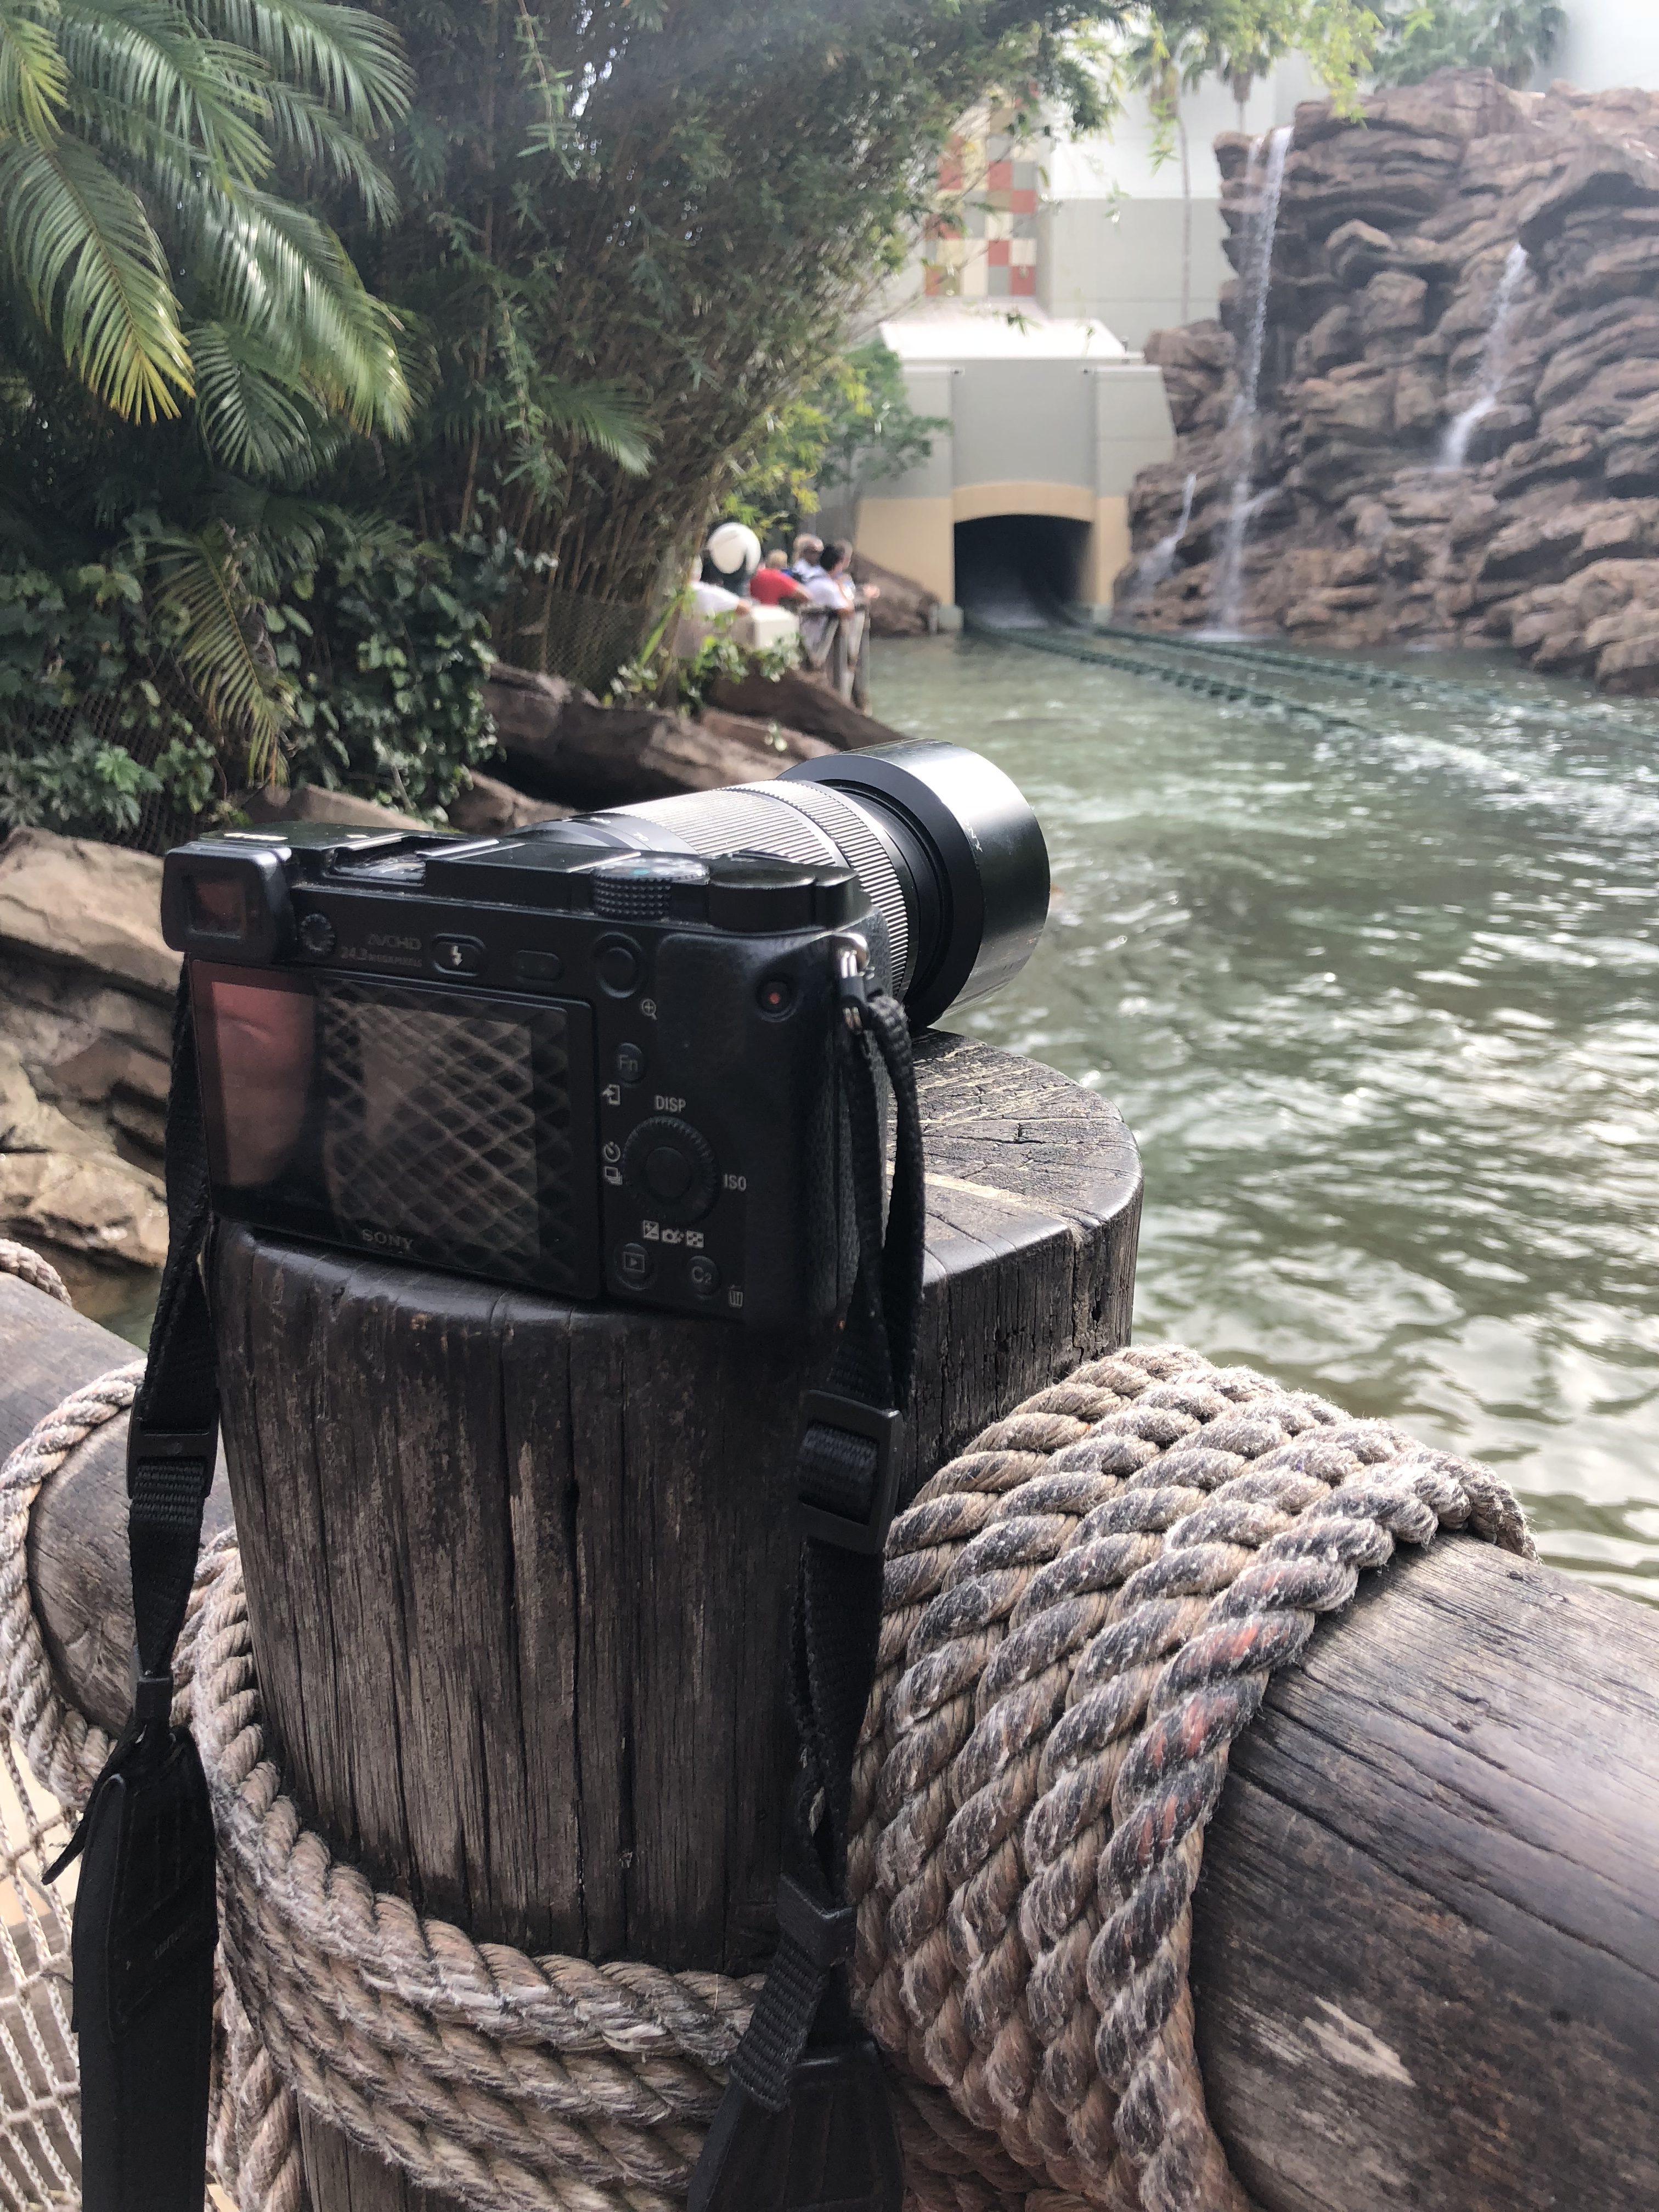
Table top tripods are a great compact option as well as flexible tripods like the gorilla-pod. Gorilla pods have magnetic articulating legs that can be twisted to grip in place just about anywhere. I love this because you can get unique shots that most people don’t even think about taking.
If you are using your iPhone camera make use of the volume button instead of tapping your screen to reduce camera shake in your shot.
17. Get Comfortable
If you’re using a camera with interchangeable lenses, pick a few favorite lens and get comfortable with them.
My favorite focal lengths are my 35 mm f1.8 and 28 mm f2 and my 16 mm 1.4 for wide angle shots. Prime lenses are lenses that have a fixed focal length and don’t zoom in and out. I personally feel like the image quality is clearer, but of course there is always a give and take with whatever lens you choose. The trade-off with prime lenses is that you have to do all the zooming with your feet. That means moving closer or further away to frame your images.
On the flip side a lens that covers the wide to mid-range zoom can be really convenient. Try to look for one that is fast and has built in stabilization. A really great way to find out if a lens is right for you is to take it for a test drive by renting it. I use Lens Rental to get a feel for a lens before deciding to purchase it.


18. Get Control
If you can shoot in a manual mode, go for it! Leveling up to manual mode gives you the greatest control over your images. The next best thing, and a great step on the way to manual shooting is to choose a partial manual mode. My favorite of these is aperture priority. This means I can control how narrow the aperture is while the camera will decide what the shutter speed should be. It’s a great mode for capturing that shallow depth of field. That buttery smooth background blur is called “bokeh” and it’s controlled by your f stop. I’m a big fan of staying as low as possible with your f stop. It will help you capture the tiny details leaving extraneous information out of the frame wile drawing the eye in.
19. Get Composed
Great photos start with great composition. This begins, basically enough, by deciding exactly what you are taking a picture of. The human eye can only take in so much information at a time. The more you are able to “guide” the eye through your photo, the better.
The simplest thing you can do when it comes to composition is to apply the “Rule of Thirds”. This super simple design common concept makes photos more balanced and interesting.
Imagine placing a three-by-three tic-tac-toe type grid over your photo that divides your image into nine equal parts by two equally-spaced horizontal lines and two equally-spaced vertical lines. The dividing lines and spots where they cross are where a viewer’s eye is drawn. Important composition elements should be placed along the dividing lines or their intersections. Essentially you want to place your focus on either line of the outer divides isolating the subject in the left or right third of the frame (or top and/or bottom third). This weighting of the image will give it dimension, interest, and appeal. To easily apply this technique to your photo, turn on your camera’s grid feature if you have it.

There is one exception to the Rule of Thirds, and that’s when you are composing a shot to purposefully be symmetrical. A shot where everything is symmetrical in the frame can also have a powerful effect. It adds stability to photographs and can give your compositions a sense of calm, peace, and is just all around aesthetically pleasing.


Another easy thing you can do to improve your family vacation photography is ensuring you compose a shot for leading lines. Try to use natural features like roads, fences, shadows and even the curve of a hat to draw the viewer into your scene. To be most effective, you should try to create your overall composition so that the lines appear to be moving in or out of a corner(s) of the image. …


Finally, “framing” is an important part of composition too. We all know that a frame is something that goes around a picture. Framing in composition is something that frames your main subject to call even more attention to it. This is probably one of the easier composition techniques in photography. Framing brings more depth to the picture and a better focus on what the main subject is. Plus – it’s a great way to highlight something that is always photographed; it brings a new perspective and interest to the subject.

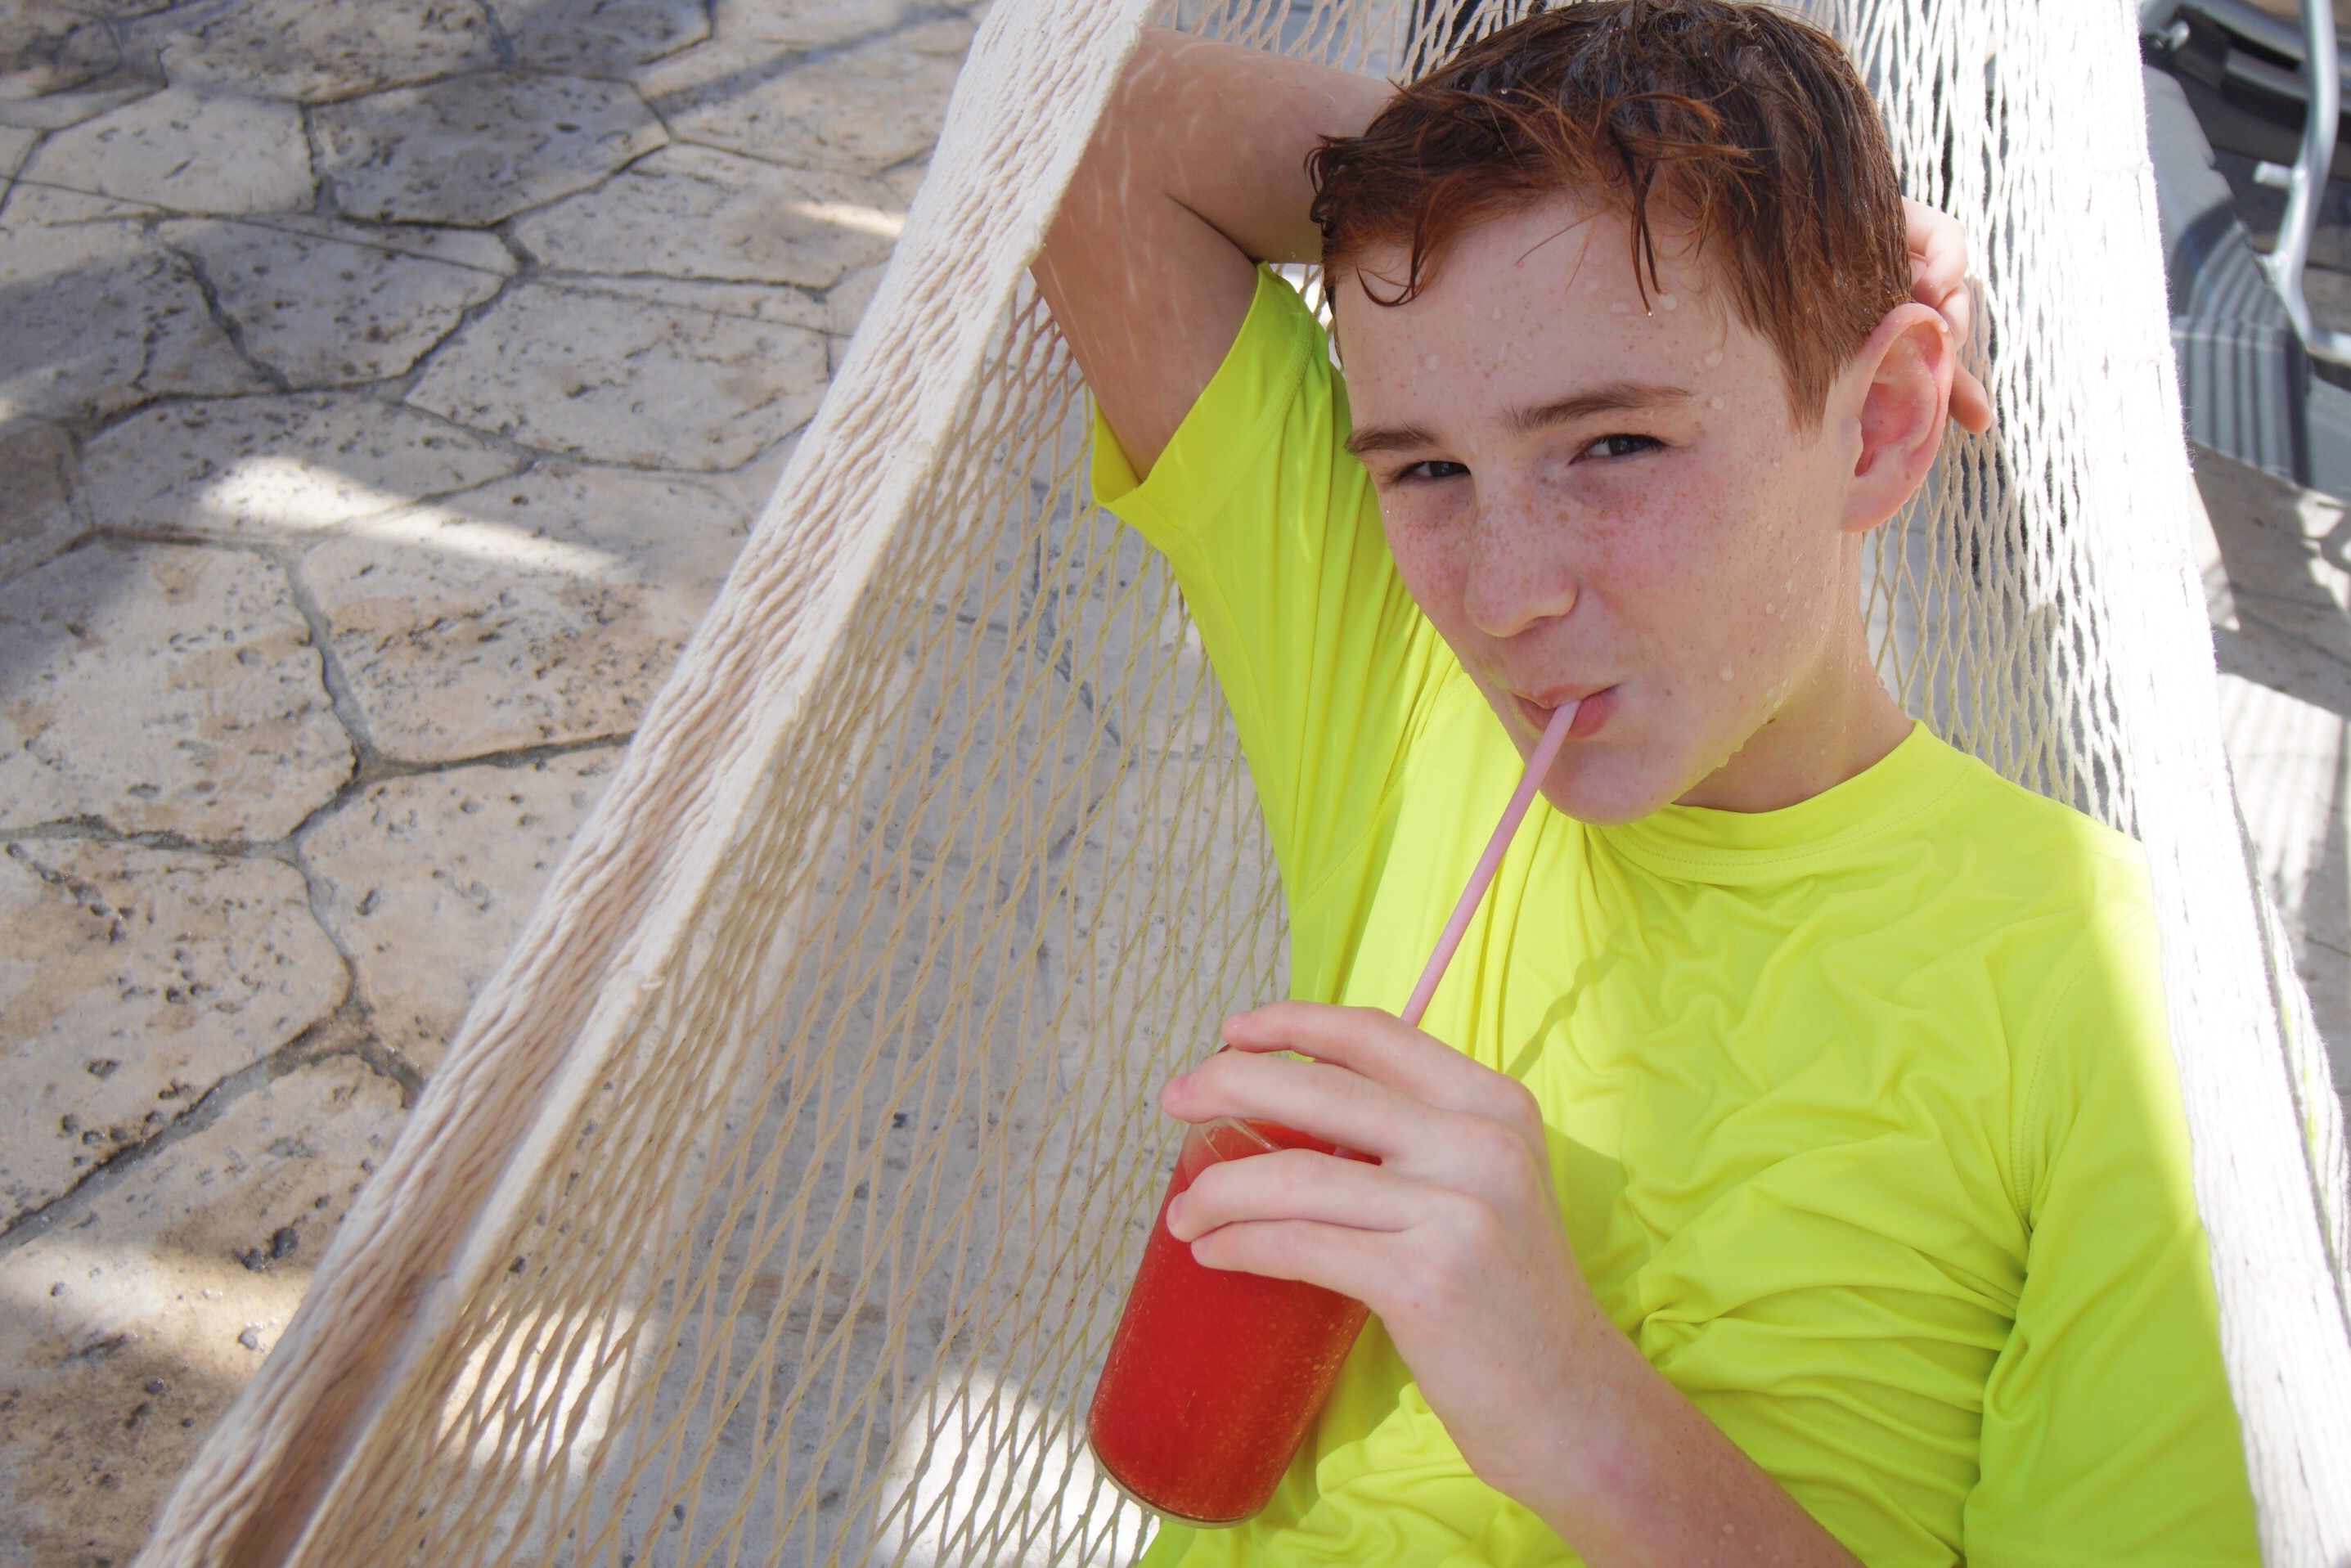
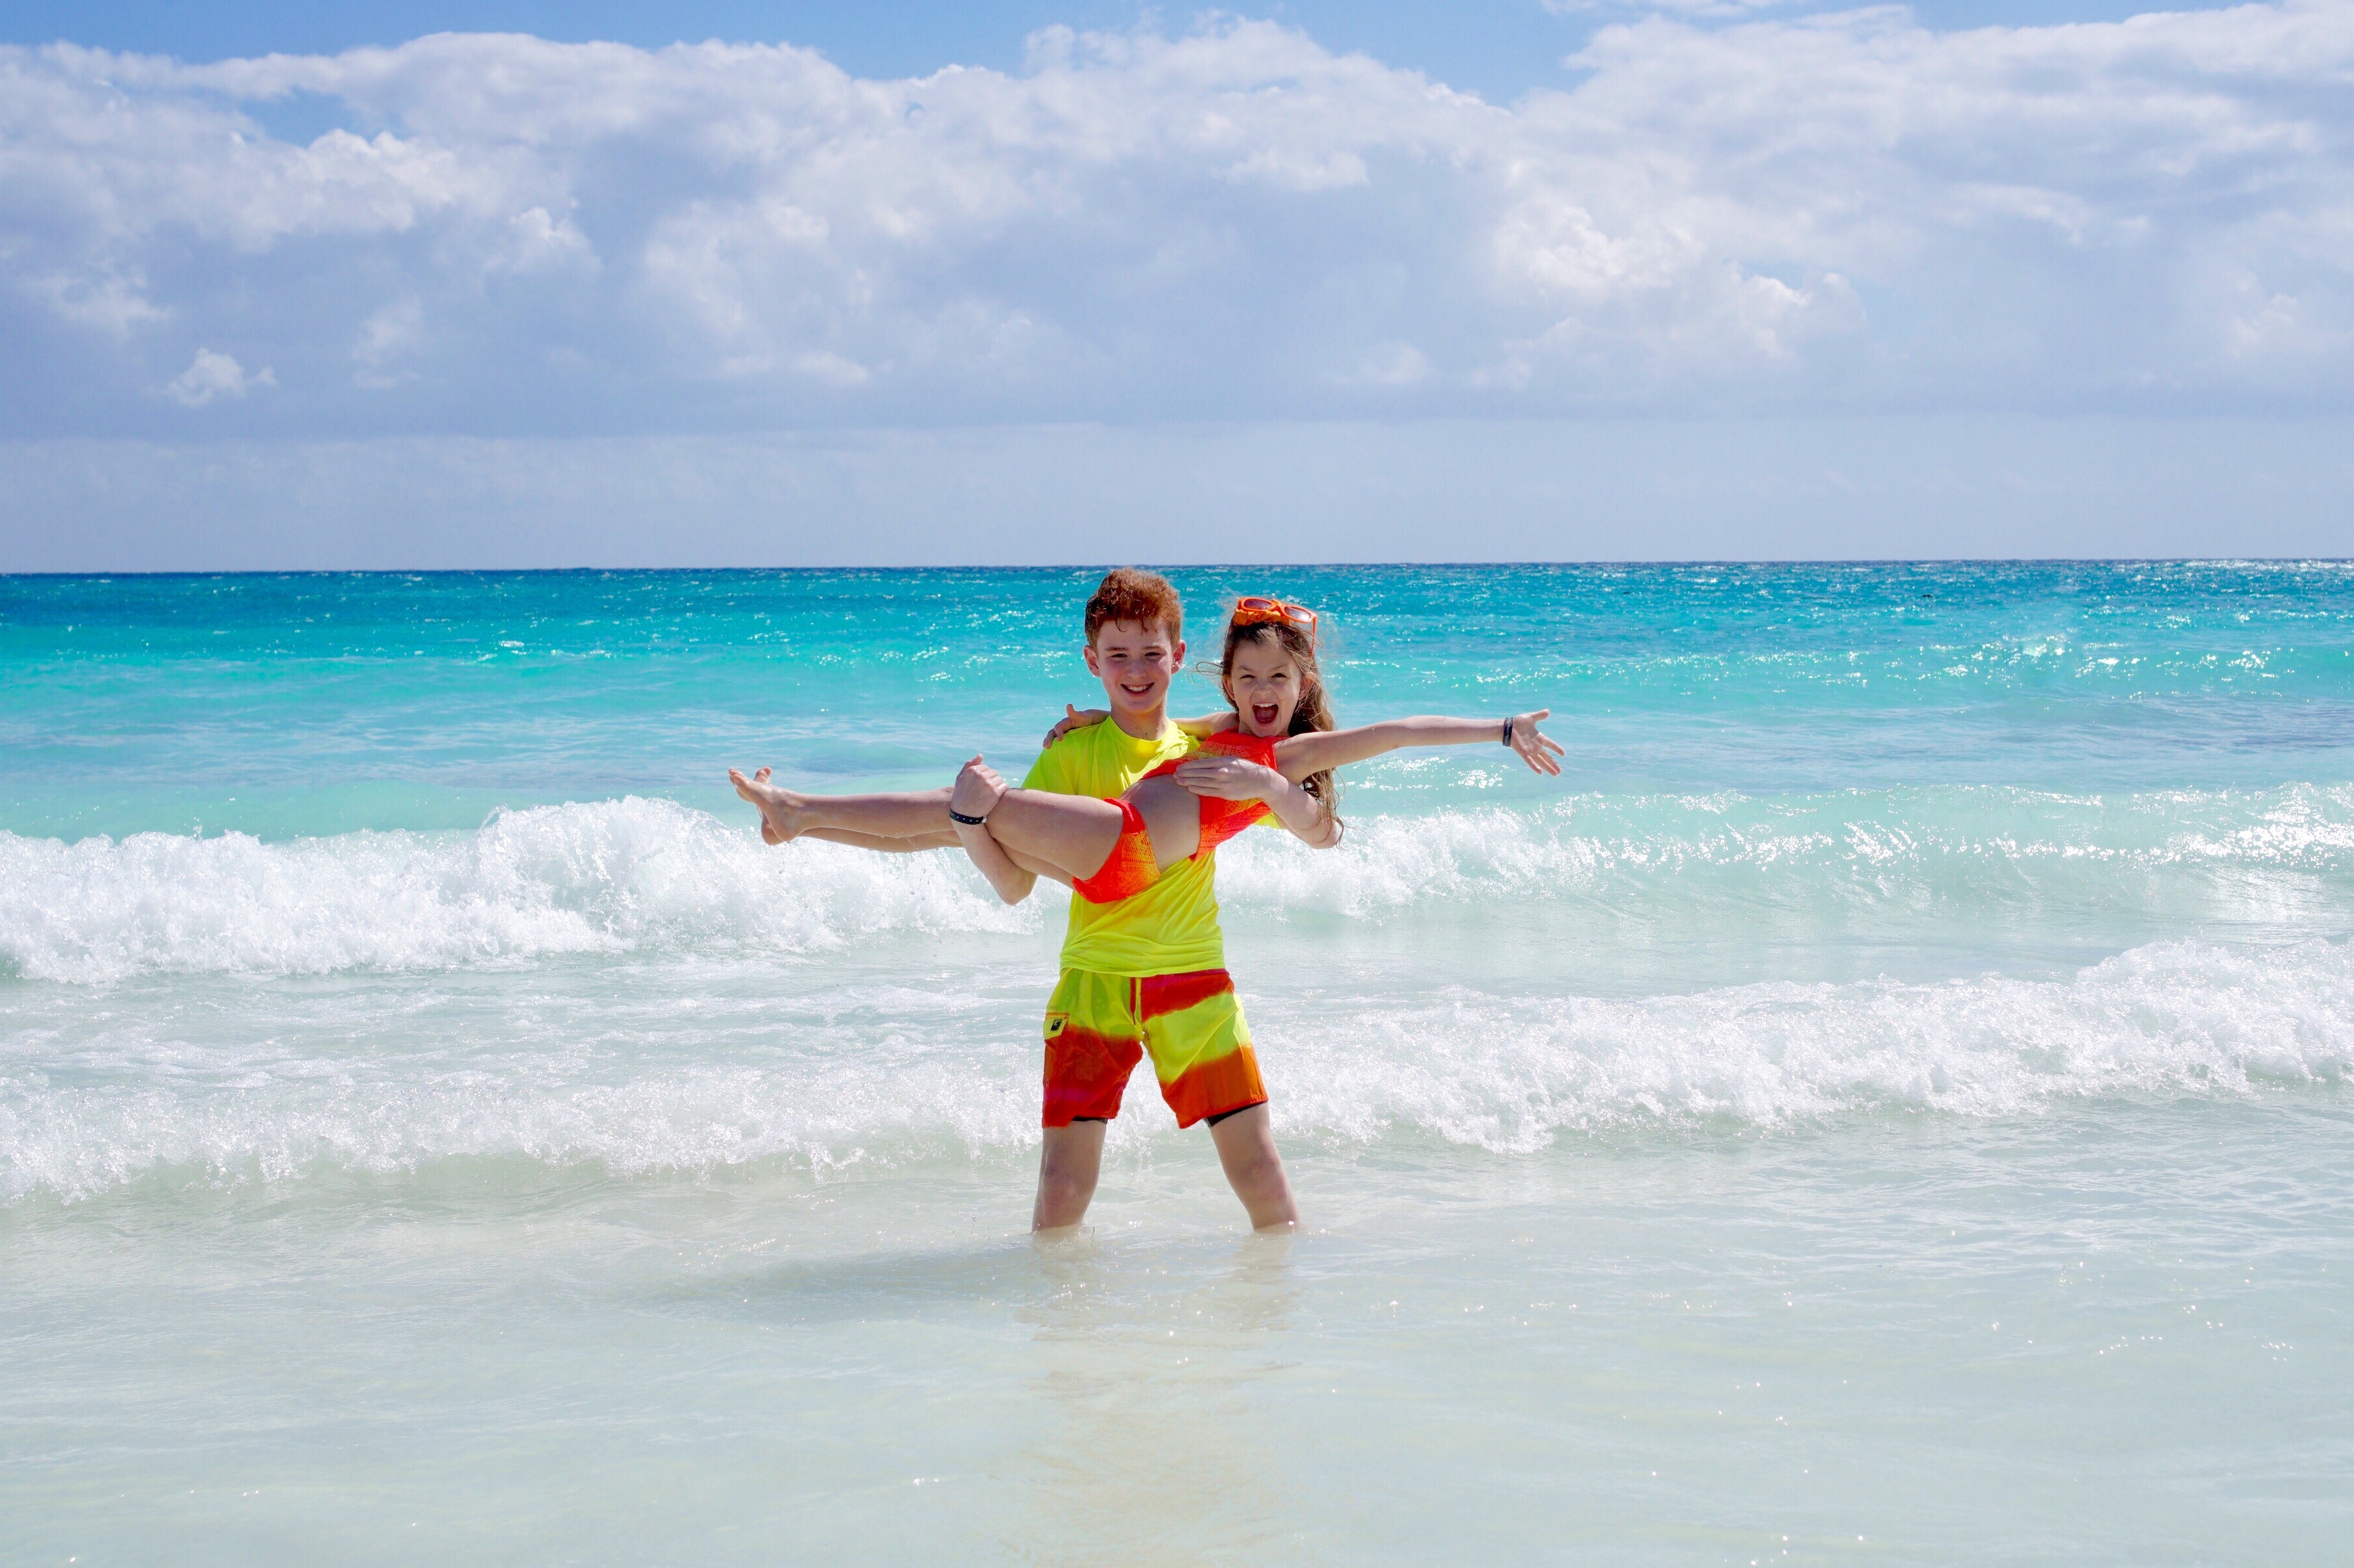
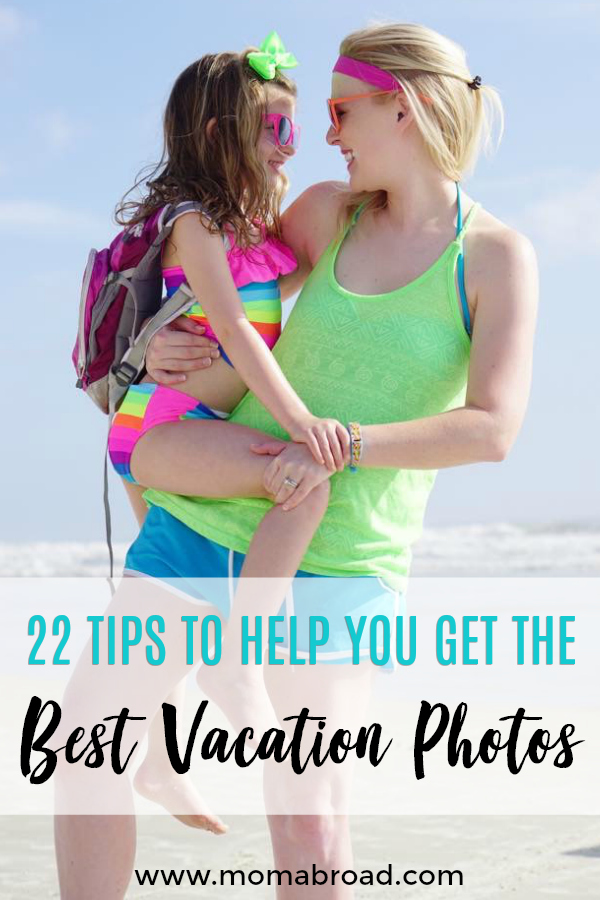
20. Get Colorful
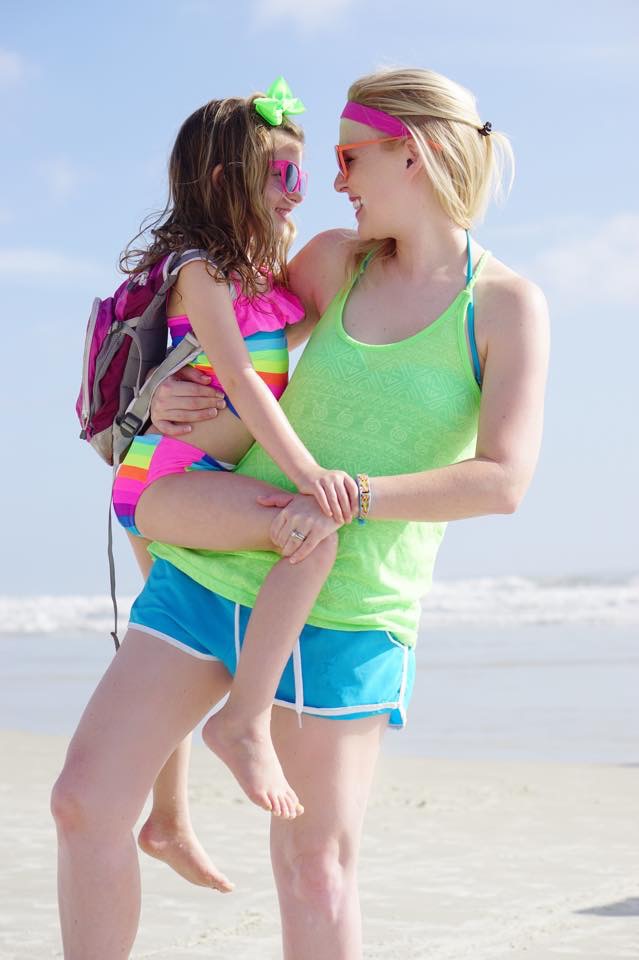
While you want to make sure you are doing everything you can behind the camera to get great photo you also should consider how what your family wears factors into the images too. The colors you wear should compliment one another and the background. I love to the way bright coordinated colors can pop and really add a sense of fun to family vacation photos.

21. Get Editing
I don’t have much time to mess around with editing. I’d rather get a great shot right out of my camera than have to go back and make changes. I’m also not a big fan of photos that don’t really represent the colors, and sights as they actually were. Sometimes however, a little editing really works wonders for a photo. Brightening the shadows or increasing the color saturation are among the minor teaks that can make all the difference in taking a photo from drab to fab.
Just be sure not to go overboard. The trick to maintaining the integrity of your photo is to not filter and edit them too heavily. Over-editing can have the opposite effect you want and potentially ruin your photos. Instead of using filters which tend to compromise quality, try the more manual route by tweaking brightness, contrast, temperature, etc. Sometimes all it takes is just removing some shadows (like I did with the photo below) or bringing out some colors to make an image pop. Remember you want your images to accurately convey the memories you are capturing
Just starting out I recommend finding a simple program that’s easy to understand and intuitive. I use a few different applications, but I am a big fan of Pic Monkey for beginners. Not only can you edit images and back them up on-line you can create collages and all sorts of other design templates with your images.

Also, while a lot of professional photographers will shoot in a raw photo format, you really don’t have to. It takes up a ton less storage space to work with JPEGs and is perfectly fine for non-professional photography.
22. Get Going
You don’t just pick up a camera and become a great photographer overnight. It takes months, years, even decades, and even still you’ll always have more to learn. The more you practice the better you will become, I promise. The same goes for editing. I look back on old photos of mine that I want to shake my head at, as I’m sure I will also do with my current photos one year from now, but they serve as a pleasant reminder that if you’re passionate about something and you put your heart into it you can do anything you want.
As with any skill, the more you keep at it, the faster you’ll improve. Practice taking photos as much as you can! You’ll eventually start to learn and see what works vs. what doesn’t. And don’t get hard on yourself at first–the skill will develop the more you work on it!
So, who’s ready to take awesome photos on your next family vacation? Even if you apply just one of these tips to your next trip you’ll be on your way to getting better images.
What other travel photography tips would you add to this list? Got any travel photography questions that I can help with? Want any feedback or tips on your travel photos? Drop me a line below and be sure to connect with Mom Abroad on Facebook.
Thanks for reading! If you enjoyed this article, please save it to Pinterest by clicking the ‘P’ button on any image.

Subscribing via email is the best way to get helpful travel tips from Mom Abroad. My newsletter offers a monthly dose inspiration & information for making the best memories on your next vacation. Make sure to sign up below and say hello on Instagram or Facebook!